Shed Matters 3

User avatar
Stanley
Global Moderator
Global Moderator
Posts: 90295
Joined: 23 Jan 2012, 12:01
Location: Barnoldswick. Nearer to Heaven than Gloria.

Re: Shed Matters 3

Post by Stanley »

Image

Image

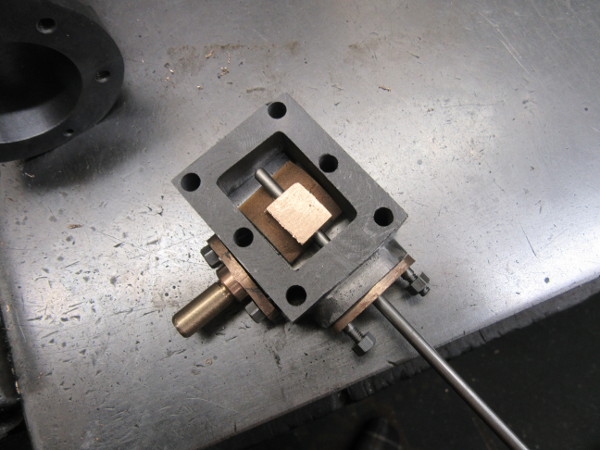
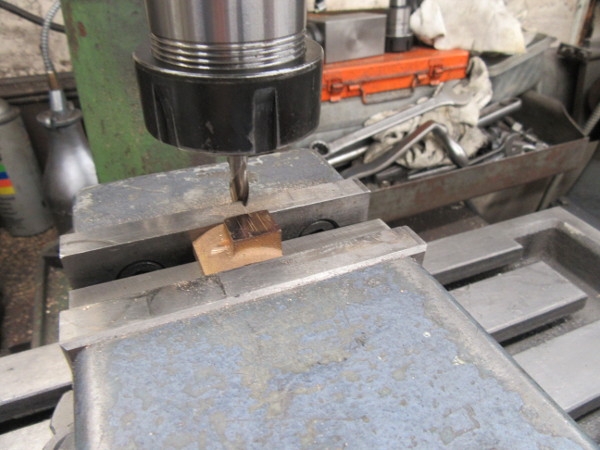
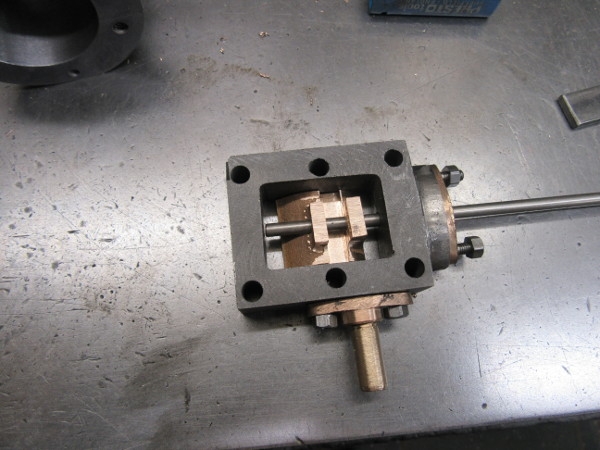
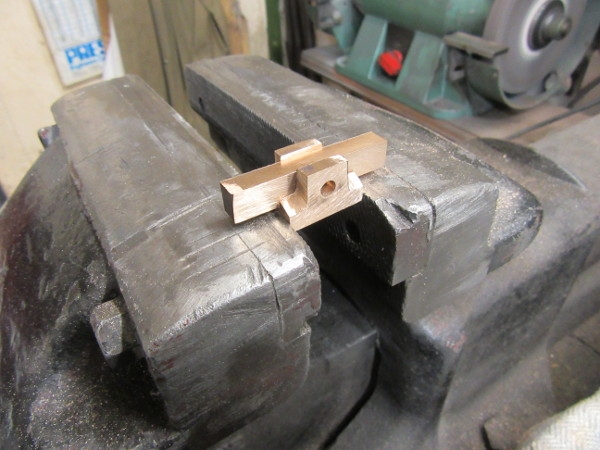
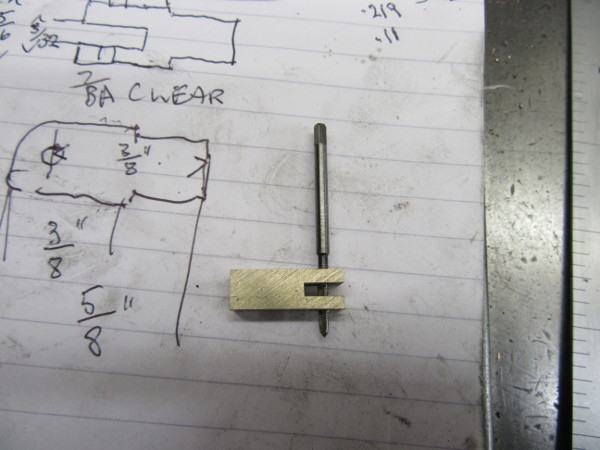
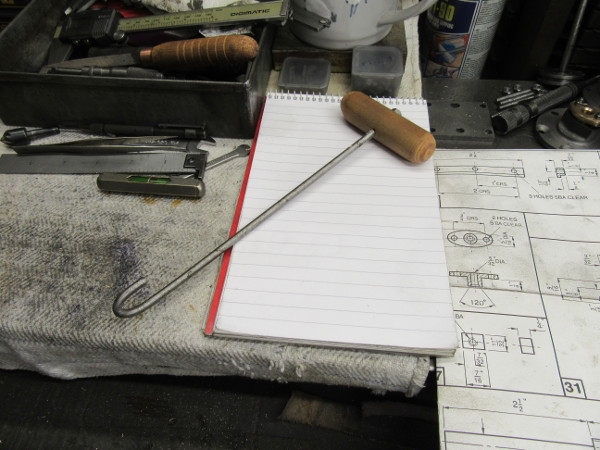
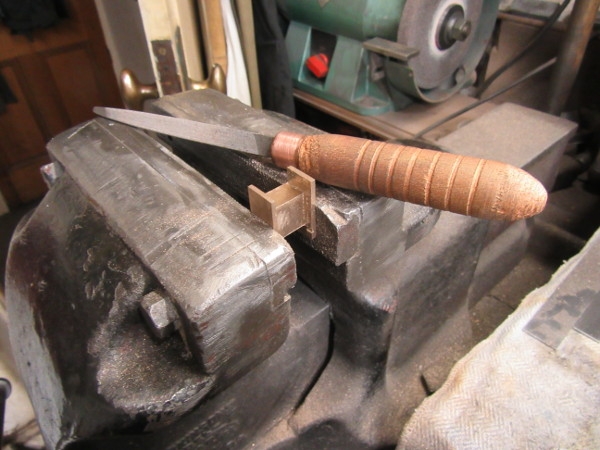
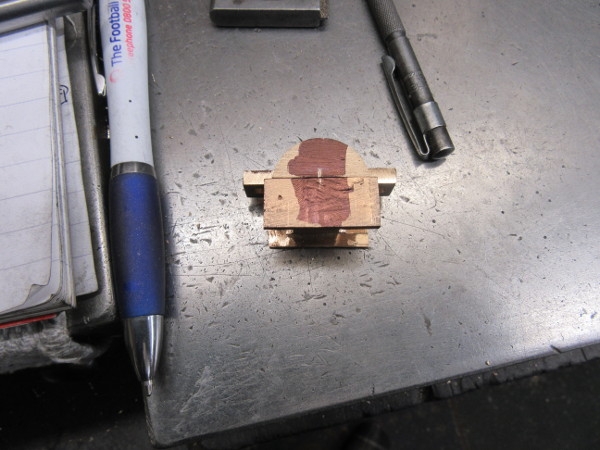
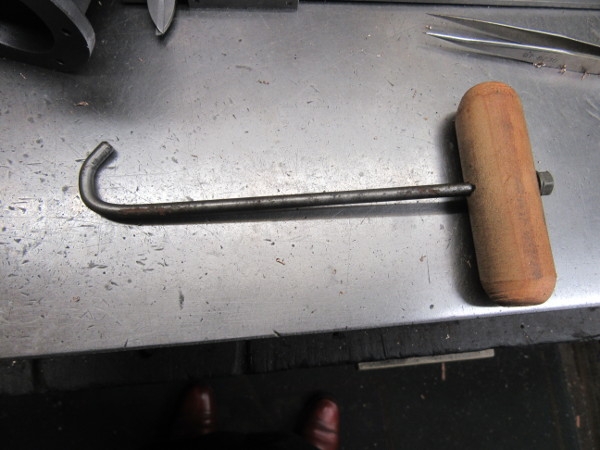
Not the usual start to the day. But at the moment my two pairs of brogues need the cobbler and I can't get there until next week so I am wearing what my dad always called 'laughing side boots', here they are usually called dealers boots. The tabs with which you pull them on are difficult to sort out and this hook will make it dead easy.

Image

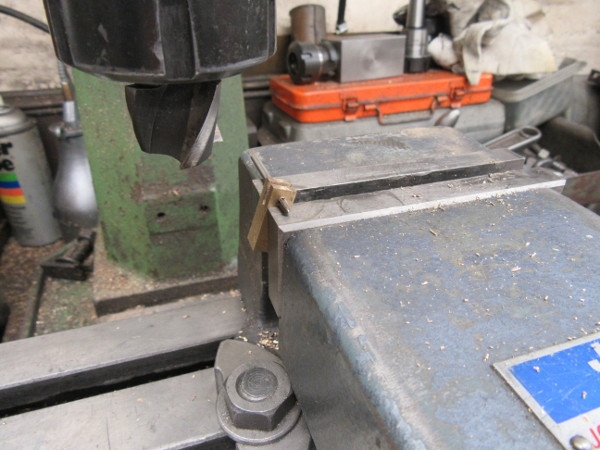
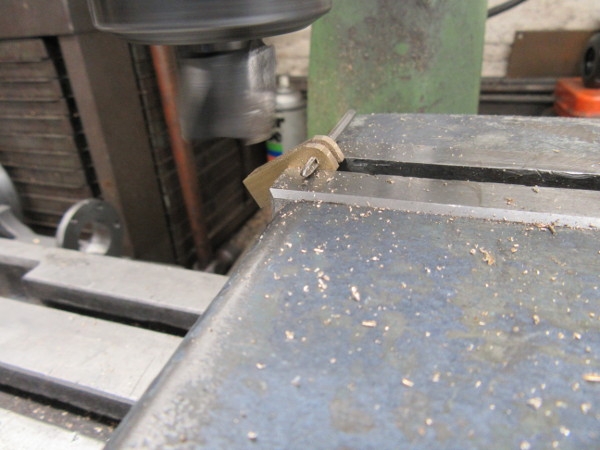
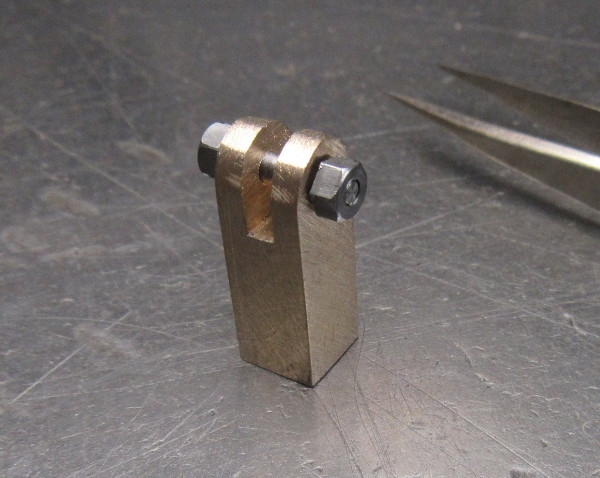
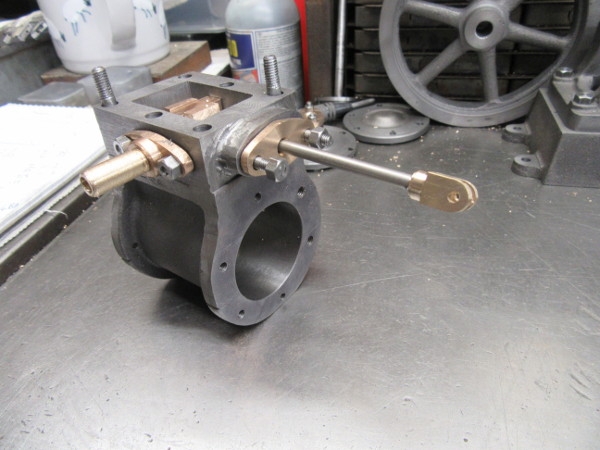
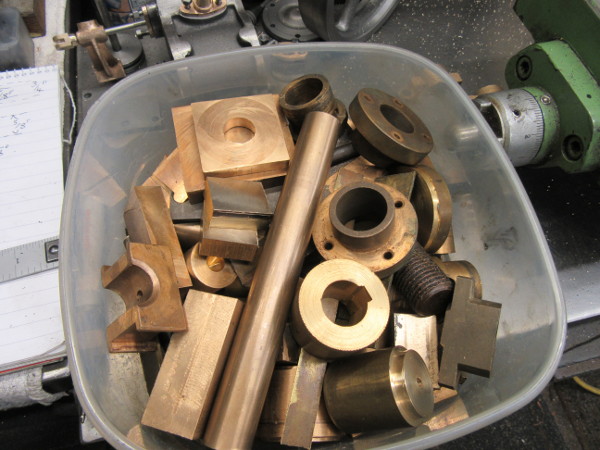
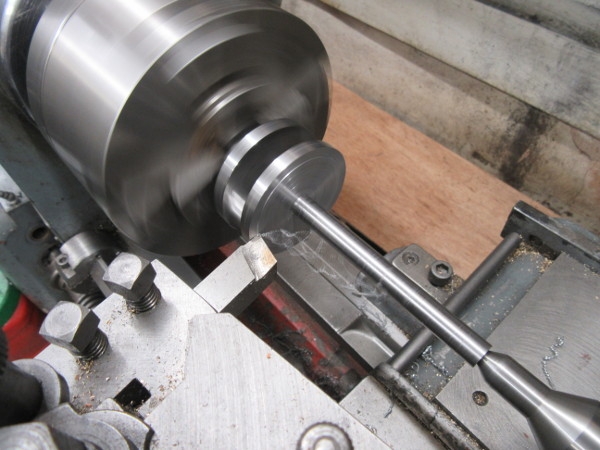
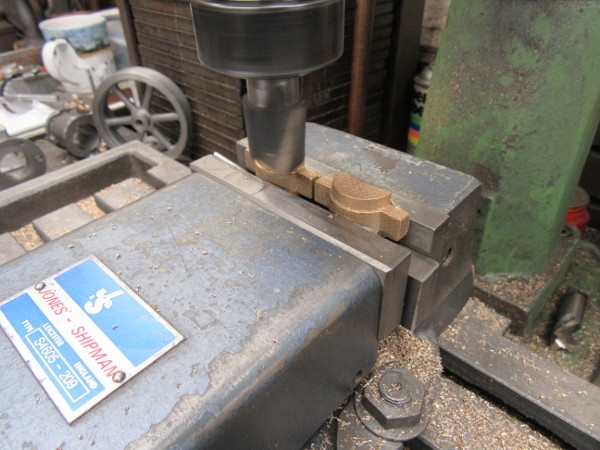
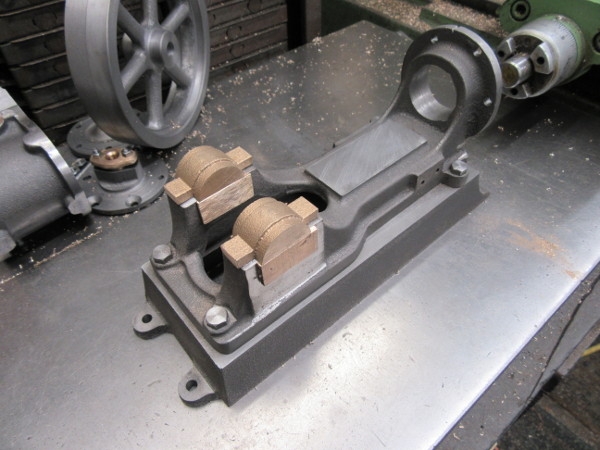
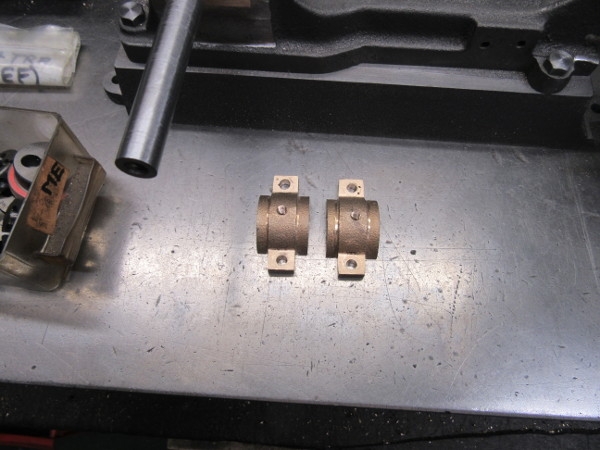
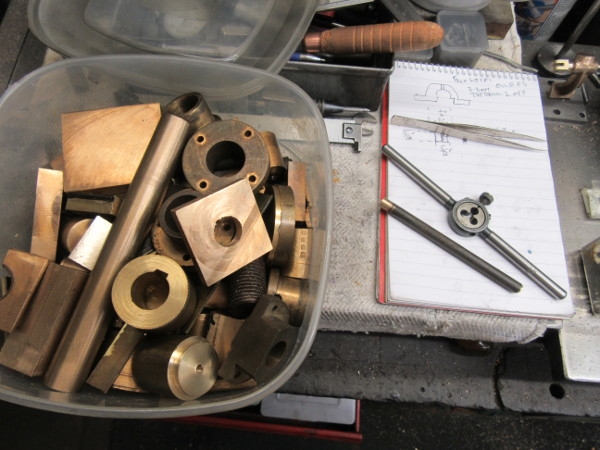
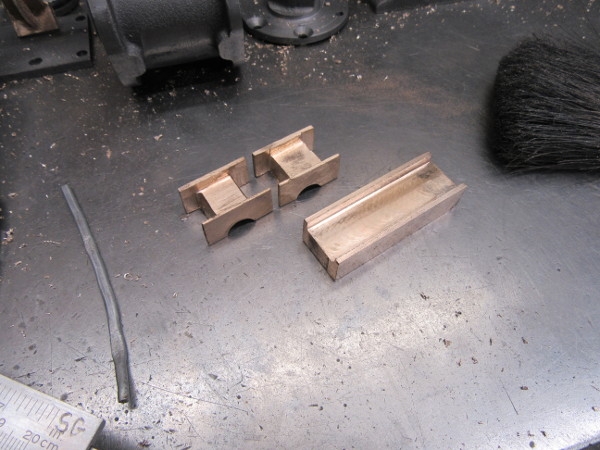
I then went on to making the steam and exhaust pipes and the first job was a shufti in the brass ends boxes To find material for the 5/16" steam pipe and the 3/8" exhaust.

Image

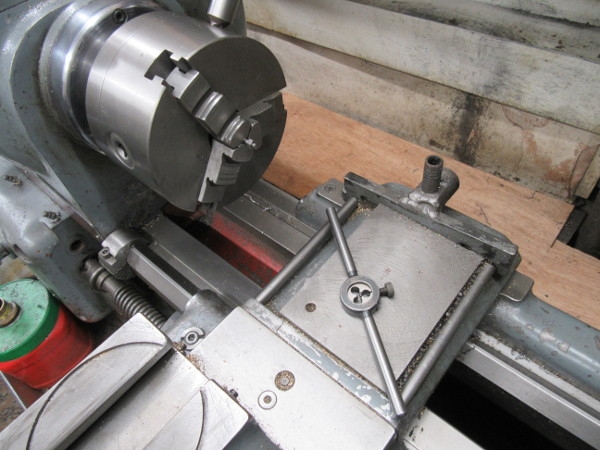
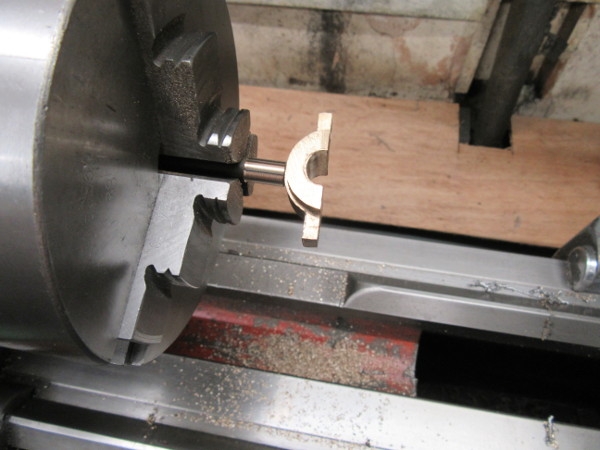
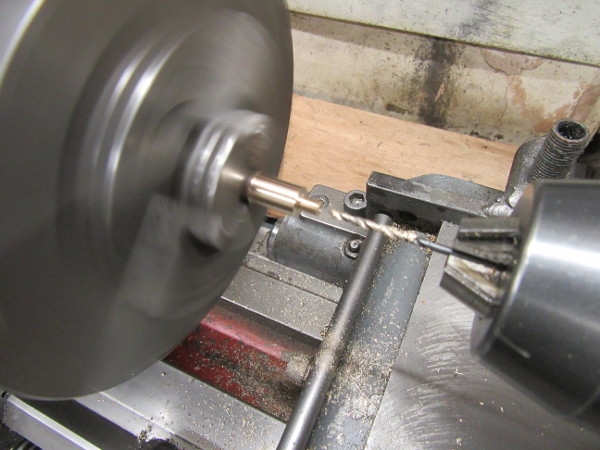
It didn't take long to make the steam pipe and thread it 5/16" X 26tpi.

Image

Then I found a piece of scrap brass to make the exhaust out of. Then it was time for early doors shop at the Co-op.
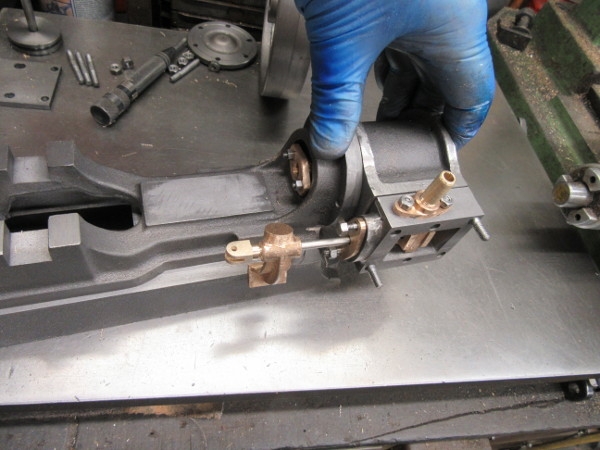
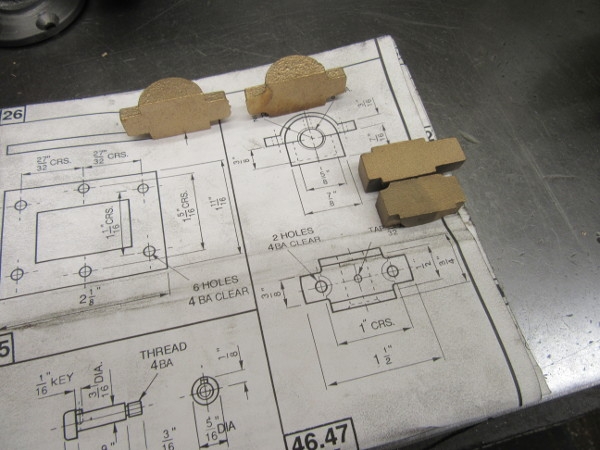
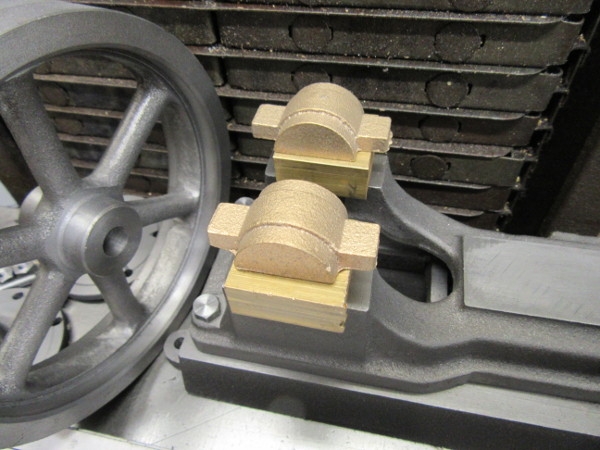
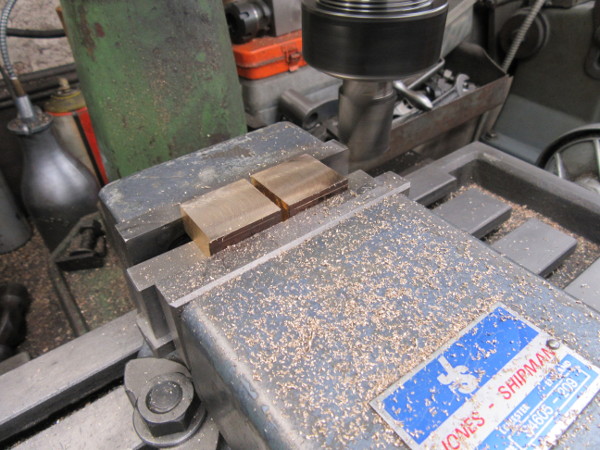
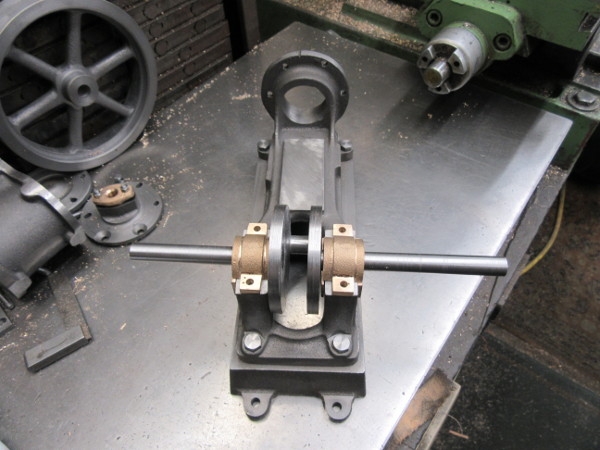
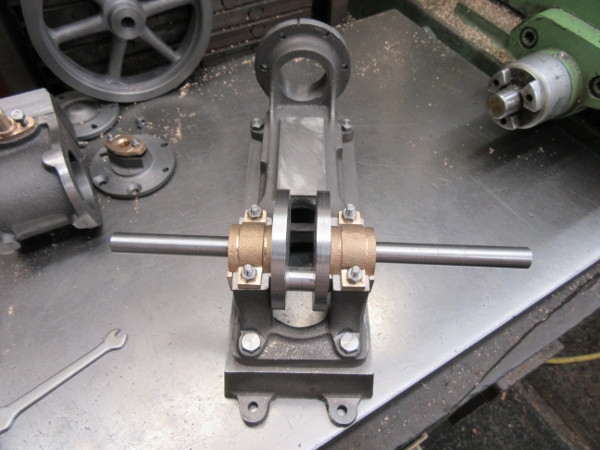
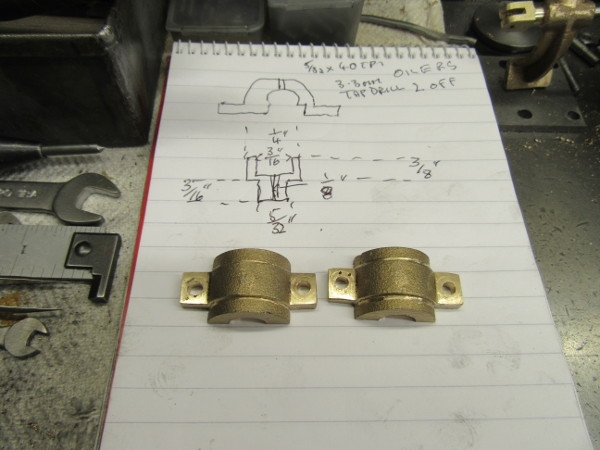
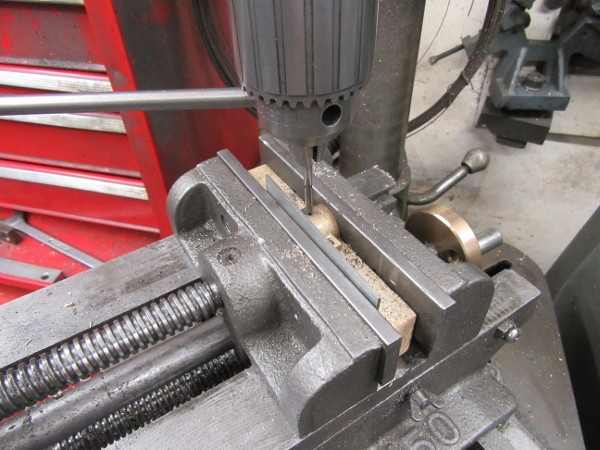
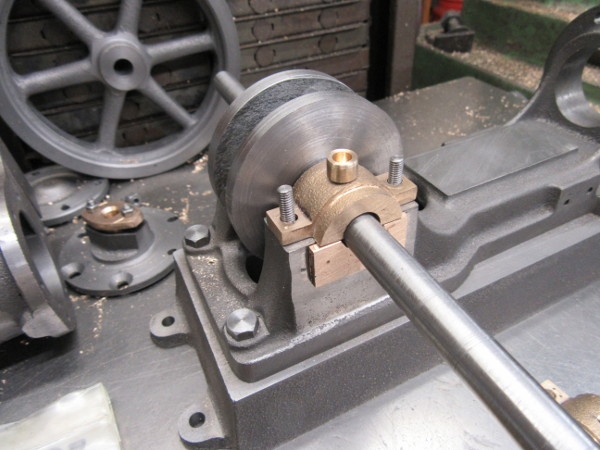
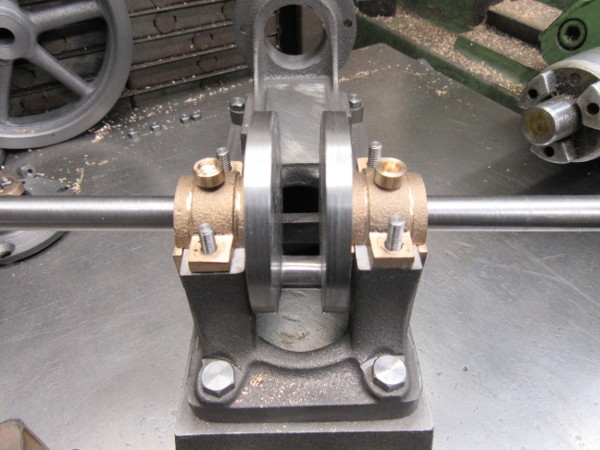
A productive morning but not all engine related! (That's why we have sheds....)
Stanley Challenger Graham
Stanley's View
scg1936 at talktalk.net

"Beware of certitude" (Jimmy Reid)
The floggings will continue until morale improves!
User avatar
Stanley
Global Moderator
Global Moderator
Posts: 90295
Joined: 23 Jan 2012, 12:01
Location: Barnoldswick. Nearer to Heaven than Gloria.

Re: Shed Matters 3

Post by Stanley »

Image

The first move was to complete the exhaust pipe. Here are both the exhaust and steam pipes fitted to the flanges.

Image

Image

Next I addressed the steam valve, the first job was to drill for the valve rod and then cut the slot for the driving bar.

Image

This is closing time. We have the slot for the drive bar and tomorrow I'll make a drive bar (The one in the kit is not good enough.). After that we need to mill the recess in the bottom of the valve that is a steam passage.
Quiet slow work with lots of checking. So far so good! :biggrin2:
Stanley Challenger Graham
Stanley's View
scg1936 at talktalk.net

"Beware of certitude" (Jimmy Reid)
The floggings will continue until morale improves!
User avatar
Stanley
Global Moderator
Global Moderator
Posts: 90295
Joined: 23 Jan 2012, 12:01
Location: Barnoldswick. Nearer to Heaven than Gloria.

Re: Shed Matters 3

Post by Stanley »

Image

This wasn't the start of the shed this morning, before I started to address the valve and its drive bar I made another, longer, boot hook. The one I made yesterday is a bit short. But as you can see I soon got into the brass ends box to find a piece of brass I could make a drive bar out of that suited me.

Image

I've got the drive bar now, it needs cutting down to length, marking, drilling and tapping 4BA. Then I went on to make the valve rod and thread that 4BA at each end.

Image

Here we are at closing time. The drive bar is threaded, witness marks added and the valve rod fitted. All looks well.
Now I need to machine the recess in the bottom of the valve that is the exhaust steam passage. Another good morning, quiet and careful work and no surprises. :biggrin2:
Stanley Challenger Graham
Stanley's View
scg1936 at talktalk.net

"Beware of certitude" (Jimmy Reid)
The floggings will continue until morale improves!
User avatar
Stanley
Global Moderator
Global Moderator
Posts: 90295
Joined: 23 Jan 2012, 12:01
Location: Barnoldswick. Nearer to Heaven than Gloria.

Re: Shed Matters 3

Post by Stanley »

Image

Yes, I started where I left off. Before I cut the steam passage in the bottom of the valve I want to measure everything and make sure there is room for the valve to act. I made a few tiny adjustments and then ploughed on.

Image

The drawing says the passage has to be 1/8" deep but that's about twice as much as is needed so I didn't go that deep.

Image

Here's where we finished up.

Image

The next job is to make the 5/16" square clevis for the outboard end of the valve rod. While I still have the maximum stock to grab hold of I marked it and here we are cutting the slot with a slitting saw that's 3/32" thick. I changed the 3 jaw for the 4 jaw SC chuck. You can't have too many chucks!

Image

Next I marked the clevis and drilled it for the pin. This calls for one leg tapped 7BA and the other drilled 7BA clearance. As you can see I've tapped both legs to make sure they are dead in line and I can open one to clearance later.

Image

I've left the tap in to act as the fulcrum while I round the end of the clevis. I can get it quite accurate this way. But that's for tomorrow.
Stanley Challenger Graham
Stanley's View
scg1936 at talktalk.net

"Beware of certitude" (Jimmy Reid)
The floggings will continue until morale improves!
User avatar
Stanley
Global Moderator
Global Moderator
Posts: 90295
Joined: 23 Jan 2012, 12:01
Location: Barnoldswick. Nearer to Heaven than Gloria.

Re: Shed Matters 3

Post by Stanley »

Image

Tiny cuts using the threaded hole with the tap in it as a fulcrum. Done carefully and without rushing it gives a very even radius that can be finished off on a piece of abrasive paper on a surface plate.

Image

Image

These two pics tell the story. I drilled one leg of the clevis out to 7BA clearance and found the correct nut and bolt. I finished the clevis by cutting it to length and turning the end down, the last pic is of it fitted to the valve rod.

Image

I then turned my attention to the supporting bracket for the valve rod which as you can see is a complicated shape. I fettled most of the flash off on the grinding wheel (it was a rough casting) and then did some high risk milling (very light cuts!) to establish the correct relationships between the major surfaces.

Image

Here we are at knocking off time, a good start but lots more to do.
Stanley Challenger Graham
Stanley's View
scg1936 at talktalk.net

"Beware of certitude" (Jimmy Reid)
The floggings will continue until morale improves!
User avatar
Stanley
Global Moderator
Global Moderator
Posts: 90295
Joined: 23 Jan 2012, 12:01
Location: Barnoldswick. Nearer to Heaven than Gloria.

Re: Shed Matters 3

Post by Stanley »

Image

I started my morning in the shed by making another boot hook because I have realised that putting my laughing side boots on will be easier with two hooks.

Image

Then I carried on with the combined con rod guide and governor stand. and did as much to it as I could at the moment. I shall have to wait until the cylinder is mounted before finishing the stand.

Image

I looked at the next task, making the main bearings. I spent about twenty minutes trying to make sense of the materials I have and couldn't make any sense out of two of the castings.

Image

In the end I decided that this was what they intended. If it isn't it doesn't matter as I have plenty of brass stock and can make anything that's needed. I think I have it right and tomorrow I'll do a clearer drawing of what's needed.
Stanley Challenger Graham
Stanley's View
scg1936 at talktalk.net

"Beware of certitude" (Jimmy Reid)
The floggings will continue until morale improves!
User avatar
Stanley
Global Moderator
Global Moderator
Posts: 90295
Joined: 23 Jan 2012, 12:01
Location: Barnoldswick. Nearer to Heaven than Gloria.

Re: Shed Matters 3

Post by Stanley »

I started the morning by making a fag packet drawing to make sure I understood what I was doing....

Image

And then I started cutting. All went well until a thought occurred to me, I checked and I had cut the wrong faces of the stock. Deep Joy!

Image

I got my box of brass ends out and found two suitable pieces of stock.

Image

Later, when I decided to stop. I have two blanks that are the right size and exactly the same. I had only done just over an hour but I felt like stopping so I did! I am not on piece work.
Stanley Challenger Graham
Stanley's View
scg1936 at talktalk.net

"Beware of certitude" (Jimmy Reid)
The floggings will continue until morale improves!
BobH
Regular User
Posts: 133
Joined: 15 Nov 2019, 18:09
Location: Rochdale

Re: Shed Matters 3

Post by BobH »

I have made a start on the castings for a 6 pole generator. It should give a reasonable output at lower revs and better suit a small steam engine than a 2 pole machine which needs to run at a couple of thousand rpm. Today I tried the main housing on the base. The aluminium castings have been cleaned with file and abrasive paper as well as basic machining.
8A0A79B0-6D3E-4BFC-B827-0E1F6ECAE86B.jpeg
A5C3AC68-0253-4B21-990F-6266DE7BEED9.jpeg
I have inserted a piece of wood so that I can find the centre of the housing to get the height correct relative to the bearing pads. The bearing housings will be next.
You do not have the required permissions to view the files attached to this post.
User avatar
Stanley
Global Moderator
Global Moderator
Posts: 90295
Joined: 23 Jan 2012, 12:01
Location: Barnoldswick. Nearer to Heaven than Gloria.

Re: Shed Matters 3

Post by Stanley »

Nice Bob but it looks very small. The wood plug is such a good idea and solves a problem. I love it as you know.
The No. 9 was a good choice as regards size.... a bit more meat to it!
Stanley Challenger Graham
Stanley's View
scg1936 at talktalk.net

"Beware of certitude" (Jimmy Reid)
The floggings will continue until morale improves!
BobH
Regular User
Posts: 133
Joined: 15 Nov 2019, 18:09
Location: Rochdale

Re: Shed Matters 3

Post by BobH »

I am pleased to report that it isn’t too small. The outer casing is just under 4inches across. The fixing holes are only 3mm though.
User avatar
Stanley
Global Moderator
Global Moderator
Posts: 90295
Joined: 23 Jan 2012, 12:01
Location: Barnoldswick. Nearer to Heaven than Gloria.

Re: Shed Matters 3

Post by Stanley »

Ah, it looked smaller Bob!

Image

After a good measure up I found a centre, set the mill up and set to to cut out the shape of the two bottom brasses.

Image

Then a bit of filing and fitting

Image

It took me an hour to get to this point, one of the brasses fitted. The other won't take that long but it can wait until tomorrow as I have to do the early doors shopping.
Stanley Challenger Graham
Stanley's View
scg1936 at talktalk.net

"Beware of certitude" (Jimmy Reid)
The floggings will continue until morale improves!
BobH
Regular User
Posts: 133
Joined: 15 Nov 2019, 18:09
Location: Rochdale

Re: Shed Matters 3

Post by BobH »

I also did a bit on the bearing blocks.
27091FF3-20B1-4FD8-842D-A16570F3DE1F.jpeg
These will hold the ball bearings supplied with the castings. After cleaning up with file and abrasive paper I set them up in the 4 jaw on the lathe centering them with the center camera, a webcam mounted in the tail stock.
776BCD71-DD5E-4398-AAFC-CA7B250AF1AC.jpeg
Then moved to the mill to skim And drill the base setting the center height Of the bearing block ready to bore.
563EAFE7-78D2-4FDC-B004-1CE2F64ED06D.jpeg
You do not have the required permissions to view the files attached to this post.
User avatar
Stanley
Global Moderator
Global Moderator
Posts: 90295
Joined: 23 Jan 2012, 12:01
Location: Barnoldswick. Nearer to Heaven than Gloria.

Re: Shed Matters 3

Post by Stanley »

That sounds interesting! Tell me about the tailstock centre camera Bob.....
Stanley Challenger Graham
Stanley's View
scg1936 at talktalk.net

"Beware of certitude" (Jimmy Reid)
The floggings will continue until morale improves!
User avatar
Stanley
Global Moderator
Global Moderator
Posts: 90295
Joined: 23 Jan 2012, 12:01
Location: Barnoldswick. Nearer to Heaven than Gloria.

Re: Shed Matters 3

Post by Stanley »

Image

More work on the main bearings, half an hour in both bottom brasses are fitted and witness marks added.

Image

As expected the width of the webs of the crank had to be adjusted but this was easily and accurately done in the lathe.

Image

Here we are after the adjustments, a nice fit in between the brasses. (They call it fitting....)

Image

Then I turned my attention to the top brasses and milled the necessary faces for fitting.

Image

Here we are at closing time after two careful hours. Ready for more fitting and eventual boring. Quiet careful work with no silly cock-ups..... That makes for a nice morning. :biggrin2:
Stanley Challenger Graham
Stanley's View
scg1936 at talktalk.net

"Beware of certitude" (Jimmy Reid)
The floggings will continue until morale improves!
BobH
Regular User
Posts: 133
Joined: 15 Nov 2019, 18:09
Location: Rochdale

Re: Shed Matters 3

Post by BobH »

So here is my centre camera. It is a simple computer webcam, not an expensive one, mounted on an arbor to fit in the tailstock. I have an old computer in the workshop to display the image. The camera can be focussed down to about 1/2inch so you get a much magnified image on the screen. Rotating the chuck by hand lets me see the point of rotation or if a circle/hole is running true and adjust accordingly. As per Mr Murphy’s law it played up this afternoon so I couldn’t get a photo from the screen but I hope you get the idea. Technology will fight back at the least convenient moment. The whole idea came from an article in Model Engineer over 10 years ago, I claim no originality.
79B30434-A205-409C-8987-C88B089D8211.jpeg[/attachment [attachment=0]B0A01C18-3DC3-461C-9CD6-C79EAC740C02.jpeg
You do not have the required permissions to view the files attached to this post.
User avatar
Stanley
Global Moderator
Global Moderator
Posts: 90295
Joined: 23 Jan 2012, 12:01
Location: Barnoldswick. Nearer to Heaven than Gloria.

Re: Shed Matters 3

Post by Stanley »

Interesting Bob. Never come across that before. I shall stick to my manual methods!
Stanley Challenger Graham
Stanley's View
scg1936 at talktalk.net

"Beware of certitude" (Jimmy Reid)
The floggings will continue until morale improves!
User avatar
Stanley
Global Moderator
Global Moderator
Posts: 90295
Joined: 23 Jan 2012, 12:01
Location: Barnoldswick. Nearer to Heaven than Gloria.

Re: Shed Matters 3

Post by Stanley »

Image

I started with some high class fettling and cleaning up of the top caps of the bearings. It's amazing how much time you can spend on them!

Image

Then I drilled the top caps for the holding down bolts and as you can see from the bench things got complicated.

Image

The main problem is that my kit of fastenings is deficient in that there are 4BA studs missing so I had to make them. This meant that I had to change the chuck because the 4 jaw won't grab anything smaller than 3/16". So quiet fiddly work.

Image

I got the studs ready and decided to knock off here. I can start tomorrow by drilling and tapping the bed for the studs. Another quiet morning but steady progress. That suits me!
Stanley Challenger Graham
Stanley's View
scg1936 at talktalk.net

"Beware of certitude" (Jimmy Reid)
The floggings will continue until morale improves!
BobH
Regular User
Posts: 133
Joined: 15 Nov 2019, 18:09
Location: Rochdale

Re: Shed Matters 3

Post by BobH »

Today I didn’t go to the railway track at Springfield Park, it was too cold and after the excitement of running the Santa special last week, most club members were elsewhere. So I finished the bearing holders and did a trial assembly to check fits and alignment.
6299427C-3F57-401F-9030-8C5657783BBF.jpeg
Generally not bad but this was when I realised that the drawings and supplied shaft are 6mm but the ball bearings supplied have a 5mm bore. I have messaged the supplier and think that changing the bearings would be the best idea. The brass Rod in the photo is just under 5mm and looks Far too small for this model. Of course it will be a steel shaft, I just happened to have the brass in the materials box.
You do not have the required permissions to view the files attached to this post.
User avatar
Stanley
Global Moderator
Global Moderator
Posts: 90295
Joined: 23 Jan 2012, 12:01
Location: Barnoldswick. Nearer to Heaven than Gloria.

Re: Shed Matters 3

Post by Stanley »

That's a fairly fundamental mistake Bob! I hope you get a resolution.
Otherwise looking very tidy.... :biggrin2:
Stanley Challenger Graham
Stanley's View
scg1936 at talktalk.net

"Beware of certitude" (Jimmy Reid)
The floggings will continue until morale improves!
BobH
Regular User
Posts: 133
Joined: 15 Nov 2019, 18:09
Location: Rochdale

Re: Shed Matters 3

Post by BobH »

I have ordered some replacement bearings anyway. Small bearings 6mm or 1/4inch bore can be used in my next engine. They are about £8 for 10.
User avatar
Stanley
Global Moderator
Global Moderator
Posts: 90295
Joined: 23 Jan 2012, 12:01
Location: Barnoldswick. Nearer to Heaven than Gloria.

Re: Shed Matters 3

Post by Stanley »

:good: That's ridiculously cheap Bob!

Image

Today I want the crankshaft in place and the drilling and tapping for the studs done. You have to start somewhere... So I marked the centres for the bores.

Image

I bored them under the pillar drill and later found I was slightly off line....But I can manage that.

Image

Image

I set the shaft up in the bearings and marked for the stud holes. I set the depth stop and drilled the tapping holes and then tapped the hole without altering the setting of the drill. That way I have the best chance of getting the studs straight.

Image

Closing time, the shaft sat in the bearings and I am ready to fit the studs and have a trial build. Once again a quiet morning and apart from the line up of the bores, no mistakes. I can sort that tomorrow.
Stanley Challenger Graham
Stanley's View
scg1936 at talktalk.net

"Beware of certitude" (Jimmy Reid)
The floggings will continue until morale improves!
User avatar
Stanley
Global Moderator
Global Moderator
Posts: 90295
Joined: 23 Jan 2012, 12:01
Location: Barnoldswick. Nearer to Heaven than Gloria.

Re: Shed Matters 3

Post by Stanley »

Image

Spot the difference. The studs have been fitted and the bearings line bored.

Image

Then a bit of a mystery. The drawings for the bearing caps show a threaded hole, 5/32" X 40tpi. This is obviously for an oiler but no mention of that so I designed my own and got on with it.

Image

Image

I drilled and tapped. What a good job I have a set of 40tpi taps and dies to draw on, you can't have too many sets!

Image

Next I wanted the oil cups so I need material. Once again I went to the brass ends and found exactly what I wanted.

Image

Image

Then delicate turning and small sizes.....

Image

At closing time I have one cup finished and fitted. I'll make the second one tomorrow, it's time for my breakfast!
Stanley Challenger Graham
Stanley's View
scg1936 at talktalk.net

"Beware of certitude" (Jimmy Reid)
The floggings will continue until morale improves!
User avatar
Stanley
Global Moderator
Global Moderator
Posts: 90295
Joined: 23 Jan 2012, 12:01
Location: Barnoldswick. Nearer to Heaven than Gloria.

Re: Shed Matters 3

Post by Stanley »

Image

First I made the other oil cup. Then I addressed another matter. I mentioned the other day that I was less than satisfied with the boring of the main bearings for the crankshaft. It was a lot worse than that, I made a right mess of it. I have considered all sorts of strategies but in the end I decided that the only way to rectify the fault was scrap the original bottom brasses and make two more.

Image

Image

First I found my stock in the brass ends box, then a good measure and a fag packet drawing, then under the mill for the overall measurements. Here you'll see me finding the centre. Then I found a cutter and sharpened it before making the first cut.

Image

Knocking off time, I am ready to cut the stock in two and cut the recess in each end of the bearing. I'll finish retrieving this situation tomorrow.
Stanley Challenger Graham
Stanley's View
scg1936 at talktalk.net

"Beware of certitude" (Jimmy Reid)
The floggings will continue until morale improves!
BobH
Regular User
Posts: 133
Joined: 15 Nov 2019, 18:09
Location: Rochdale

Re: Shed Matters 3

Post by BobH »

Not a lot of progress here though it is good to see OGFB back. I did get the generator rotor centred and bored then made a mandrel so it can be held to skim and size.
22C943BB-EAE4-438A-A6C7-054B05618335.jpeg
You do not have the required permissions to view the files attached to this post.
User avatar
Stanley
Global Moderator
Global Moderator
Posts: 90295
Joined: 23 Jan 2012, 12:01
Location: Barnoldswick. Nearer to Heaven than Gloria.

Re: Shed Matters 3

Post by Stanley »

Does your lathe work better upside down? :biggrin2:
While OG was out I moved quietly forwards and made two new bottom bearings and fitted them. They are slack but that can be adjusted using the top caps later. I have eliminated the horrible job they were before. Only one pic a day and here it is

Image

I can leave this now and make the crosshead slide.
Stanley Challenger Graham
Stanley's View
scg1936 at talktalk.net

"Beware of certitude" (Jimmy Reid)
The floggings will continue until morale improves!
Post Reply

Return to “Crafts”