Shed Matters 3

User avatar
Stanley
Global Moderator
Global Moderator
Posts: 90301
Joined: 23 Jan 2012, 12:01
Location: Barnoldswick. Nearer to Heaven than Gloria.

Re: Shed Matters 3

Post by Stanley »

Image

Image

The first thing I did was fasten the engine bed to the base.

Image

Next I looked at making and fitting the pedestal bearings.

Image

Parting off even though I'm holding a complicated shape in a 3 jaw chuck, the transverse cut is always square.

Image

Image

Image

The pictures tell the story but add in some fitting and adjusting.

Image

This was knocking off time, everything fits and is in line and witness marks to keep me straight. Tomorrow I'll bolt the pedestal bearings to the bed.
Stanley Challenger Graham
Stanley's View
scg1936 at talktalk.net

"Beware of certitude" (Jimmy Reid)
The floggings will continue until morale improves!
User avatar
chinatyke
Donor
Posts: 3831
Joined: 21 Apr 2012, 13:14
Location: Pingguo, Guangxi, China

Re: Shed Matters 3

Post by chinatyke »

Looking good! One thing that I've just realised is that this engine looks like it could drive the fly wheel in either direction. What prevented full size engines from going in the wrong direction? Was it just the position you barred them round to before applying steam?
User avatar
Stanley
Global Moderator
Global Moderator
Posts: 90301
Joined: 23 Jan 2012, 12:01
Location: Barnoldswick. Nearer to Heaven than Gloria.

Re: Shed Matters 3

Post by Stanley »

You're quite right China. as it has a trunk slide for the crosshead it could run either way. The direction depends on how the valve is set. If you wanted an engine that could be reversed in service like a winding engine, you had to fit it with a valve gear capable of being altered easily.
With a normal flat slide for the crosshead you had to drive so that the flywheel was going over away from the cylinders as that meant that during the application of power the crosshead was always forced down into the bed.
Stanley Challenger Graham
Stanley's View
scg1936 at talktalk.net

"Beware of certitude" (Jimmy Reid)
The floggings will continue until morale improves!
User avatar
chinatyke
Donor
Posts: 3831
Joined: 21 Apr 2012, 13:14
Location: Pingguo, Guangxi, China

Re: Shed Matters 3

Post by chinatyke »

Thanks for the explanation, :good:
User avatar
Stanley
Global Moderator
Global Moderator
Posts: 90301
Joined: 23 Jan 2012, 12:01
Location: Barnoldswick. Nearer to Heaven than Gloria.

Re: Shed Matters 3

Post by Stanley »

Image

This pic is just to reassure Bob that I recognised my mistake yesterday and I swapped the flywheel round to the designed side.

Image

First job was to make the recesses in the bed exactly the right fit for the bearings.

Image

Image

Then mark the bed and drill and tap 7BA for the studs that hold the bearings in place.

Image

Image

As usual I have fitted the bearings tight and so I made sure the bearings could turn and when I was sure it would I oiled them and ran them in with the drill.

Image

Closing time. We have a crankshaft that fits. Eccentric next I think......
Stanley Challenger Graham
Stanley's View
scg1936 at talktalk.net

"Beware of certitude" (Jimmy Reid)
The floggings will continue until morale improves!
BobH
Regular User
Posts: 133
Joined: 15 Nov 2019, 18:09
Location: Rochdale

Re: Shed Matters 3

Post by BobH »

I didn’t spot that one Stanley. I must have been asleep! Nice progress, I am certainly pleased with my 10H.
User avatar
Stanley
Global Moderator
Global Moderator
Posts: 90301
Joined: 23 Jan 2012, 12:01
Location: Barnoldswick. Nearer to Heaven than Gloria.

Re: Shed Matters 3

Post by Stanley »

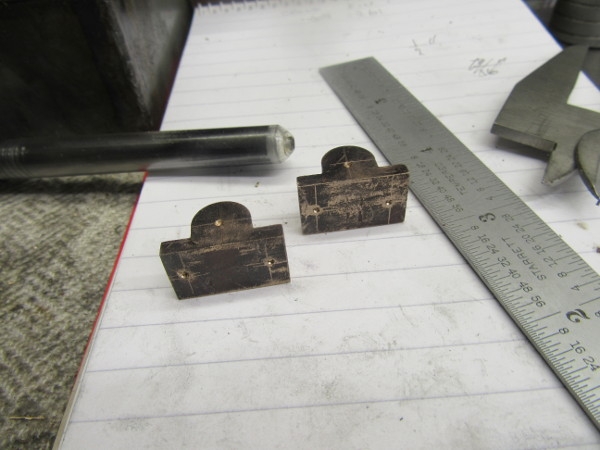
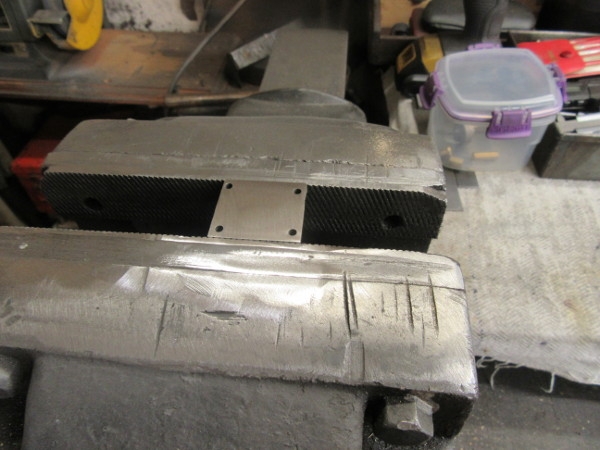
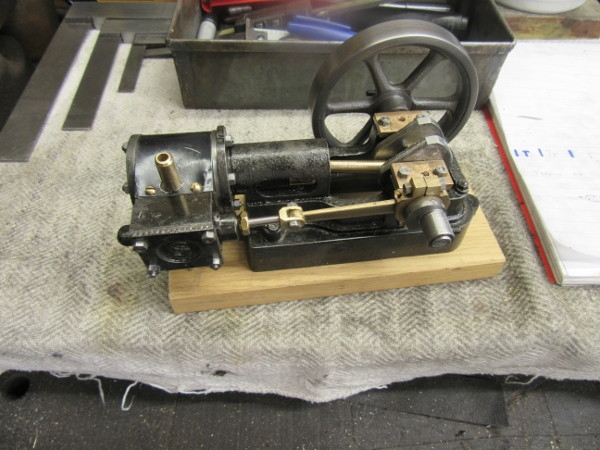
It was you that first raised the matter in my mind Bob when you said you had seen some that were reversed..... :biggrin2:

Image

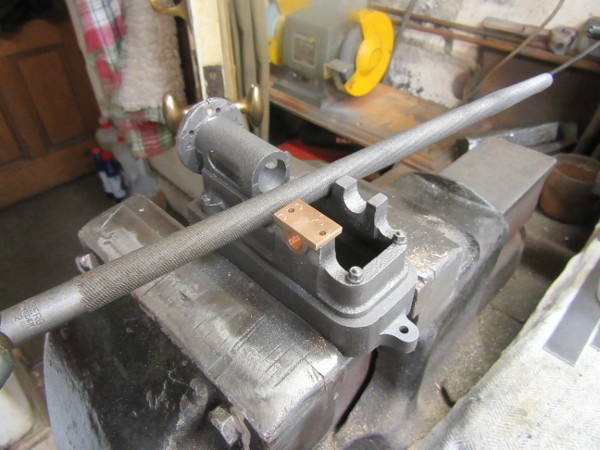
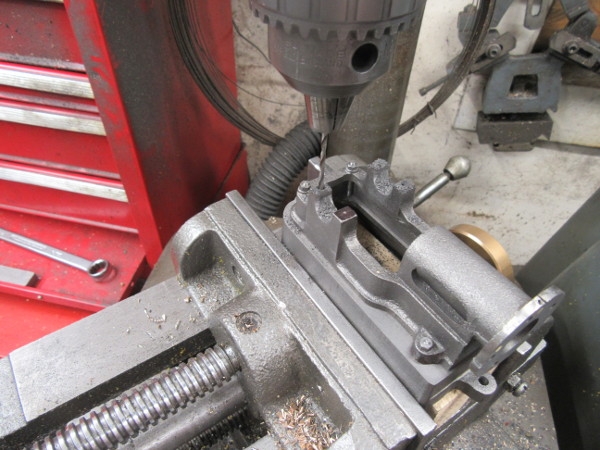
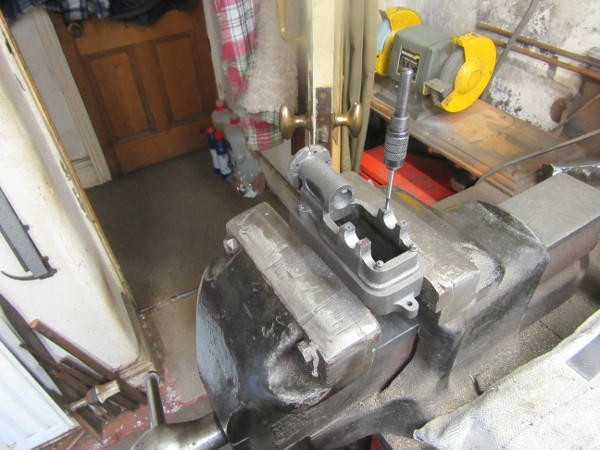
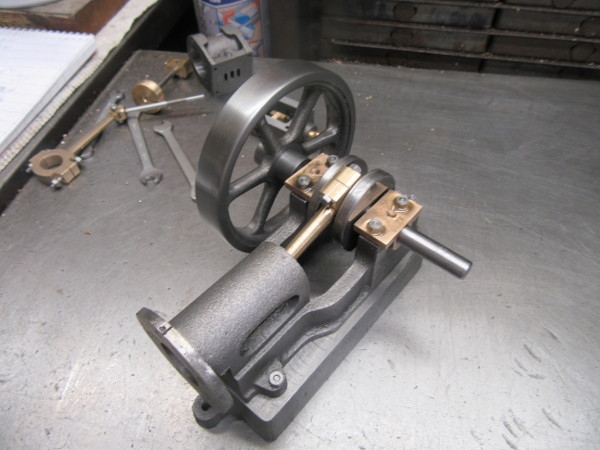
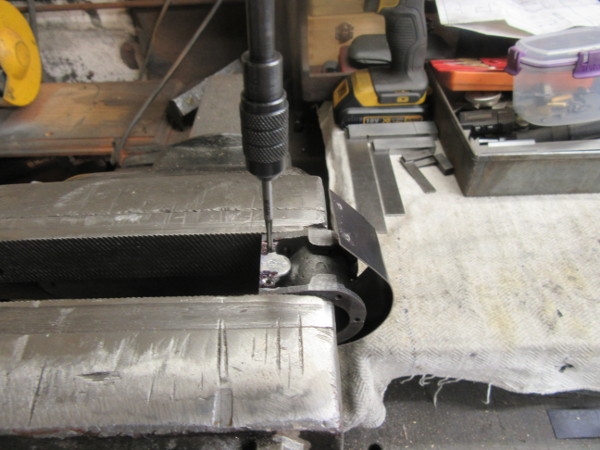
I decided to spend my hour in the shed (I have to do the weekly shop.) on the valve rod and eccentric.

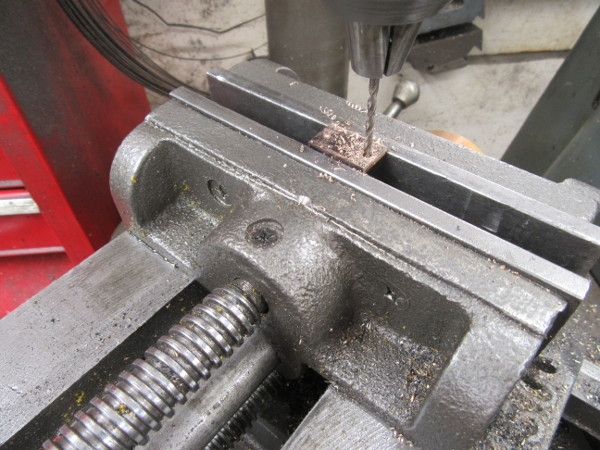
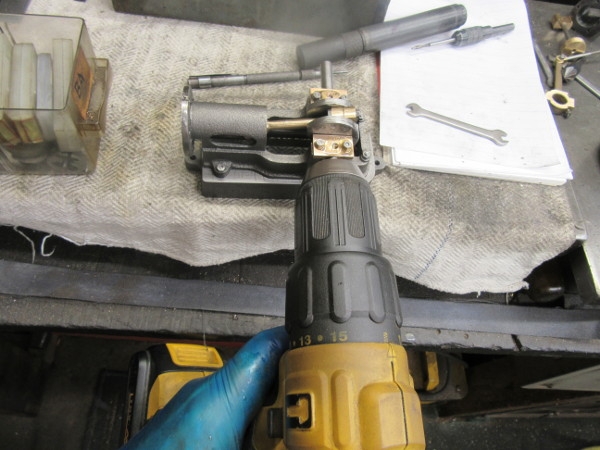
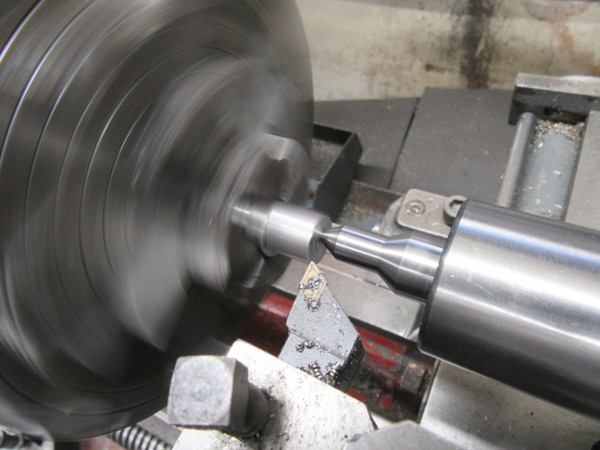
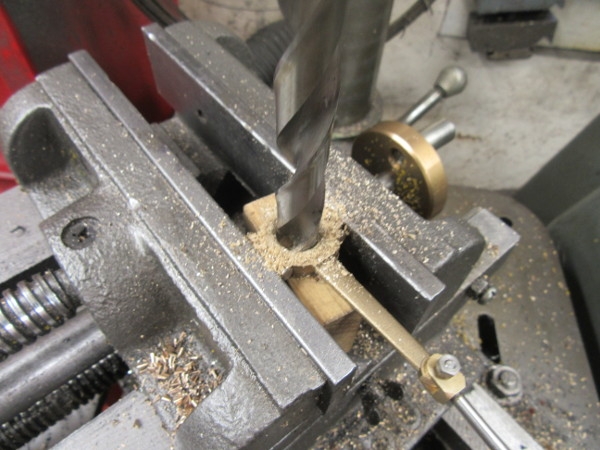
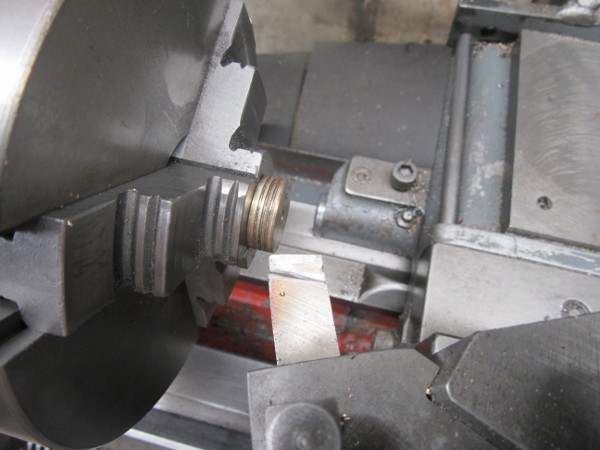
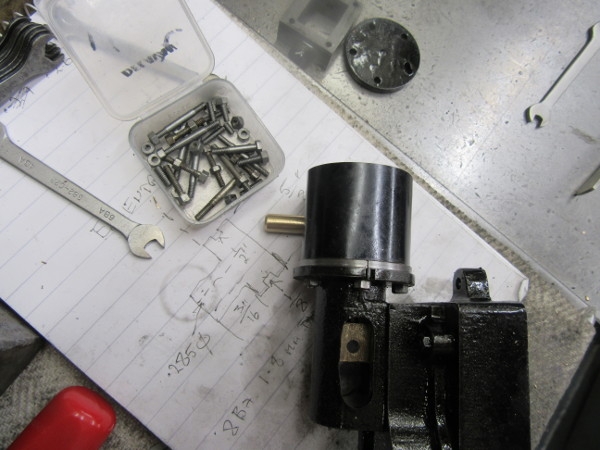
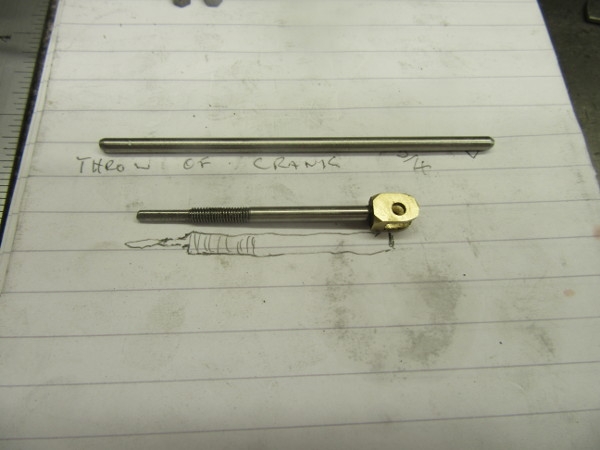
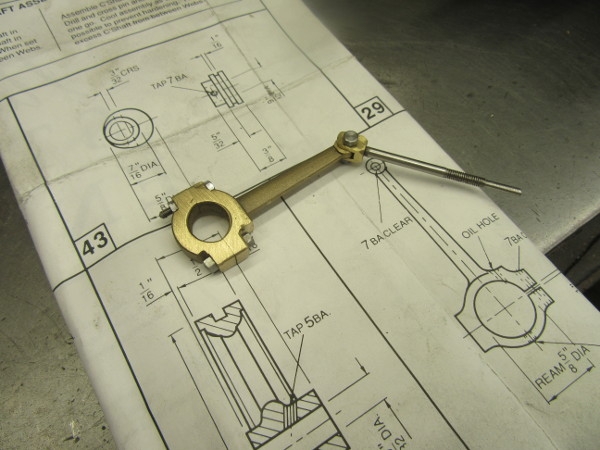
First job was to reduce the thickness of the journal on the end of the con rod.

Image

Image

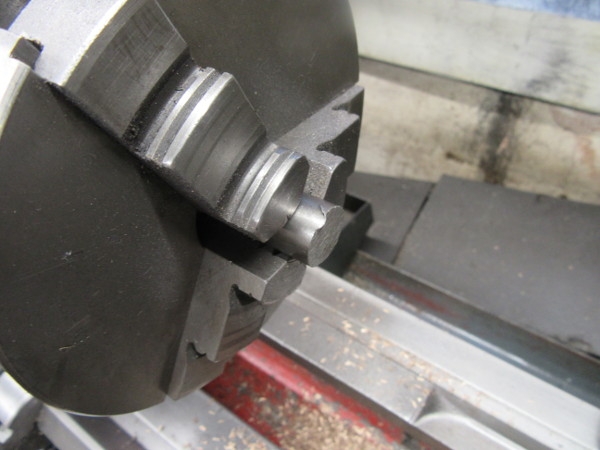
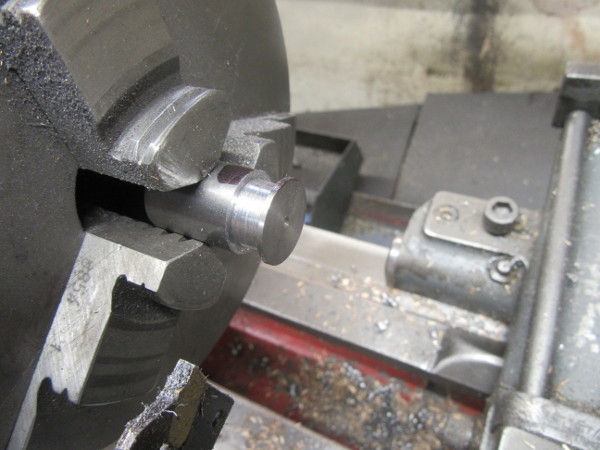
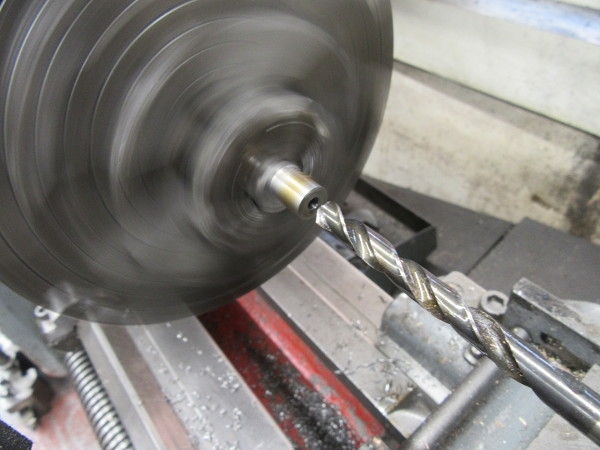
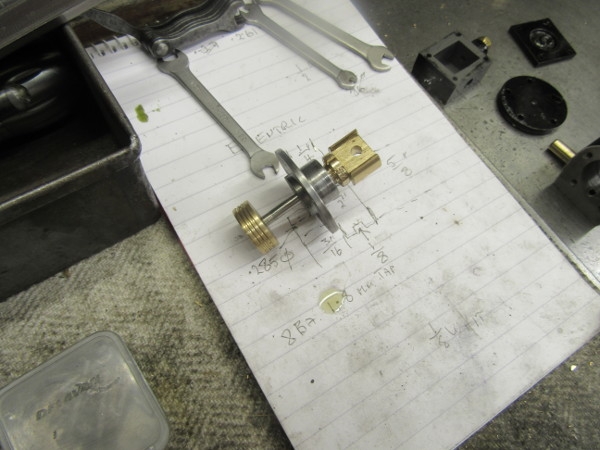
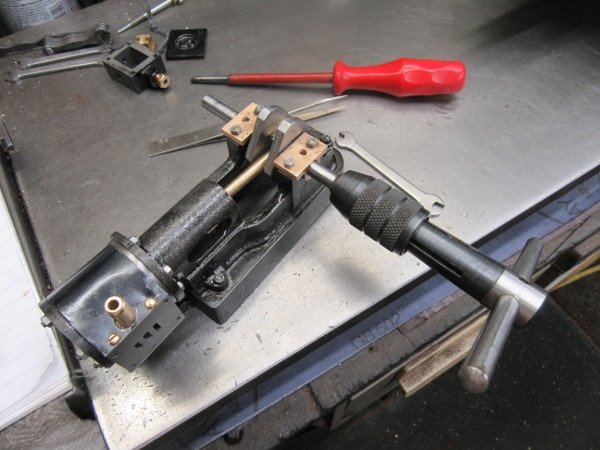
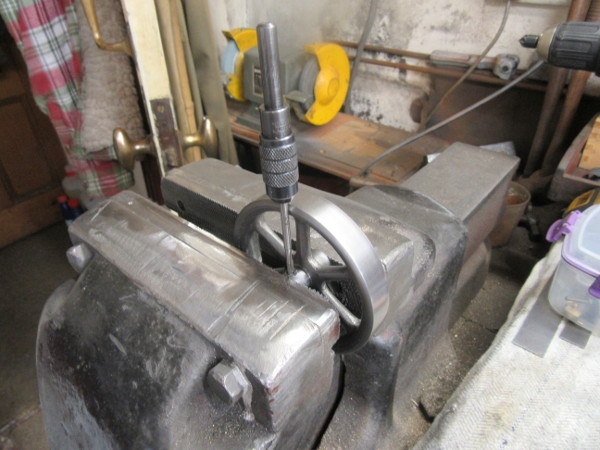
Then I turned my attention to the eccentric, I faced both ends, marked the centre and then marked the offset for the eccentric, 3/32". Then drilled a centre into it.

Image

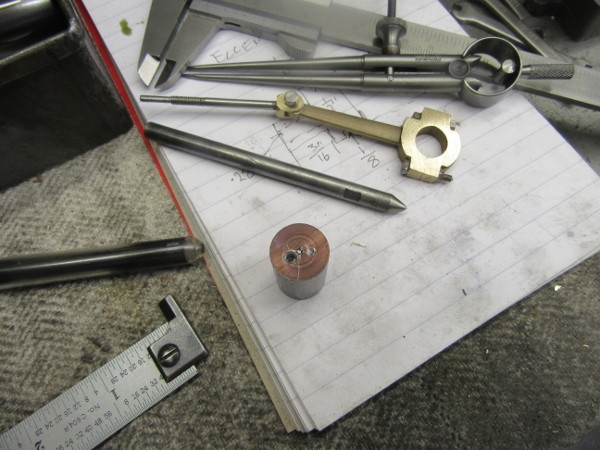
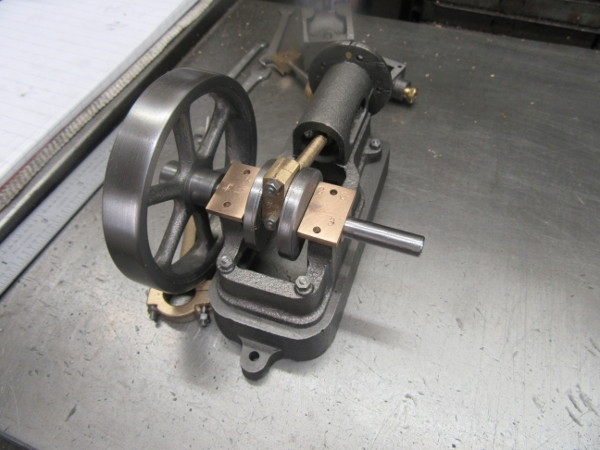
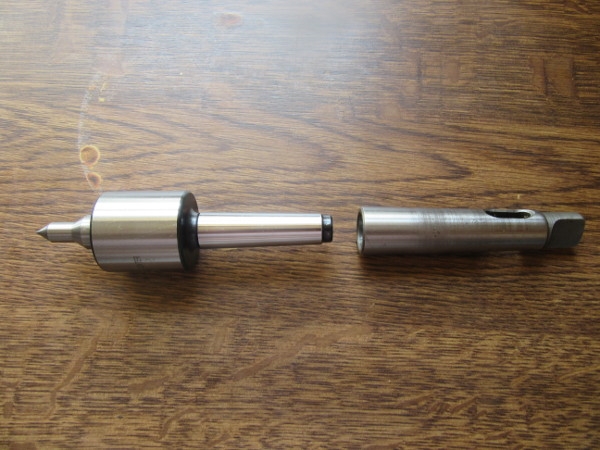
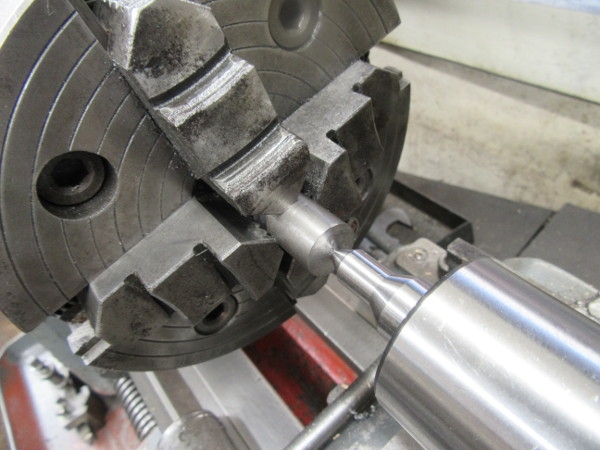
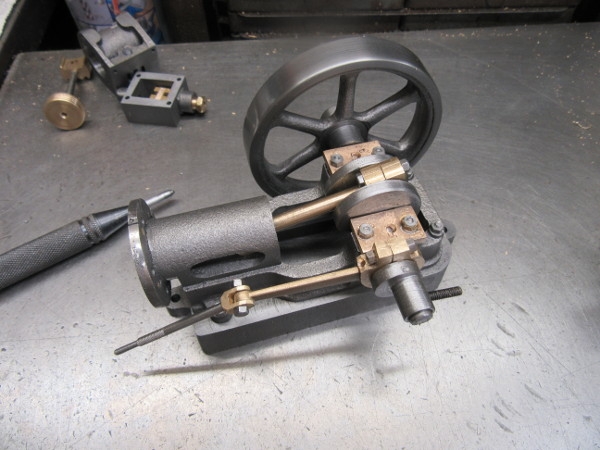
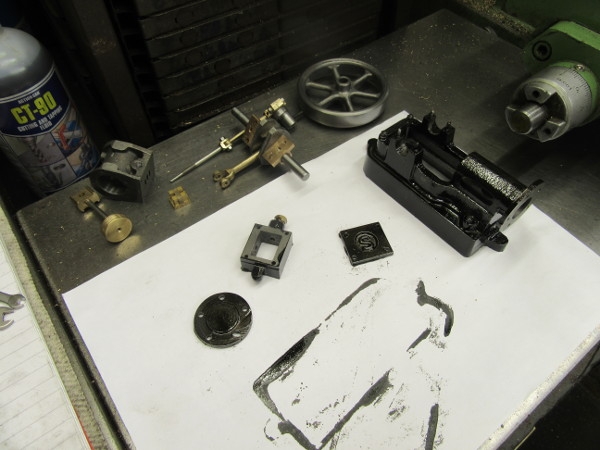
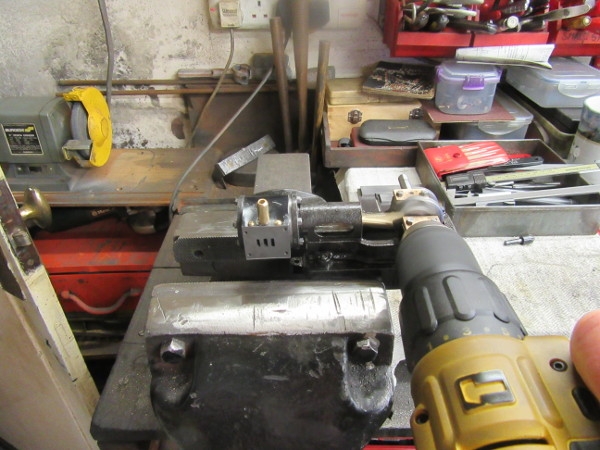
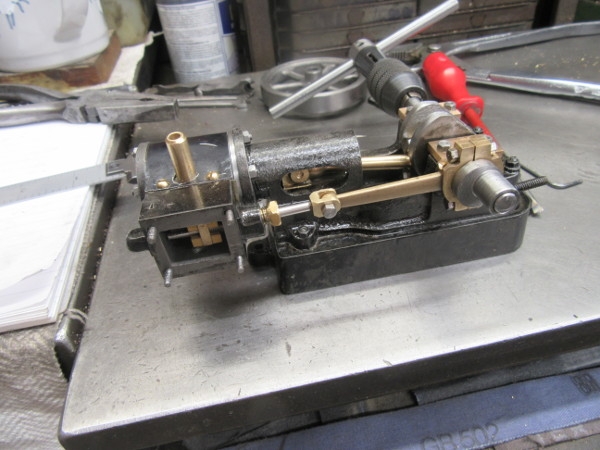
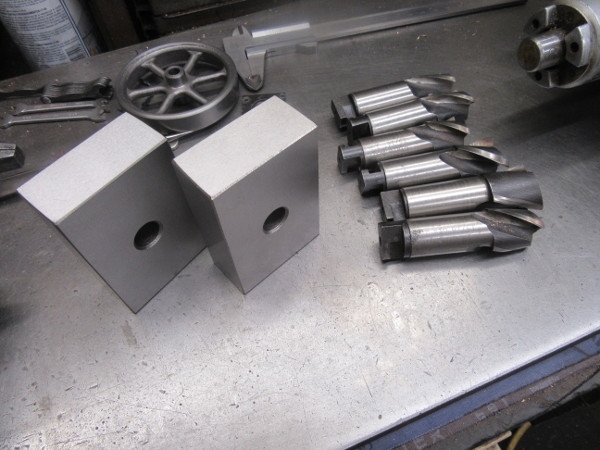
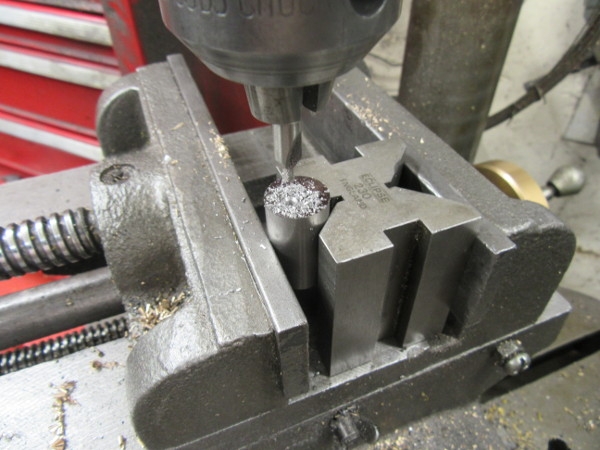
Here we are at knocking off time. I think the four jaw is needed now.....
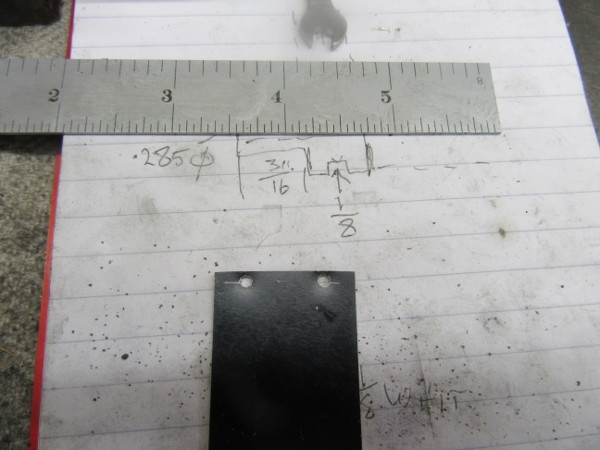
There's just one thing I don't understand, apart from the fact that the Stuart drawing gives no clues about the sizes for the eccentric rod and what they do say is wrong (They give the size of the bore in the rod as 5/8", the same outside diameter of the eccentric.), they show a set screw in the end of the rod into the bore for the eccentric which is obviously wrong.
Stanley Challenger Graham
Stanley's View
scg1936 at talktalk.net

"Beware of certitude" (Jimmy Reid)
The floggings will continue until morale improves!
User avatar
Stanley
Global Moderator
Global Moderator
Posts: 90301
Joined: 23 Jan 2012, 12:01
Location: Barnoldswick. Nearer to Heaven than Gloria.

Re: Shed Matters 3

Post by Stanley »

Later.....

Image

The Banggood live centre has arrived. 2 Morse taper and I have an adaptor for it. It cost £9.50 inc. P&P. Ridiculously cheap!
Stanley Challenger Graham
Stanley's View
scg1936 at talktalk.net

"Beware of certitude" (Jimmy Reid)
The floggings will continue until morale improves!
User avatar
Stanley
Global Moderator
Global Moderator
Posts: 90301
Joined: 23 Jan 2012, 12:01
Location: Barnoldswick. Nearer to Heaven than Gloria.

Re: Shed Matters 3

Post by Stanley »

Image

Today is eccentric day. Still in the 3 jaw SC I cut the groove for the eccentric to run in. I can only think that the specified groove is so narrow because that would be proportionate with the full size engine. I decided to make it the same width as the thickness of the brass eccentric strap. It will be more accurate and run better.

Image

Image

Then change to the 4 jaw independent and set the stock up eccentric using the offset centre I made. The new live centre made it much easier to set the stock up accurately.

Image

Image

Then drill the bore and drill and tap for the set screw. I am not using the 7BA MS one supplied but an Unbrako 1/8"Whit one. I shall cut it to length when we come to use it. Notice that the tap appears to be in the chuck. It is only running loose in there. What breaks taps is usually Bending them by losing control of them. If the tail of the pin chuck is in the chuck it is supported and restrained. Much safer.

Image

Knocking off time, all the eccentric rod needs now is the strap boring to 1/2" and an oil hole putting in it.
Stanley Challenger Graham
Stanley's View
scg1936 at talktalk.net

"Beware of certitude" (Jimmy Reid)
The floggings will continue until morale improves!
User avatar
Stanley
Global Moderator
Global Moderator
Posts: 90301
Joined: 23 Jan 2012, 12:01
Location: Barnoldswick. Nearer to Heaven than Gloria.

Re: Shed Matters 3

Post by Stanley »

Image

First job, drill the oil hole in the strap. Centre drill first to give it a bit of a cup.

Image

Then bore the strap to 1/2".

Image

A trial fit. Lovely fit on the eccentric.

Image

Line boring the pedestals for insurance.

Image

Good move, when I refitted the crankshaft it ran better.

Image

Last move was to accede to Kahara's request and paint the bed and the steam chest, no need to do the cylinder because that will have blued cladding. Another nice quiet morning with steady progress and no cock-ups. :biggrin2:
Stanley Challenger Graham
Stanley's View
scg1936 at talktalk.net

"Beware of certitude" (Jimmy Reid)
The floggings will continue until morale improves!
BobH
Regular User
Posts: 133
Joined: 15 Nov 2019, 18:09
Location: Rochdale

Re: Shed Matters 3

Post by BobH »

Coming along nicely there, Stanley. I like your modification to the location for the eccentric. Just a though, when you come to put the holes in that blued cladding for the cylinder, I followed the drawing but it didn’t line up which is why mine is now made out of brass. Are you fitting drain cocks? That is what caused my problems.
User avatar
Stanley
Global Moderator
Global Moderator
Posts: 90301
Joined: 23 Jan 2012, 12:01
Location: Barnoldswick. Nearer to Heaven than Gloria.

Re: Shed Matters 3

Post by Stanley »

I was going to Bob and in fact bought two but I have decided not to. I'll be looking at that shortly....
Stanley Challenger Graham
Stanley's View
scg1936 at talktalk.net

"Beware of certitude" (Jimmy Reid)
The floggings will continue until morale improves!
User avatar
Stanley
Global Moderator
Global Moderator
Posts: 90301
Joined: 23 Jan 2012, 12:01
Location: Barnoldswick. Nearer to Heaven than Gloria.

Re: Shed Matters 3

Post by Stanley »

Image

The paint hasn't hardened on my engine castings but I have the cylinder to work with. I am going to start to install the cladding. You wouldn't believe the amount of time I spent making sure I had the orientation of the cylinder correct!

Image

Image

Image

Image

Image

I think the pictures tell the story, quiet progress and we are ready to mark, drill and tap the final 8BA tappings on the casting.
Stanley Challenger Graham
Stanley's View
scg1936 at talktalk.net

"Beware of certitude" (Jimmy Reid)
The floggings will continue until morale improves!
User avatar
Stanley
Global Moderator
Global Moderator
Posts: 90301
Joined: 23 Jan 2012, 12:01
Location: Barnoldswick. Nearer to Heaven than Gloria.

Re: Shed Matters 3

Post by Stanley »

Image

Image

I was late into the shed this morning due to other pressures. I carried on with fitting the cladding to the cylinder. Here I am drilling and tapping for the 8BA screws.

Image

Image

This was knocking off time. I have sanded the faces of the cylinder and the edges of the cladding so it is all perfectly in line. I think it will work out OK.
One unrelated matter. If you remember, a while ago I stripped my compressor down and re-made all the joints and connections to try to get it to hold its pressure. I failed but yesterday disconnected the air line and there has been no loss of pressure overnight. Today I have left the air line connected but taken the Jet off the end to see if that was where the loss is.
Stanley Challenger Graham
Stanley's View
scg1936 at talktalk.net

"Beware of certitude" (Jimmy Reid)
The floggings will continue until morale improves!
User avatar
Stanley
Global Moderator
Global Moderator
Posts: 90301
Joined: 23 Jan 2012, 12:01
Location: Barnoldswick. Nearer to Heaven than Gloria.

Re: Shed Matters 3

Post by Stanley »

Image

I started the morning by packing the piston rod gland and that developed into starting the build at the cylinder end of the bed.

Image

Image

Image

The pics tell the story and Bob will tell you how difficult those nuts are at the bottom.... Then I got to the point where the crankshaft was in and oh dear. It doesn't turn over. I've got me clearances wrong somewhere!

Image

So this is where I finished up. I am stripping it back but no way am I taking that bloody cylinder off again! It took too long to get on. I shall worry away at it until I have solved the problem.
Stanley Challenger Graham
Stanley's View
scg1936 at talktalk.net

"Beware of certitude" (Jimmy Reid)
The floggings will continue until morale improves!
BobH
Regular User
Posts: 133
Joined: 15 Nov 2019, 18:09
Location: Rochdale

Re: Shed Matters 3

Post by BobH »

I will certainly agree with you on those nuts below the cylinder front face. A very tight space where I had to slacken off all the other nuts just to slide the bottom nut into place.
User avatar
Stanley
Global Moderator
Global Moderator
Posts: 90301
Joined: 23 Jan 2012, 12:01
Location: Barnoldswick. Nearer to Heaven than Gloria.

Re: Shed Matters 3

Post by Stanley »

I've been thinking Bob and despite the disadvantages, I am going to do better taking the cylinder off again.... Deep Joy!
Stanley Challenger Graham
Stanley's View
scg1936 at talktalk.net

"Beware of certitude" (Jimmy Reid)
The floggings will continue until morale improves!
User avatar
Stanley
Global Moderator
Global Moderator
Posts: 90301
Joined: 23 Jan 2012, 12:01
Location: Barnoldswick. Nearer to Heaven than Gloria.

Re: Shed Matters 3

Post by Stanley »

Two bits of good news, I didn't have to take the cylinder off and I've cured it. I admit to losing sleep last night because I feared I had got the throw on my crankshaft wrong so the first think I did was measure it and it is exactly right. So I did some measuring and found that the problem was not being accurate enough when I was making the components, in short, I'm blaming my poor eyesight...

Image

I reduced the piston, too much of it!

Image

I'm not sure why I have this pic, what I intended to do was have a snap of Taking the register off the top lid to make sure I had clearance using the 1927 lathe in the front room. I do love using that lathe!

Image

I know why I did this pic because it is knocking off time. All the Issues are resolved, I think the bed next and then the valve. We'll see..... :good:
Stanley Challenger Graham
Stanley's View
scg1936 at talktalk.net

"Beware of certitude" (Jimmy Reid)
The floggings will continue until morale improves!
User avatar
Stanley
Global Moderator
Global Moderator
Posts: 90301
Joined: 23 Jan 2012, 12:01
Location: Barnoldswick. Nearer to Heaven than Gloria.

Re: Shed Matters 3

Post by Stanley »

Image

The first thing I did was capture the engine in the vise and use my drill to run it for a few minutes at high speed. This runs it in a bit and polishes the faces that rub together.

Image

My steam chest lid was too thick and when I put it under the mill to reduce it I remembered why. It's chilled and pot hard at one side. Took the edge off my cutter as soon as I touched it.

Image

I put the lid in the vise and reduced it by grinding with a flap wheel. That cured it....

Image

Time for some serious valve gear fitting!

Image

For reasons that I do not fully understand my valve rod is too short despite being exactly right according to the drawings. No matter, I found a piece of 1/8" rod and will make another one. I knocked off at that point because I don't want to start turning so near to closing time.

Image

I knocked the edge off my cutter when I addressed the steam chest lid so I decided I will start tomorrow by sharpening all my 3/4" shank end mills.
Stanley Challenger Graham
Stanley's View
scg1936 at talktalk.net

"Beware of certitude" (Jimmy Reid)
The floggings will continue until morale improves!
BobH
Regular User
Posts: 133
Joined: 15 Nov 2019, 18:09
Location: Rochdale

Re: Shed Matters 3

Post by BobH »

Now you mention it Stanley, I remember an issue with the valve rod. Mine had a tendency to come out of the blind hole at the end of the valve chest and jam. There wasn’t enough length to simply unscrew it a bit so I think I also made another.
User avatar
Stanley
Global Moderator
Global Moderator
Posts: 90301
Joined: 23 Jan 2012, 12:01
Location: Barnoldswick. Nearer to Heaven than Gloria.

Re: Shed Matters 3

Post by Stanley »

Exactly my experience Bob, I shall cure it today with a longer one!
Stanley Challenger Graham
Stanley's View
scg1936 at talktalk.net

"Beware of certitude" (Jimmy Reid)
The floggings will continue until morale improves!
User avatar
Stanley
Global Moderator
Global Moderator
Posts: 90301
Joined: 23 Jan 2012, 12:01
Location: Barnoldswick. Nearer to Heaven than Gloria.

Re: Shed Matters 3

Post by Stanley »

Image

I'd forgotten Bob, today's work is laid out waiting for me. First I wanted to clean the protective grease off the two 123 blocks at arrived yesterday from China. I did that and checked them for accuracy. All I can tell you is that if they are lying they are telling the same lies as my micrometers!

Image

Then I set to with the T&C grinder and rescued five milling cutters. I may have to buy a couple of cutters. If anyone sees some 3 flute end mills with 3/4" shanks going cheap dive in and get them for me!
I checked all the cutters by milling some mild steel. Much better thank you!
So, no great things done but useful work.
Stanley Challenger Graham
Stanley's View
scg1936 at talktalk.net

"Beware of certitude" (Jimmy Reid)
The floggings will continue until morale improves!
User avatar
Stanley
Global Moderator
Global Moderator
Posts: 90301
Joined: 23 Jan 2012, 12:01
Location: Barnoldswick. Nearer to Heaven than Gloria.

Re: Shed Matters 3

Post by Stanley »

Image

Only one pic this morning but it's all I wanted. We have an engine with a functioning valve. It took me three valve rods and two hours. This isn't down to any fault of mine, the drawings are wrong and I suspect that the valve and/or the positioning of the ports in the cylinder casting is not quite as it should be.
But what the hell do I know about it..... :biggrin2:
Stanley Challenger Graham
Stanley's View
scg1936 at talktalk.net

"Beware of certitude" (Jimmy Reid)
The floggings will continue until morale improves!
User avatar
Stanley
Global Moderator
Global Moderator
Posts: 90301
Joined: 23 Jan 2012, 12:01
Location: Barnoldswick. Nearer to Heaven than Gloria.

Re: Shed Matters 3

Post by Stanley »

Image

We're getting close! I started the day by fitting the flywheel so I could easily turn the crankshaft. I used Loctite but put a set screw in as well because I wanted it solid on the shaft immediately. Then I adjusted the valve and set it in the right position . Next was the steam chest lid, fitted on its seal. I blew a bit of air into the engine while I held it in my hand and it kicked, it's a runner.

Image

Then I looked for a piece of wood for the base and found this piece of oak. Tomorrow I'll make that pretty and fit it and after a couple of finishing touches declare the engine finished and arrange for it to get to Kahara.
Stanley Challenger Graham
Stanley's View
scg1936 at talktalk.net

"Beware of certitude" (Jimmy Reid)
The floggings will continue until morale improves!
User avatar
plaques
Donor
Posts: 8094
Joined: 23 May 2013, 22:09

Re: Shed Matters 3

Post by plaques »

Stanley wrote: 16 Jun 2021, 06:57 I blew a bit of air into the engine while I held it in my hand and it kicked, it's a runner.
Will it run on 'lung' power?
Post Reply

Return to “Crafts”