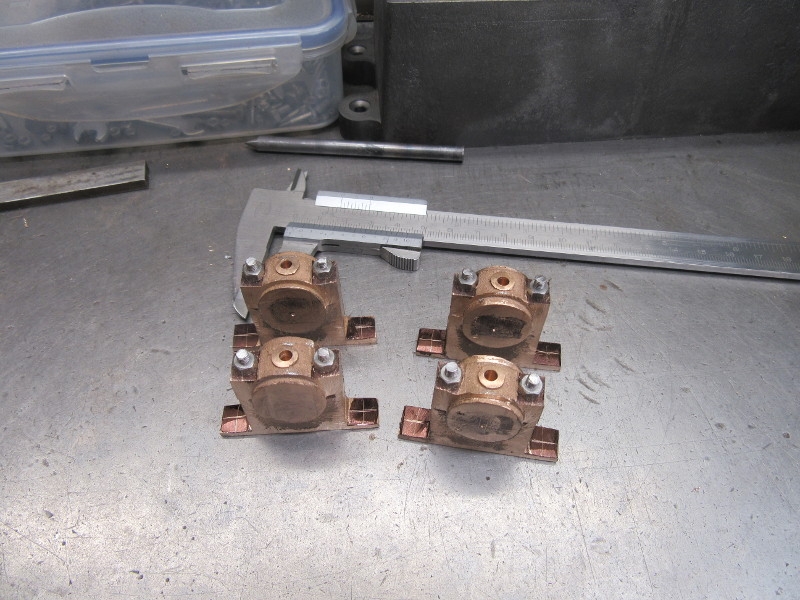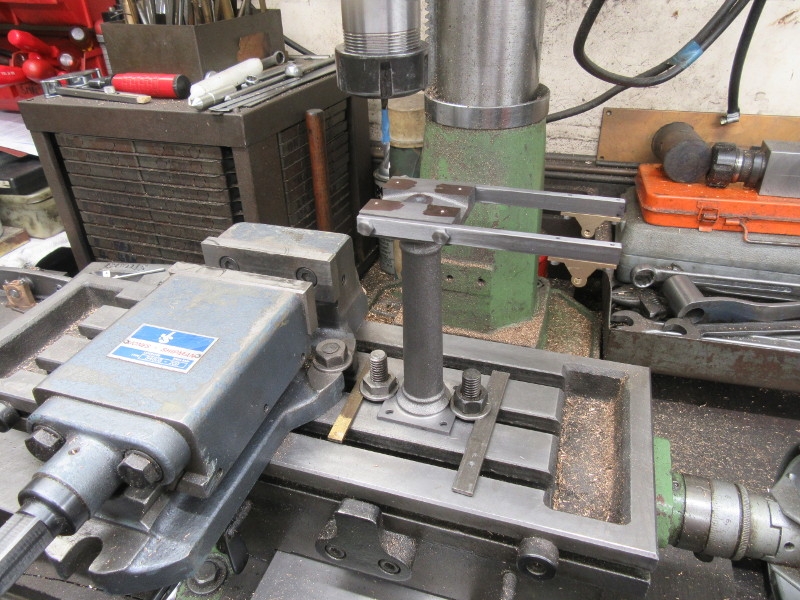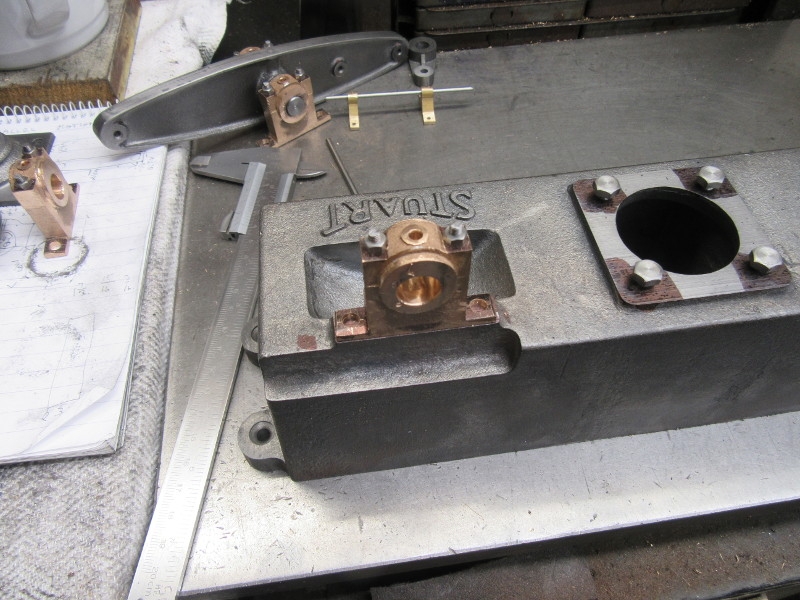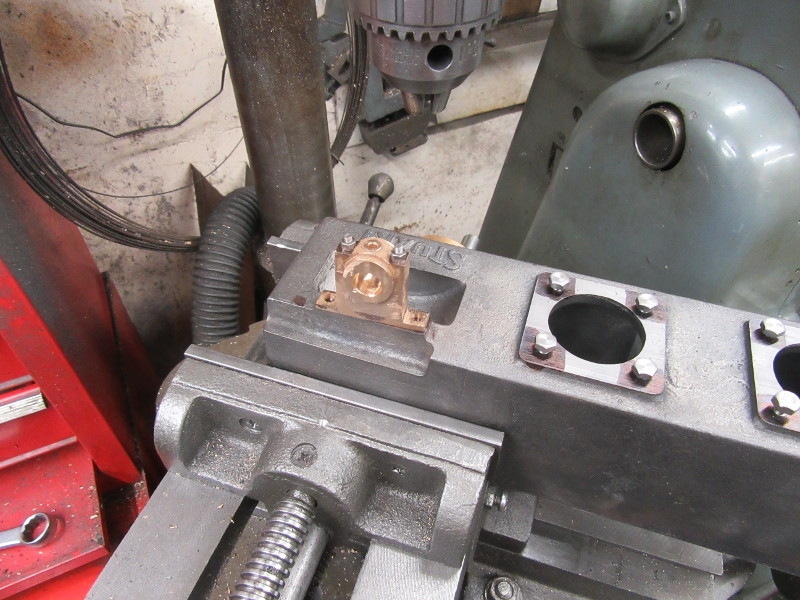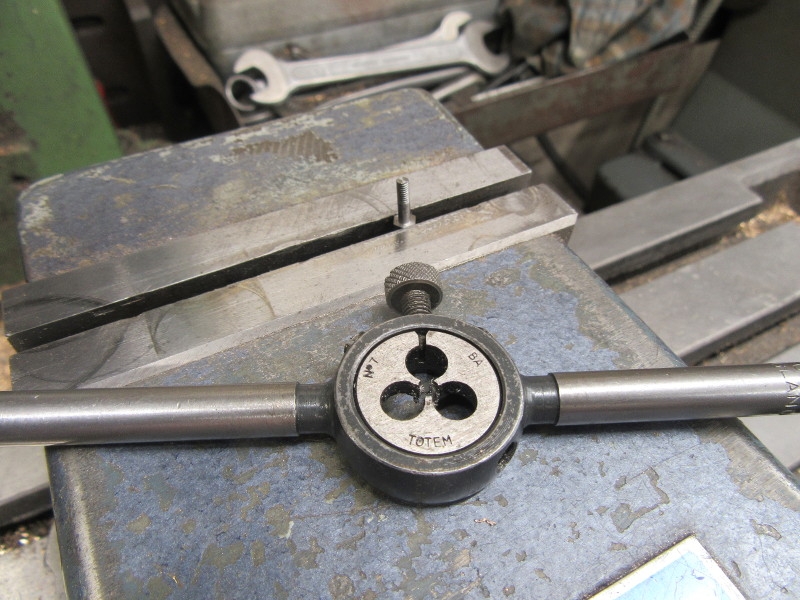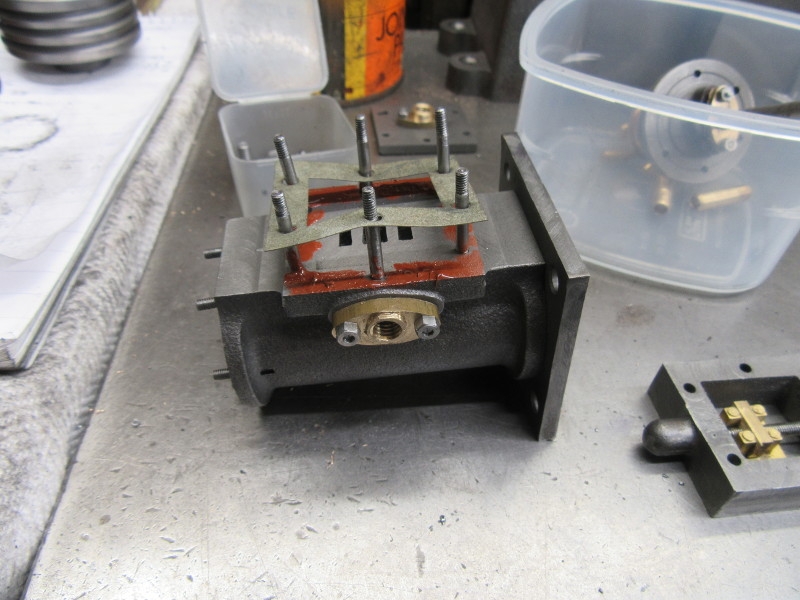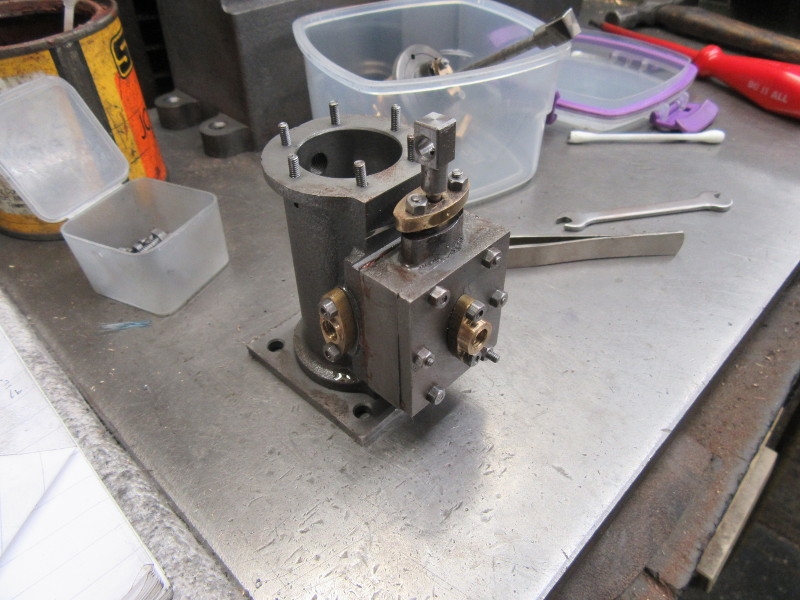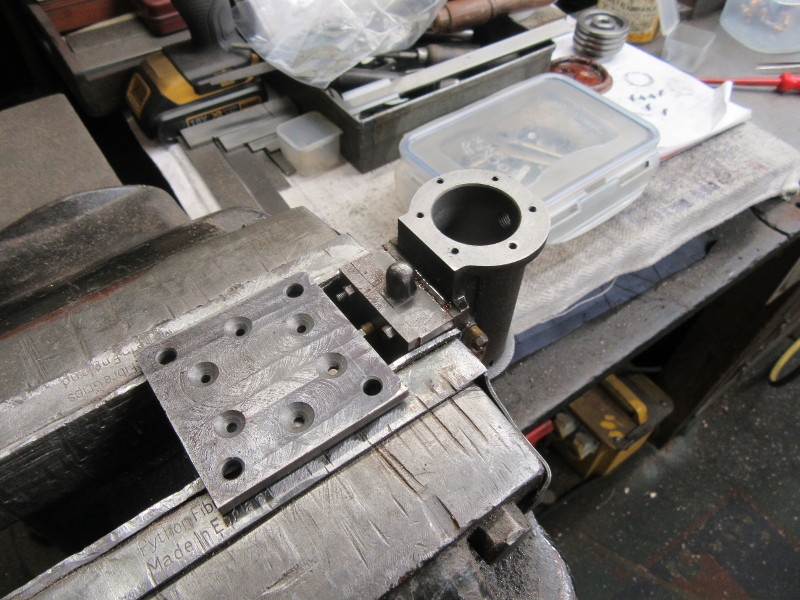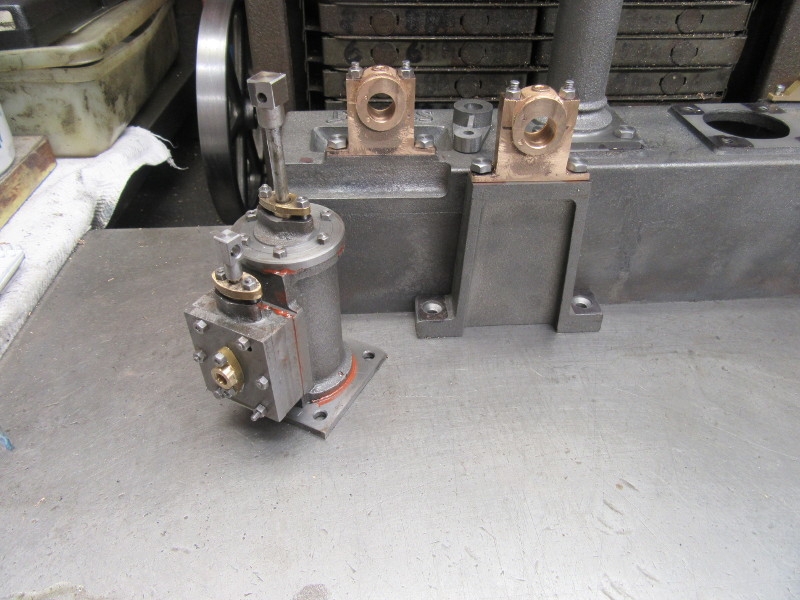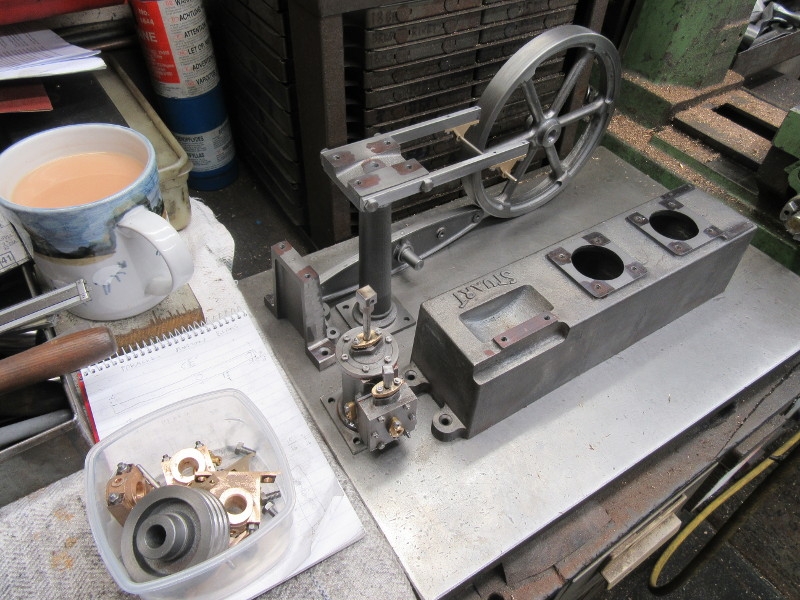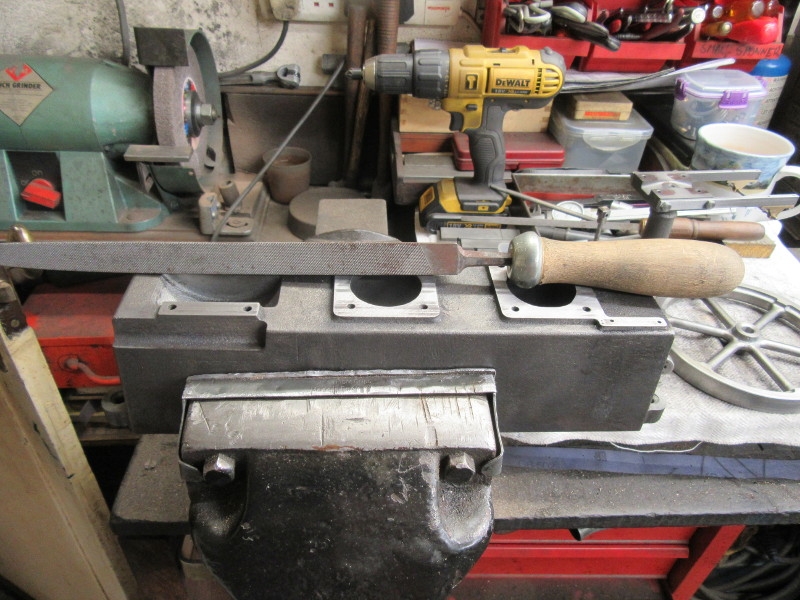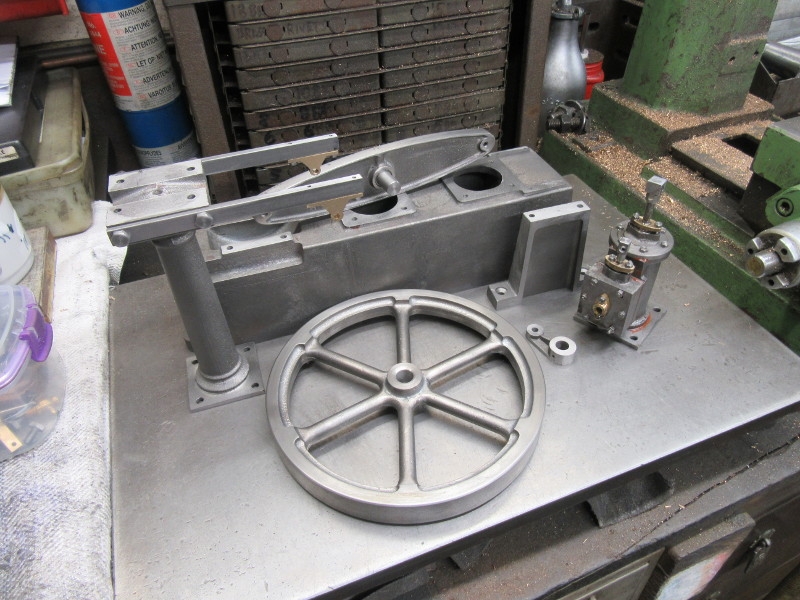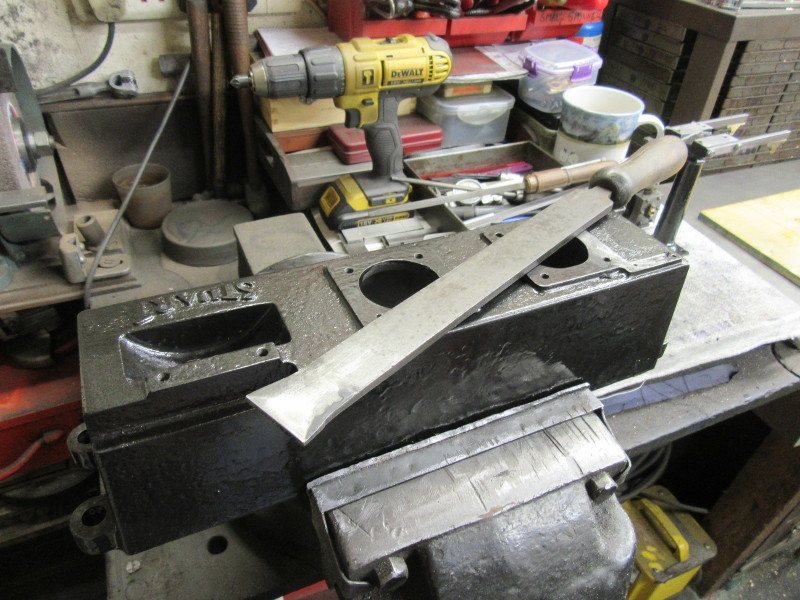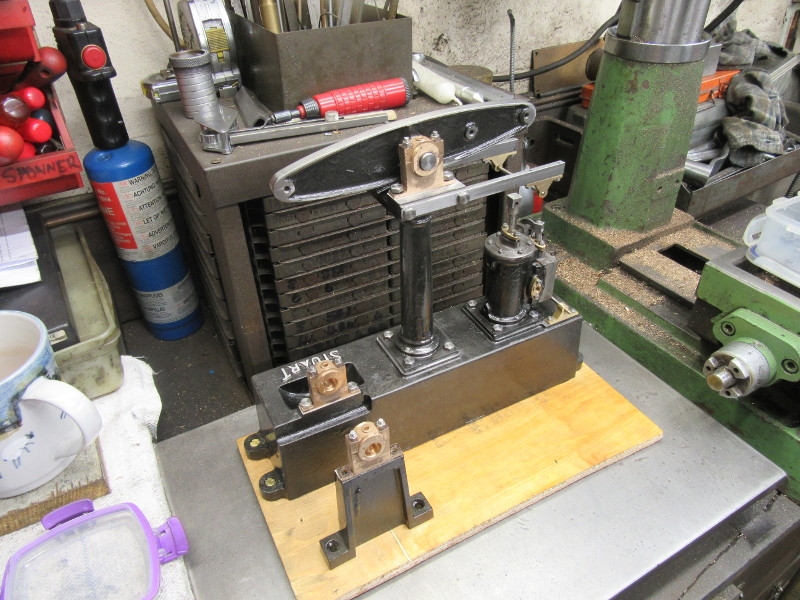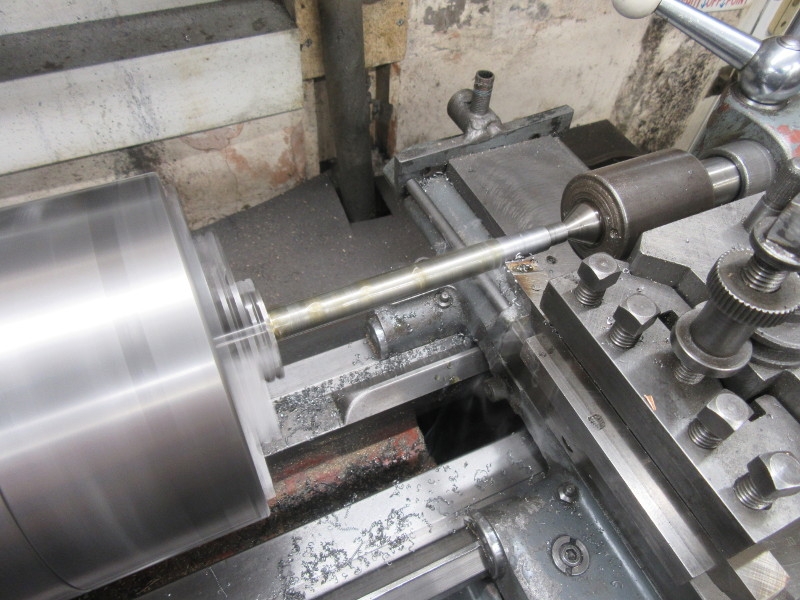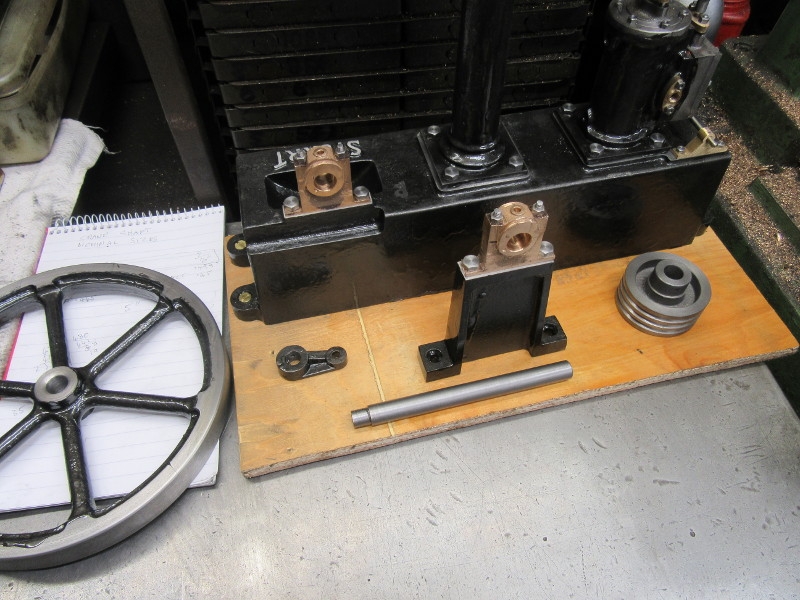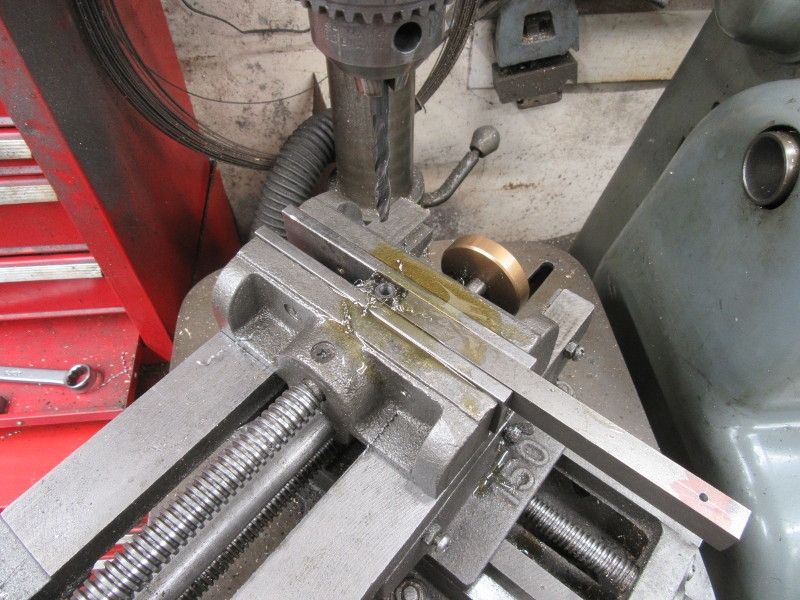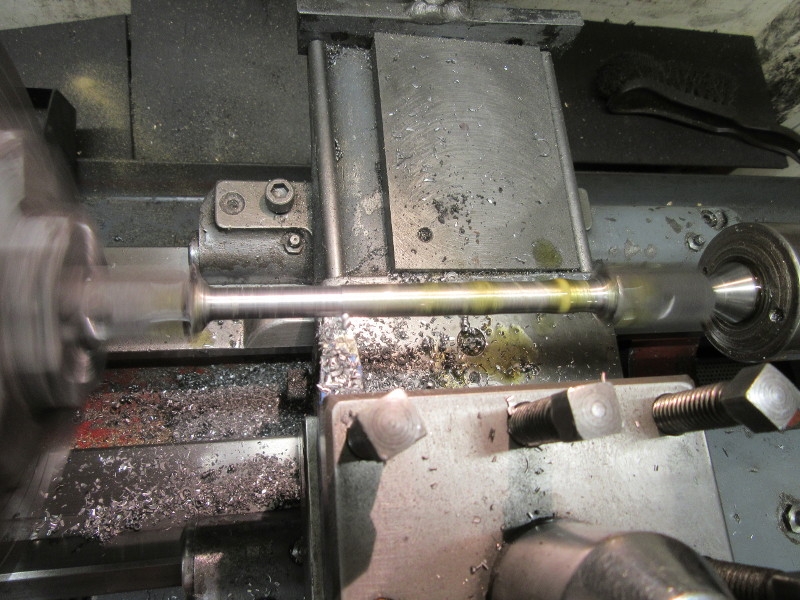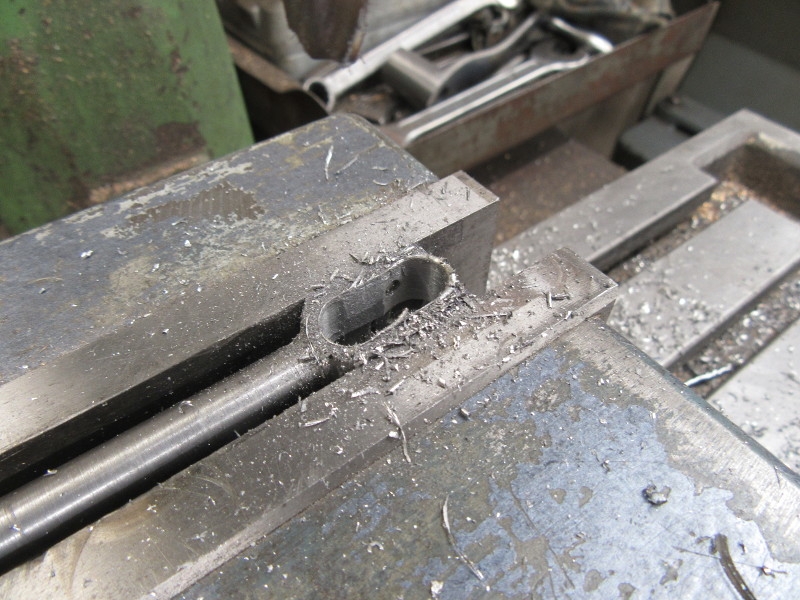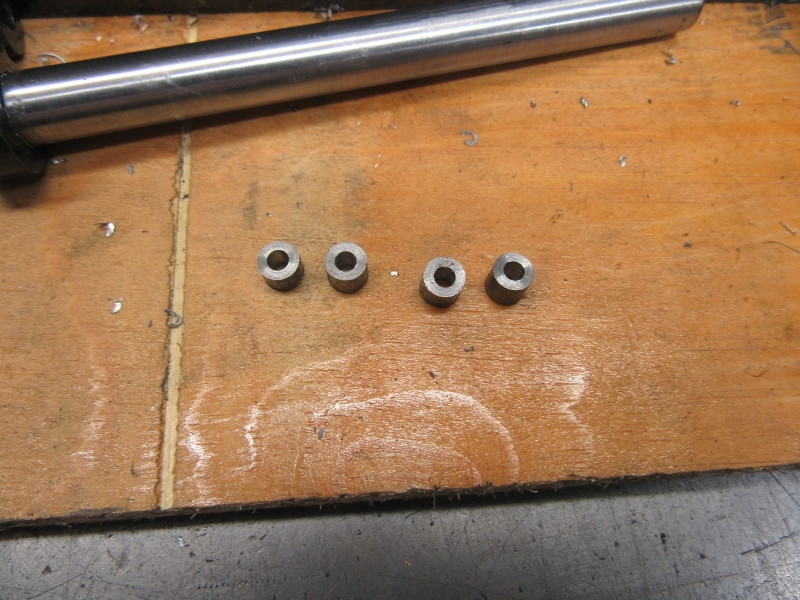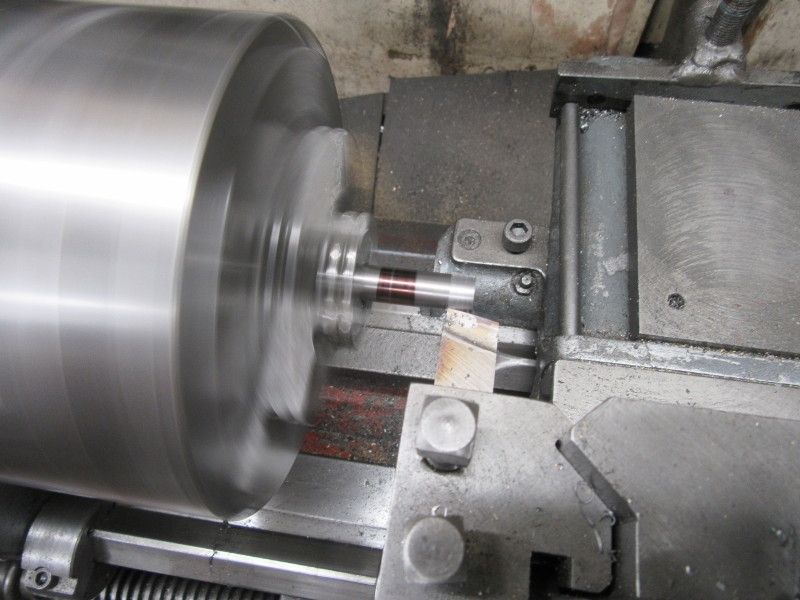
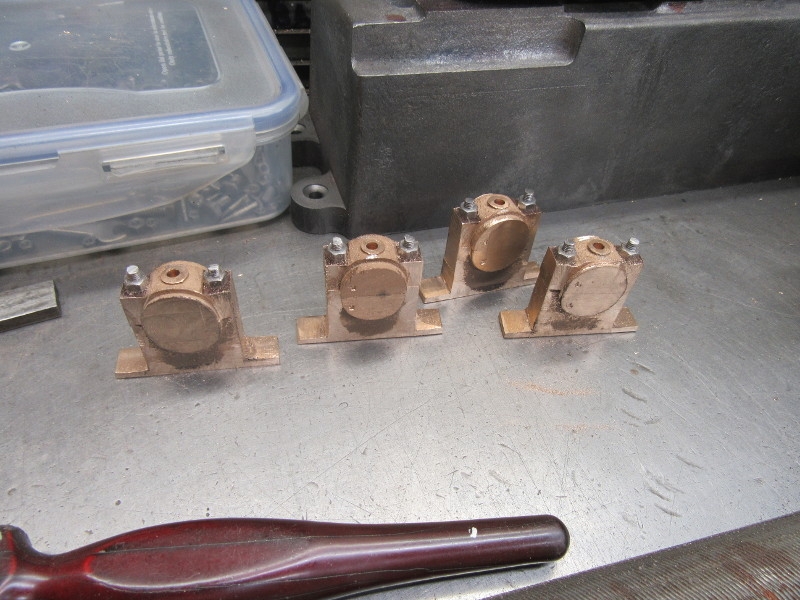
I carried on this morning where I left off yesterday. Dressing all the bearings so that all the external surfaces match up.
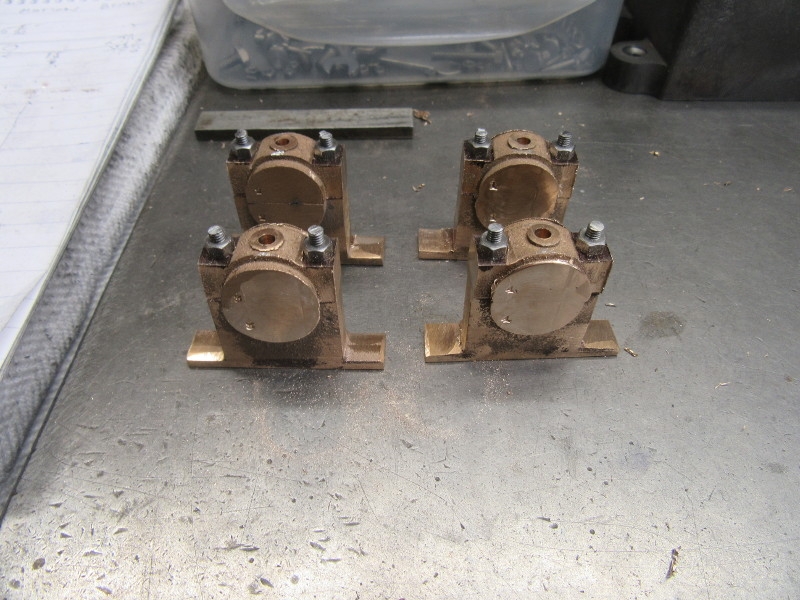
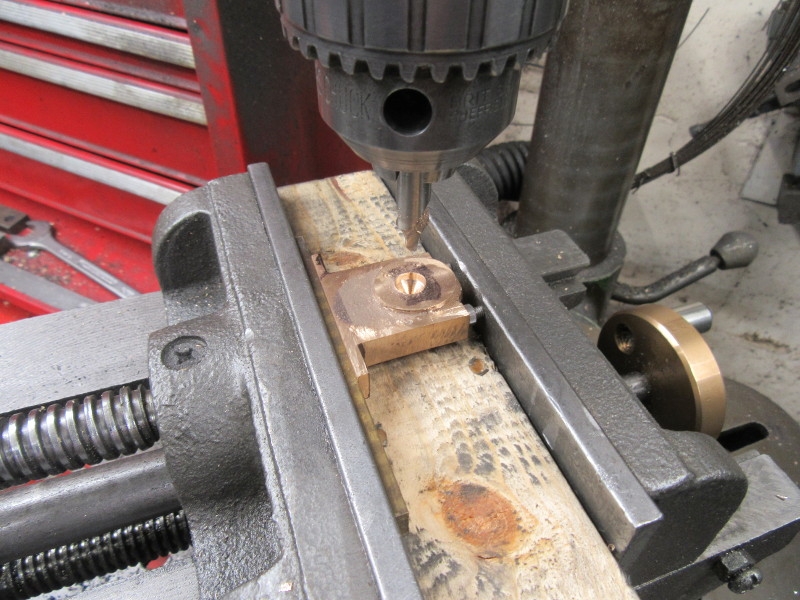
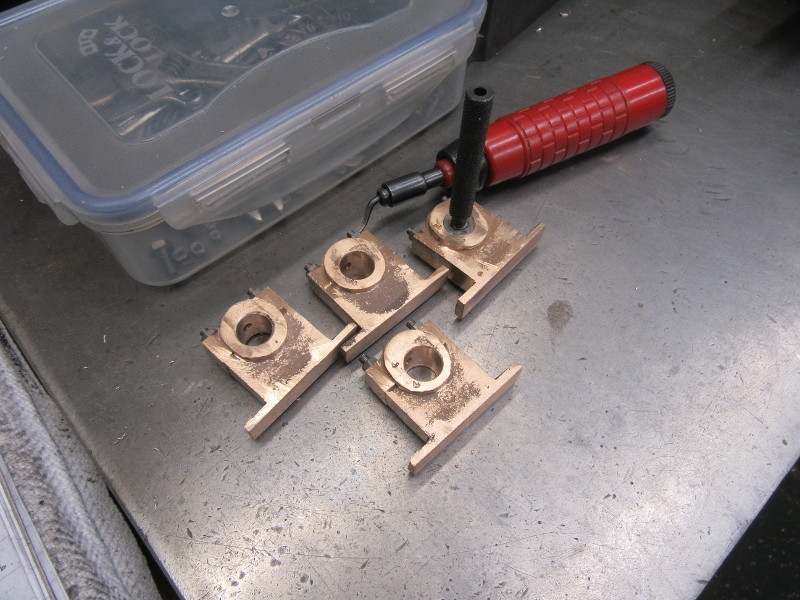
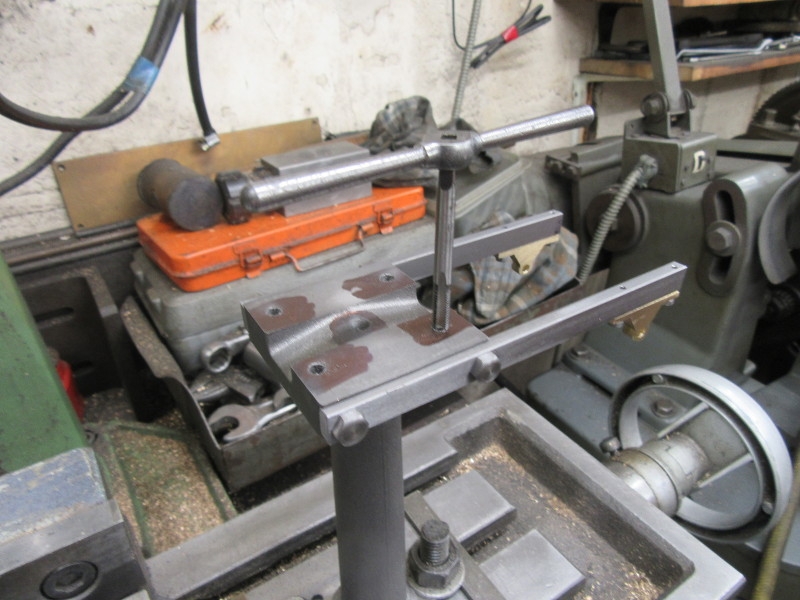
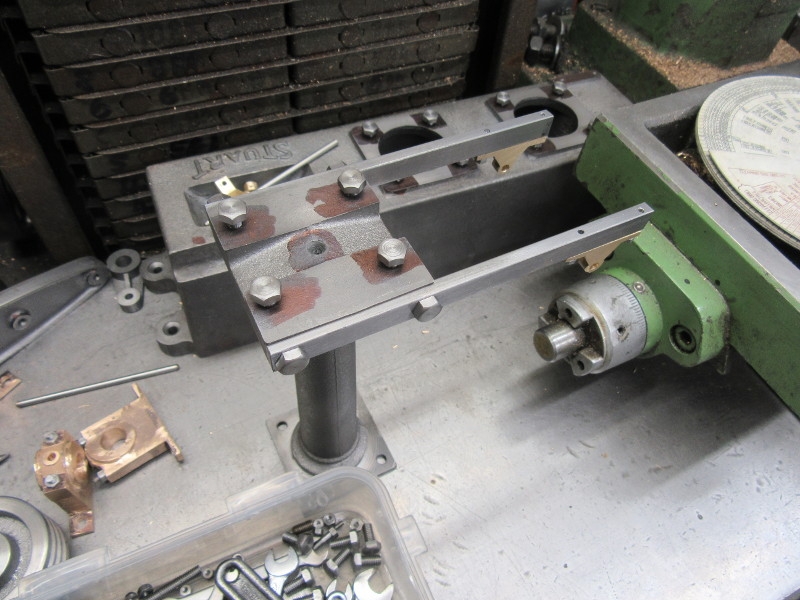
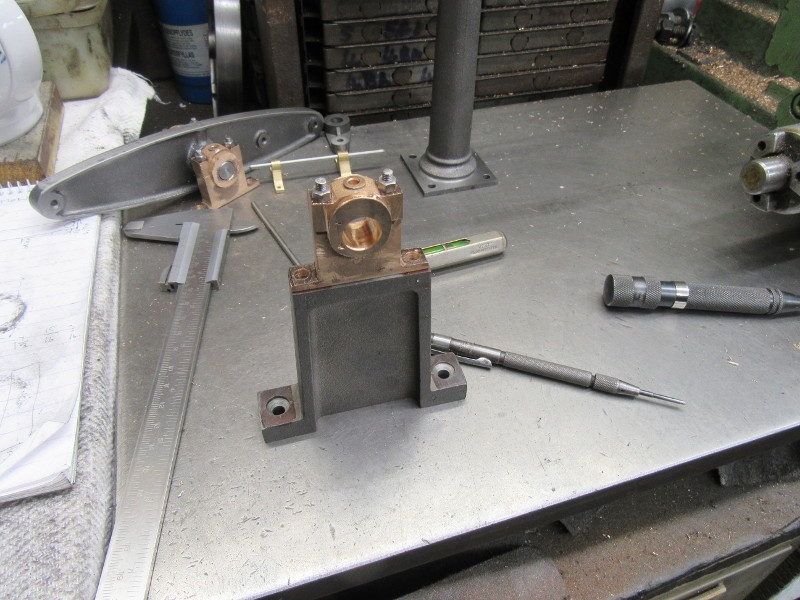
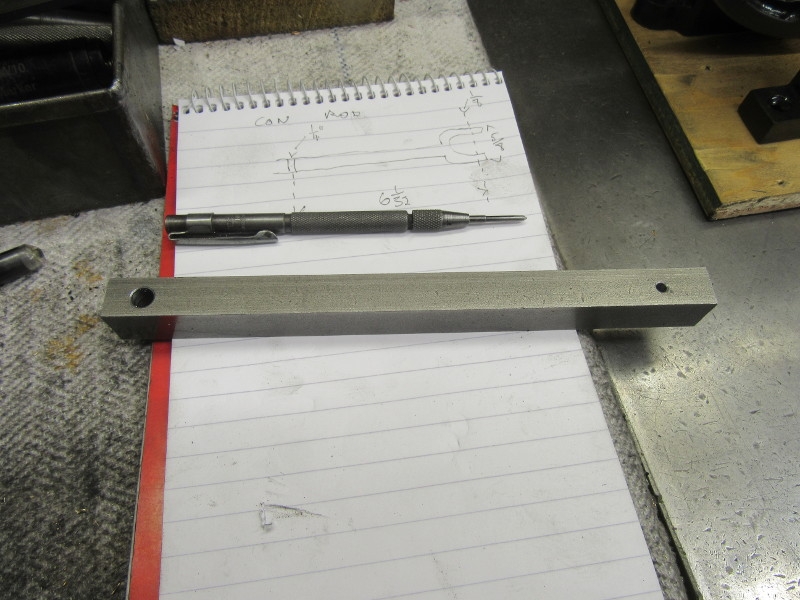
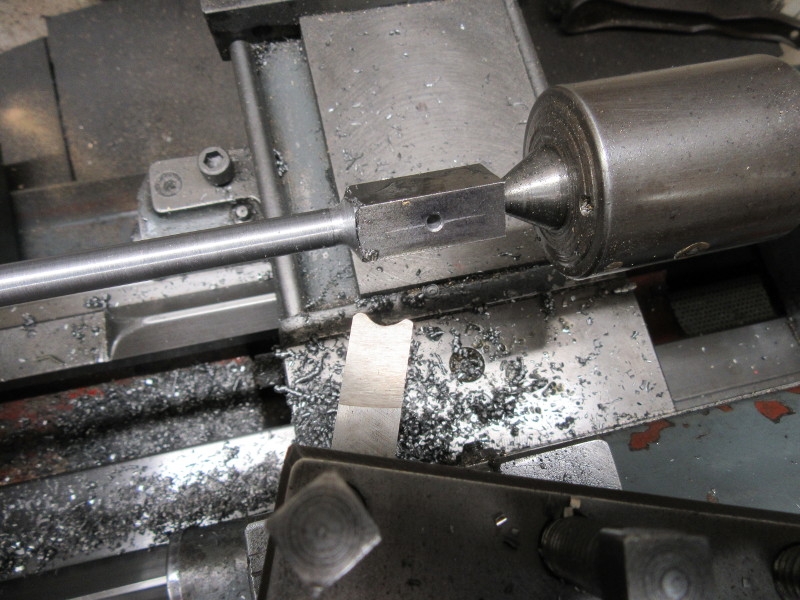
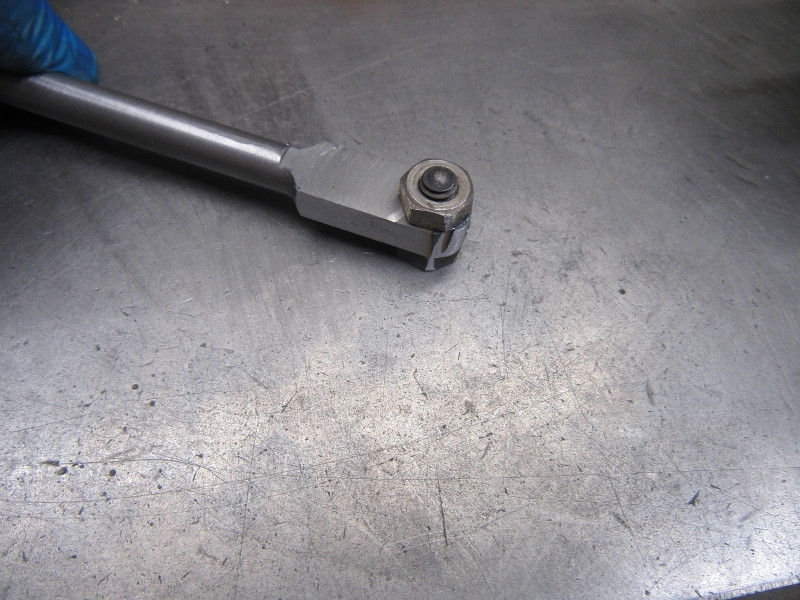
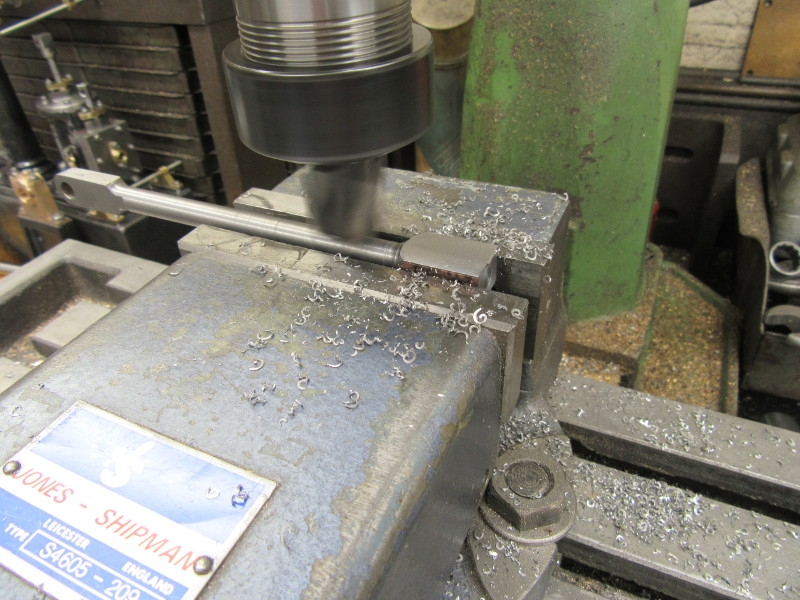
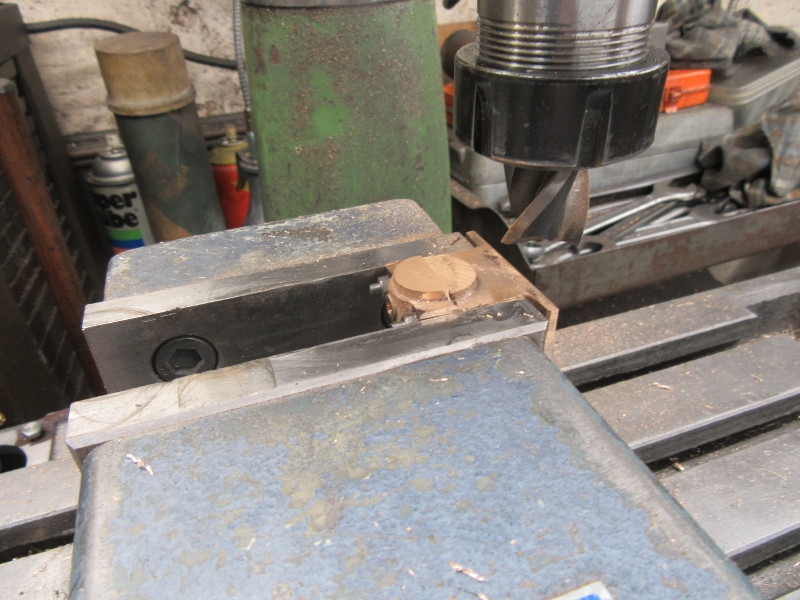
That's better, we're getting there but then I spent almost an hour with the files refining the finish. The old question always arises, how long spent on this stage is too long? 15 minutes on each is about right I think. We now have 4 bearings ready for boring and drilling for holding down bolts. They will look like castings when they are fitted and nothing wrong with that. That's what they looked like on the full size engines.
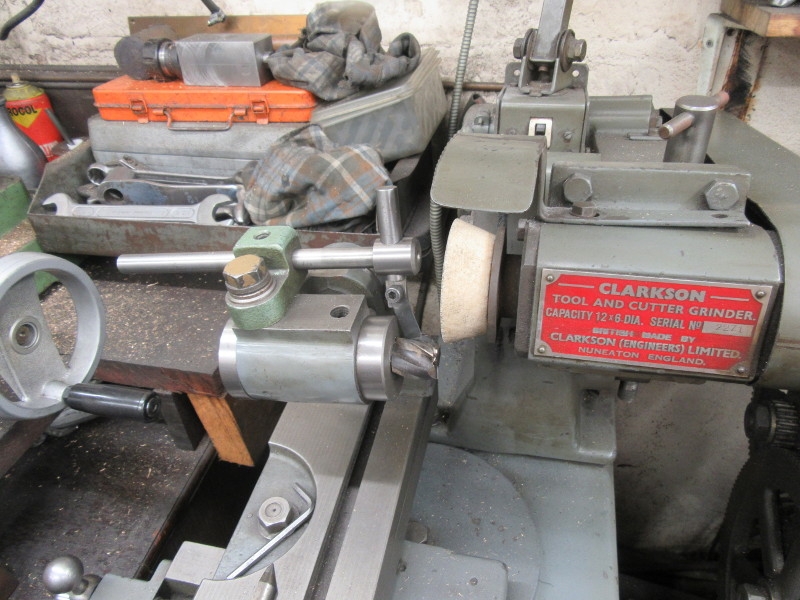
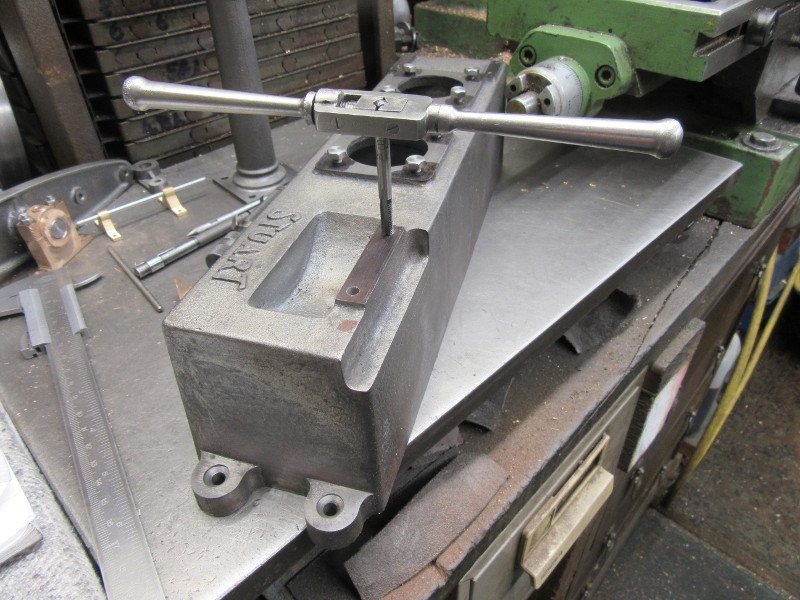
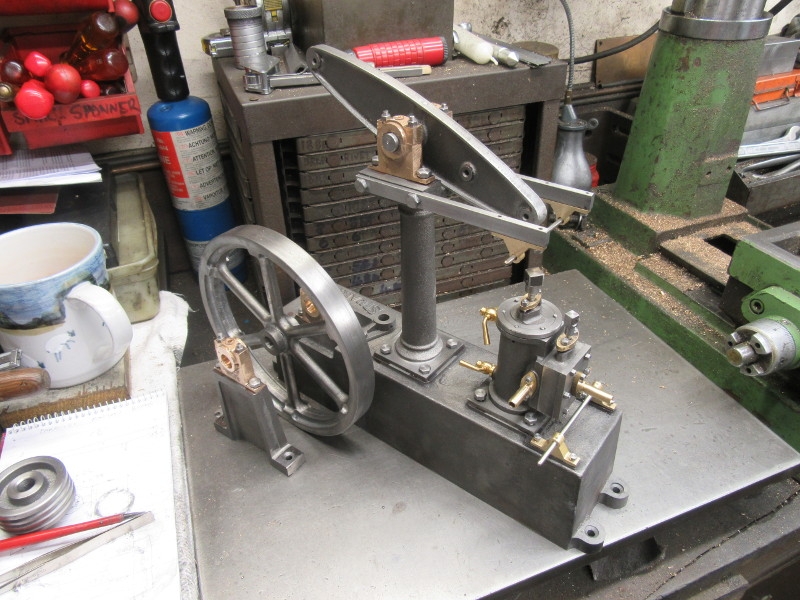
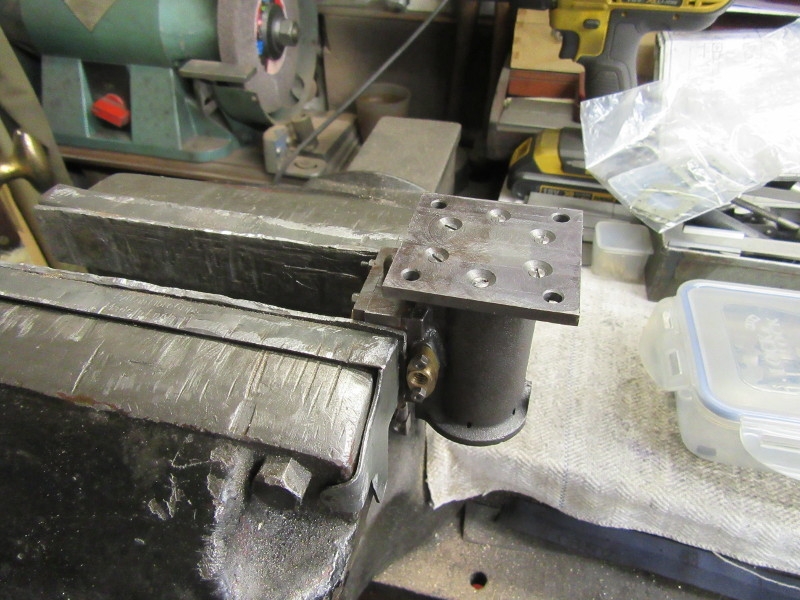
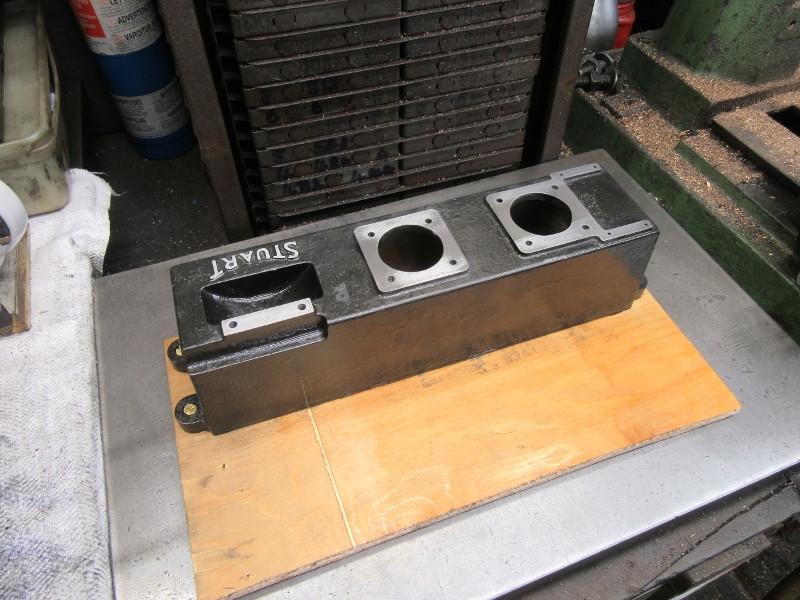
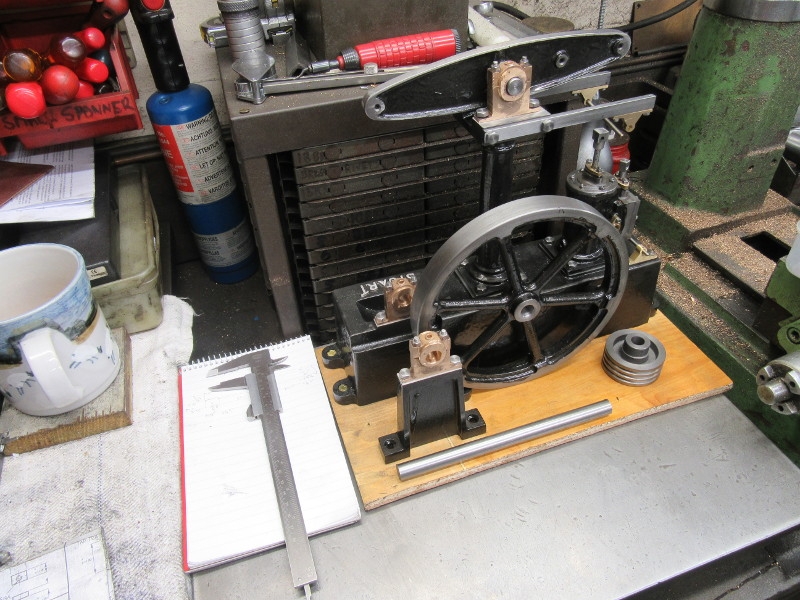
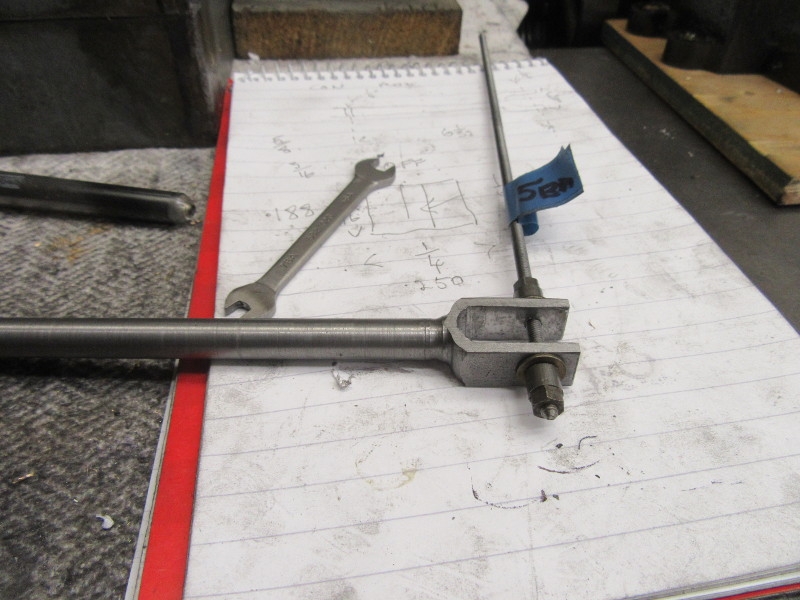
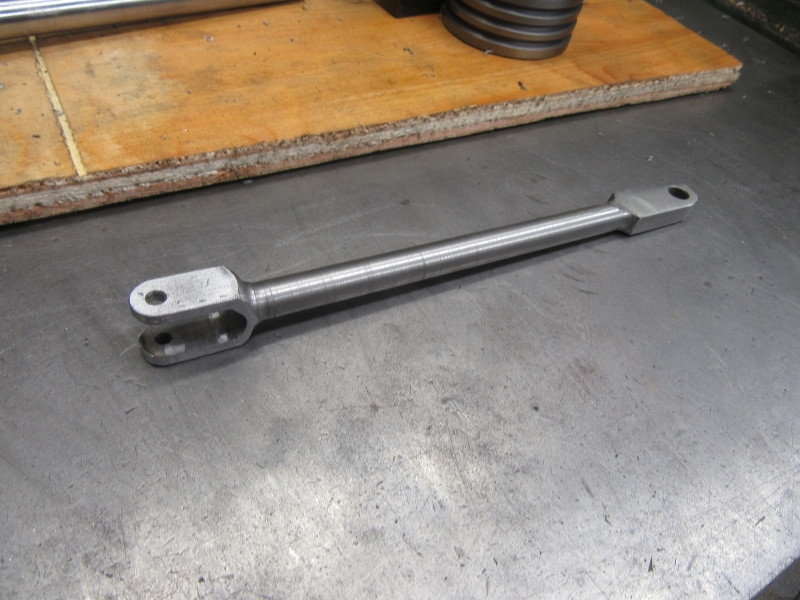
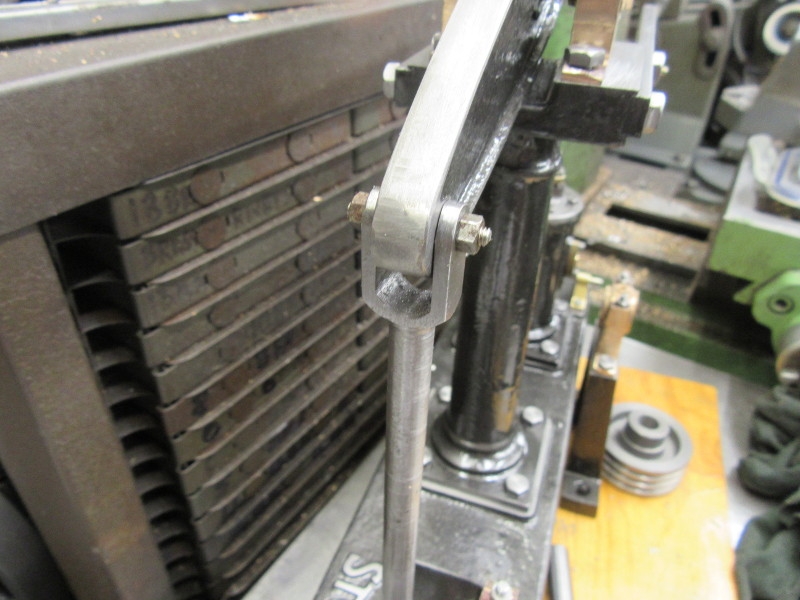
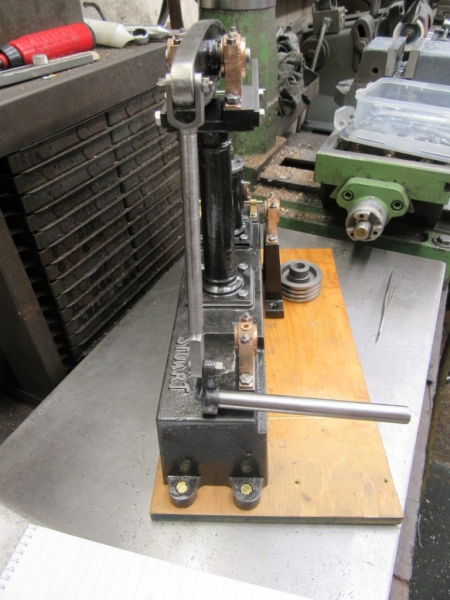
This was knocking off time.