Shed Matters 3

User avatar
Stanley
Global Moderator
Global Moderator
Posts: 90335
Joined: 23 Jan 2012, 12:01
Location: Barnoldswick. Nearer to Heaven than Gloria.

Re: Shed Matters 3

Post by Stanley »

I started the day by finishing the crankshaft.

Image

Here's what the engine looks like now. Obvious that the next bit it's shouting for is the connecting rod....

Image

No stock in the kit for the con rod so into the scrap box. Con rods are funny little beasts, they are a lot thicker at each end than in the middle so if you aren't going to do a build-up but chop them out of solid you need a piece 3/4" diameter. so here we are starting on that.

Image

A bit of rough measuring and marking and I started making a mess.

Image

At knocking off time I had shifted the bulk of the muck, now I have to do some proper measuring. Susan has just arrived for some distanced conversation and exchange of gifts so that can all wait until tomorrow. Good progress, I am happy!
Stanley Challenger Graham
Stanley's View
scg1936 at talktalk.net

"Beware of certitude" (Jimmy Reid)
The floggings will continue until morale improves!
User avatar
Stanley
Global Moderator
Global Moderator
Posts: 90335
Joined: 23 Jan 2012, 12:01
Location: Barnoldswick. Nearer to Heaven than Gloria.

Re: Shed Matters 3

Post by Stanley »

Image

Like a lot of my bits in the scrap box this steel is very old, could be over 100 years and isn't necessarily true steel but very close to wrought iron. So I decided to give this small carbide tool some TLC and get it as sharp as I could. Then it was a matter of careful turning.

Image

Getting close and some shape in the junctions of the rod with the ends which will be clevises.

Image

This is as good as I can get it.

Image

Then some more measuring and part the rod from the stock. I've cut it fine but I thing we are all right! More tomorrow.
[The eagle eyed will have noticed that the 4 jaw SC has come off and the 3 jaw Taylor's chuck has gone on. The 4 jaw is short of grip at times and it's good to give Johnny's old Taylor an outing. Can't be beaten for sure grip.]
Stanley Challenger Graham
Stanley's View
scg1936 at talktalk.net

"Beware of certitude" (Jimmy Reid)
The floggings will continue until morale improves!
User avatar
Stanley
Global Moderator
Global Moderator
Posts: 90335
Joined: 23 Jan 2012, 12:01
Location: Barnoldswick. Nearer to Heaven than Gloria.

Re: Shed Matters 3

Post by Stanley »

Image

Image

I started the day by having a quick clean up, swept the floor as well! Then I set to to do something I have been meaning to do for a while. I wanted a 60 degree centre that had less than a 1/2" shank so I could use in in the chuck in the pillar drill to find the centre of a gap between the vise jaws.

Image

Then a 1/8" hole through the end of the rod. This is the foundation of the clevis that fits on the end of the beam.

Image

The I used the drill for a sight line on the end of the rod to aid marking the reduction in thickness for the clevis.

Image

Then some very careful milling of the two flats.

Image

Then the moment I knew was going to cause me grief. I knew I had measured short yesterday, my eyes letting me down I;m sorry to say. I was right but I am very, very close to my target. It wont be a problem despite being a mistake because I can make up for it when I make the parallel linkage, valve rod and piston rod. It's a tiny adjustment.

Image

Here we are at closing time, we have the foundation of the beam clevis. That's a good start!
Stanley Challenger Graham
Stanley's View
scg1936 at talktalk.net

"Beware of certitude" (Jimmy Reid)
The floggings will continue until morale improves!
User avatar
Stanley
Global Moderator
Global Moderator
Posts: 90335
Joined: 23 Jan 2012, 12:01
Location: Barnoldswick. Nearer to Heaven than Gloria.

Re: Shed Matters 3

Post by Stanley »

Image

We need the centre chopping out of the beam clevis. I can't trust my eyes to do it by hand so I shall take the meat out with a milling cutter in the horizontal mill. Here I've marked the cut and found my cutter. How nice that all these cutters are sharp!

Image

So why am I cutting an entirely different piece of steel in the VM?

Image

Here's why, I wanted something exactly the same thickness as the clevis so that I could get a good grip with the vise and keep it balanced. I'm set up here and ready to go.

Image

Then into the vice for a lot of handwork to make the beam and the clevis fit.

Image

Here we are getting close to knocking off. I'm getting near a fit but will finish the fitting when I have the rod fitted to the crank because I the angle will determine the final adjustments.
This was after more than an hour and a half, quite enough for one morning....
Stanley Challenger Graham
Stanley's View
scg1936 at talktalk.net

"Beware of certitude" (Jimmy Reid)
The floggings will continue until morale improves!
User avatar
Stanley
Global Moderator
Global Moderator
Posts: 90335
Joined: 23 Jan 2012, 12:01
Location: Barnoldswick. Nearer to Heaven than Gloria.

Re: Shed Matters 3

Post by Stanley »

Image

More work on the con rod. To cut a long story short I spent over an hour making the rod a better fit and prettifying it. All hand work and I started with a big smooth file.

Image

I think I made a bit of a difference...

Image

Next I addressed the clevis bin to attach the rod to the beam. I didn't bother looking at the drawing, I had my own ideas. As usual I started with a piece of scrap.

Image

Only one way to check the fit...

Image

I'm going to have a threaded collar on the pin and went for 1/8" ME thread. I have the tap and the die.

Image

I parted the collar off and threaded it.

Image

Here we are. The thread will be cut back to length at the final fitting.

Image

Last thing was a clean up and put some tackle away.
That was a nice couple of hours, slow but good progress!
Stanley Challenger Graham
Stanley's View
scg1936 at talktalk.net

"Beware of certitude" (Jimmy Reid)
The floggings will continue until morale improves!
User avatar
Stanley
Global Moderator
Global Moderator
Posts: 90335
Joined: 23 Jan 2012, 12:01
Location: Barnoldswick. Nearer to Heaven than Gloria.

Re: Shed Matters 3

Post by Stanley »

Today we are back in the shed and the task is to finish the con rod. A lot of this involves trusting my eyes and this is always high risk. That's why there are so few pics, sorry but it's the stress!

Image

The first job was to drill the 1/4" hole for the crank pin, that in itself was trying, all I could do was line the rod up and centre it by eye. However, I did it and here I am setting the rod up to reduce it to .450" by milling it on each side. That of course involved measuring and marking and here I am setting up under the mill to do the cutting. Worth mentioning that in the past I have made terrible mistakes by getting the orientation wrong, you wouldn't believe the number of times I checked it!

Image

Image

Fast forward to knocking off time, we've got it right and even drilled the oil hole for lubricating the crank pin. It's obvious that there is a lot of close fitting to do when I do the actual build but that's normal. One thing that does strike me is that despite so much having been done, there is a lot of very close and fiddling work to do in the parallel motion and the valve gear. But that's for later. I have a mind to give myself a break and do anther job that has been bothering me for a while, nothing to do with beam engines! We'll see how I feel.....
Stanley Challenger Graham
Stanley's View
scg1936 at talktalk.net

"Beware of certitude" (Jimmy Reid)
The floggings will continue until morale improves!
User avatar
Whyperion
Senior Member
Posts: 3073
Joined: 23 Jan 2012, 22:13
Location: Stockport, after some time in Burnley , After leaving Barnoldswick , except when I am in London

Re: Shed Matters 3

Post by Whyperion »

https://www.youtube.com/watch?v=hBeqgpsbZxY Video probably posted elsewhere, but I looked at the model and realised I did not know how the fulcrum point was supported, I think it is both a vertical but also a build around in ironwork to support the central bearing.

i cannot remember the introduction to the model, it is meant to be reminding of the Whitelees Engine?
User avatar
Stanley
Global Moderator
Global Moderator
Posts: 90335
Joined: 23 Jan 2012, 12:01
Location: Barnoldswick. Nearer to Heaven than Gloria.

Re: Shed Matters 3

Post by Stanley »

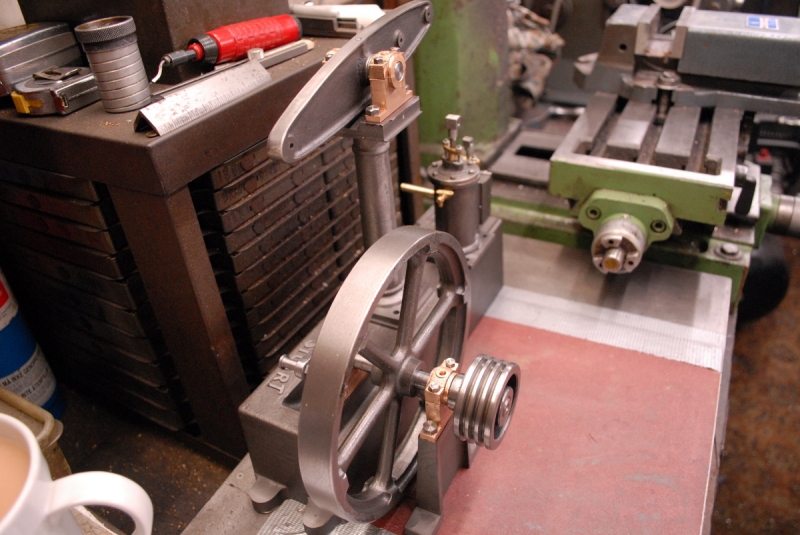
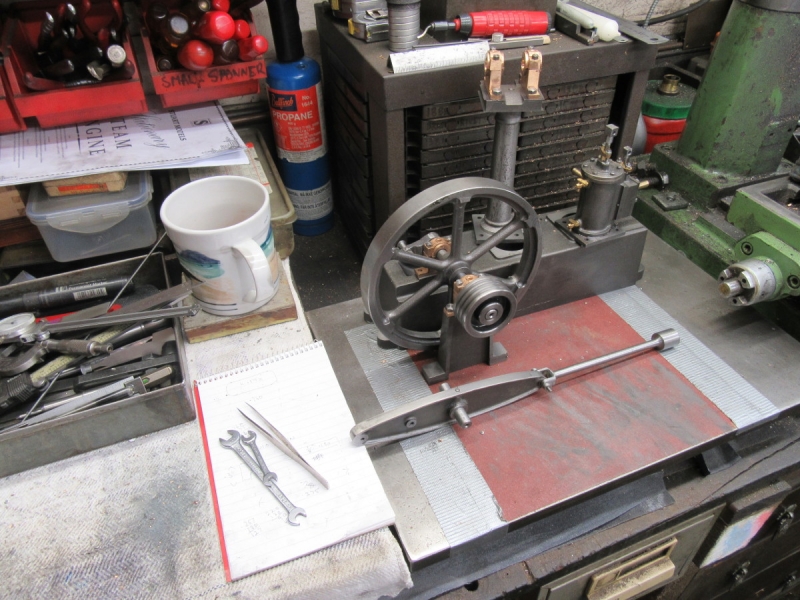
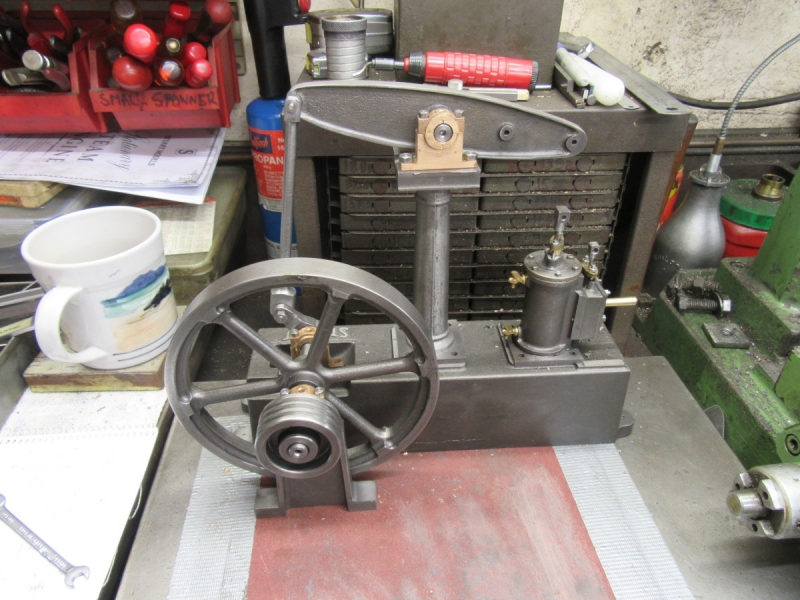
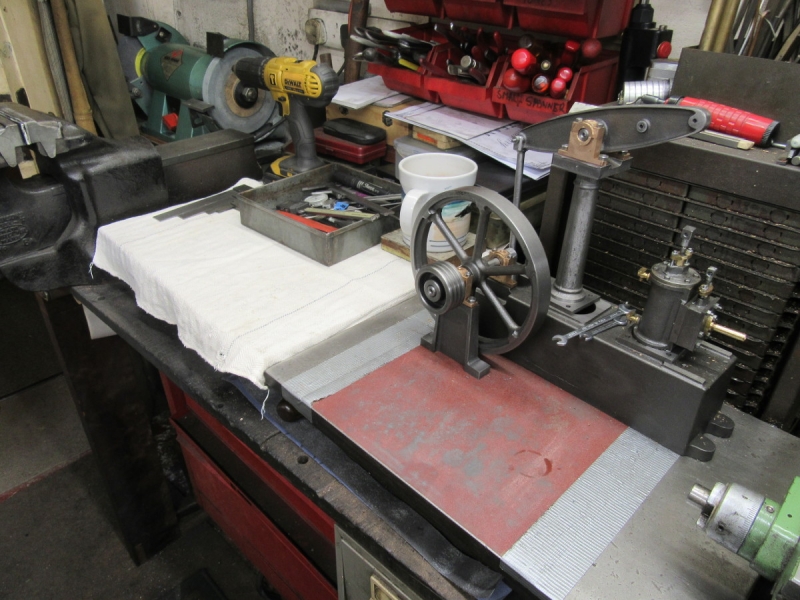
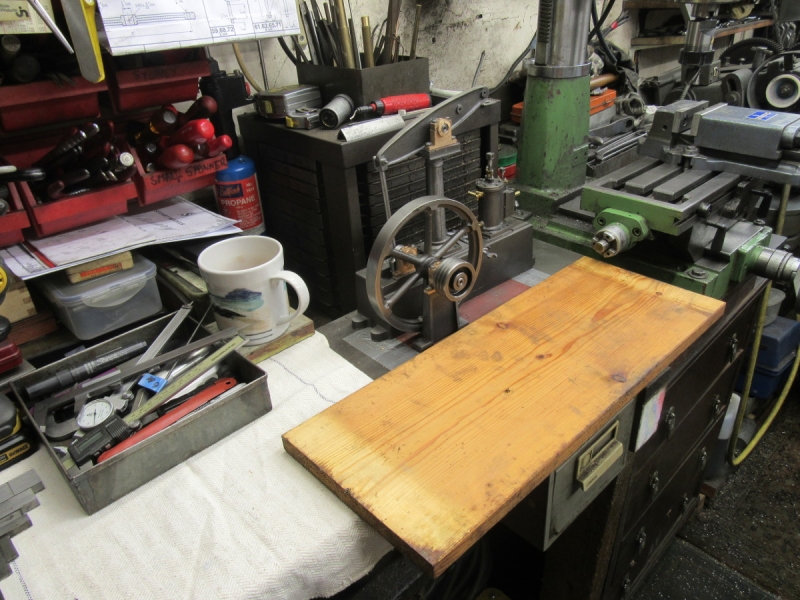
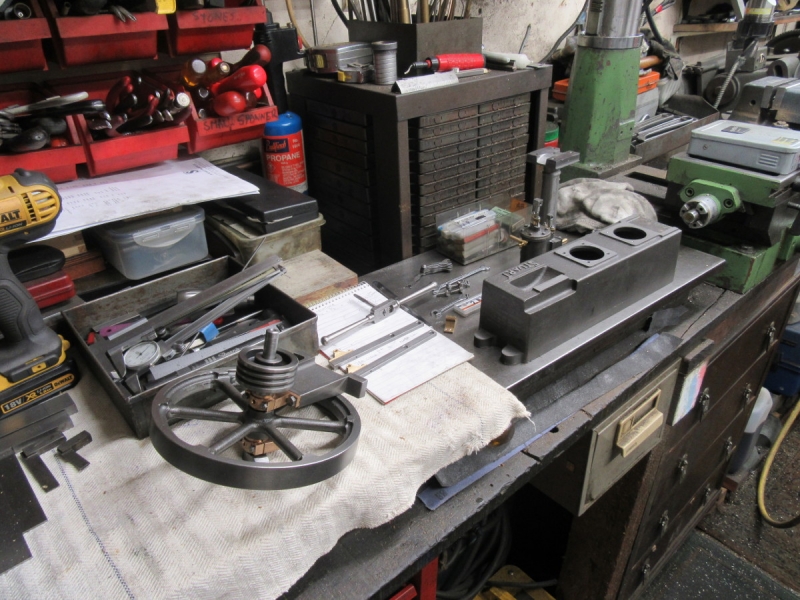
Not representing anything, just a simple rotative beam engine.

Image

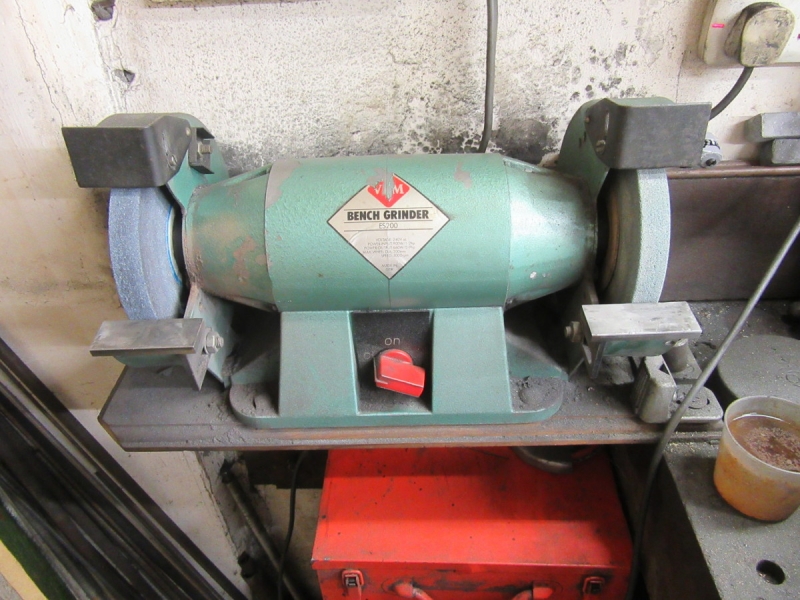
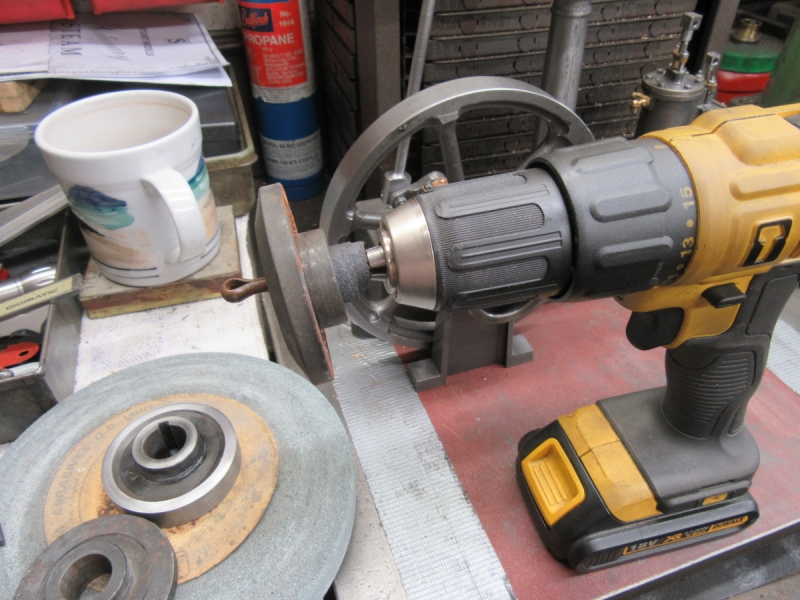
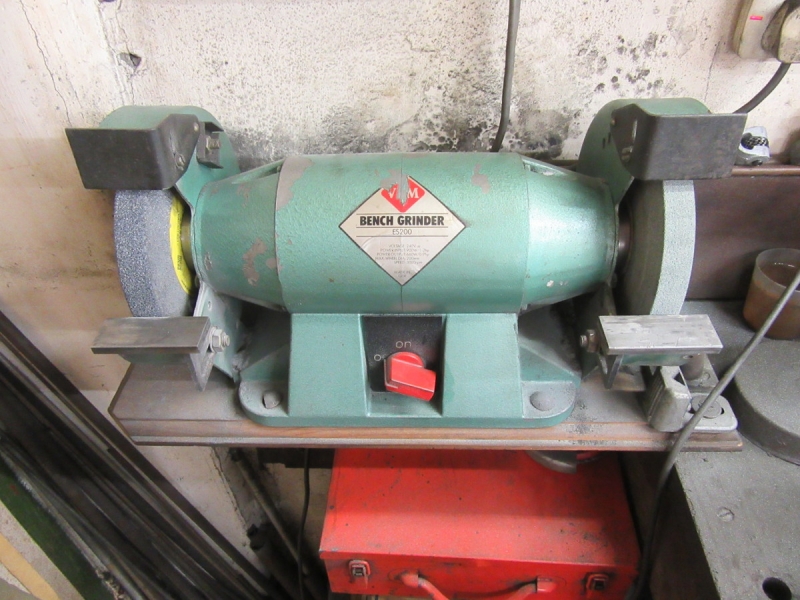
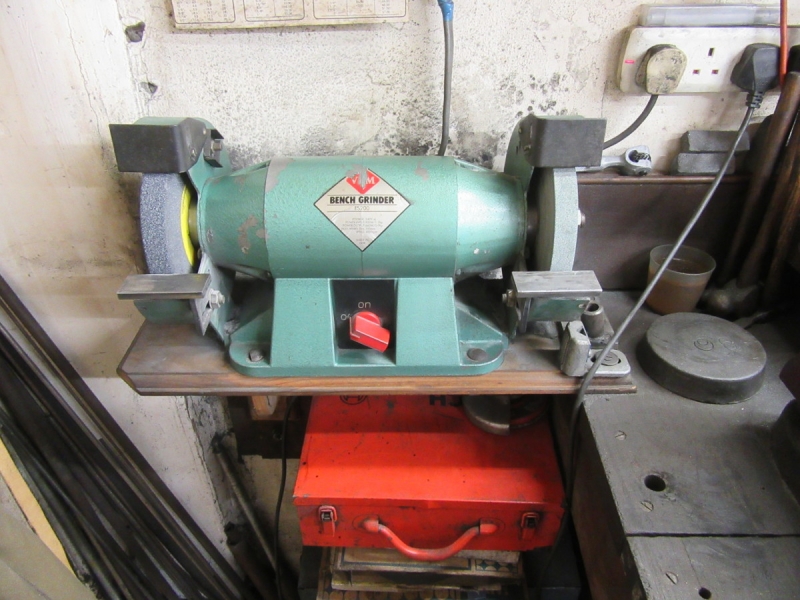
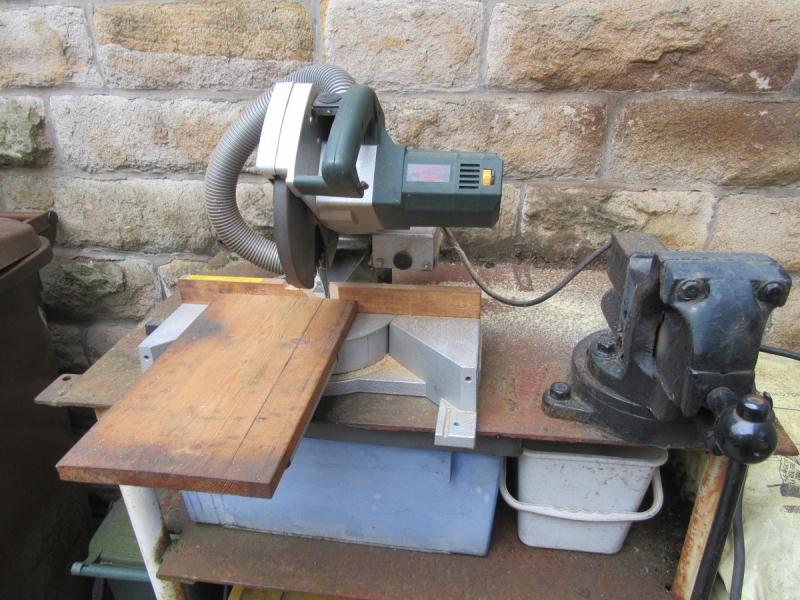
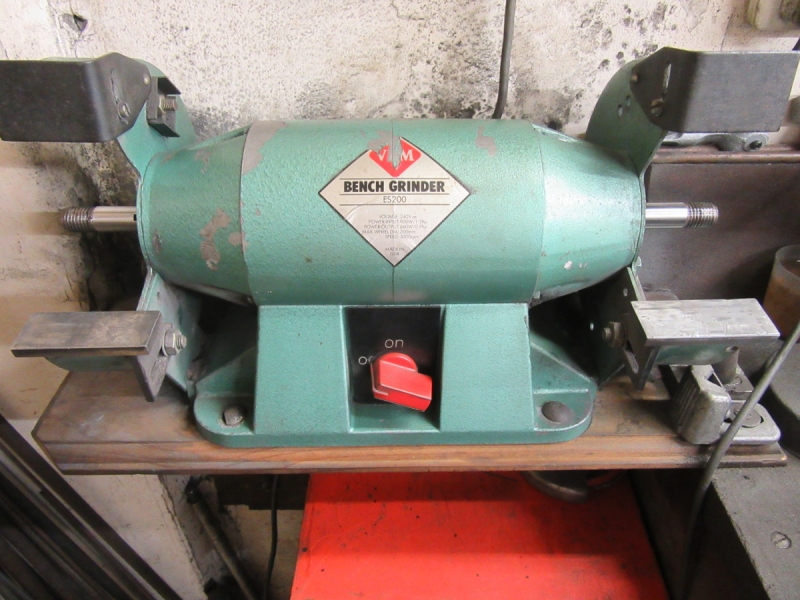
I told you I was going to have a rest from the beam engine to address a long term matter that's been nagging me. Here is the problem. I bought this East German grinder at least 40 years ago and have never regretted it. It's powerful, over 1hp, single phase and runs at 3,000rpm. It's been absolutely reliable. However, right from the start it had a nagging little vibration and this has varied with different grinding wheels, sometimes being really bad. I decided to go through it and see if I could find the source.

Image

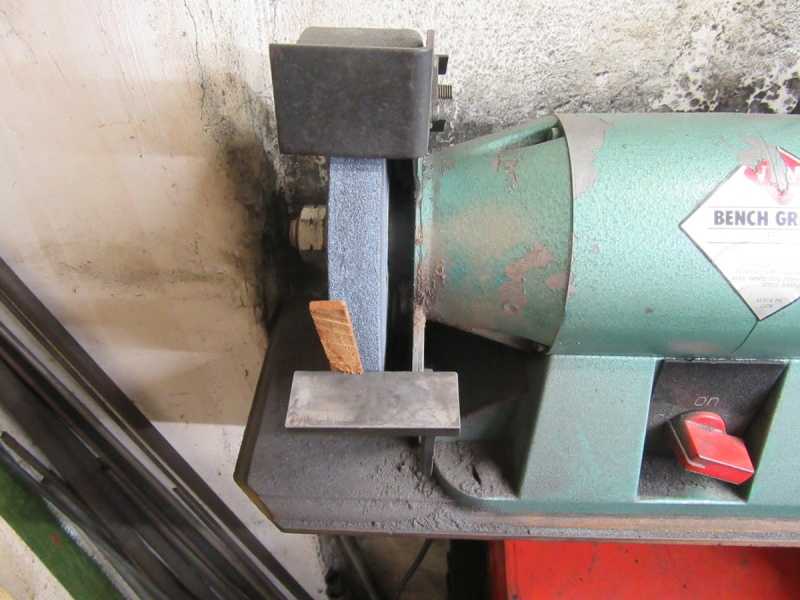
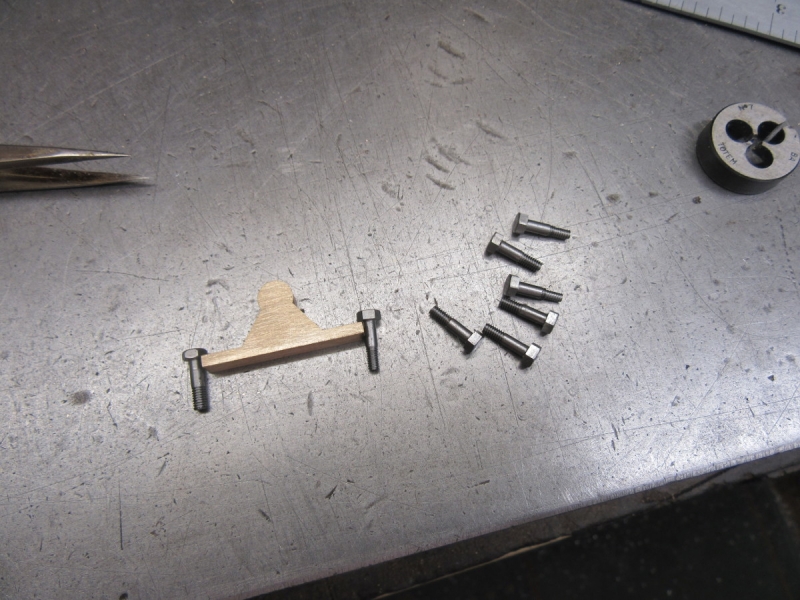
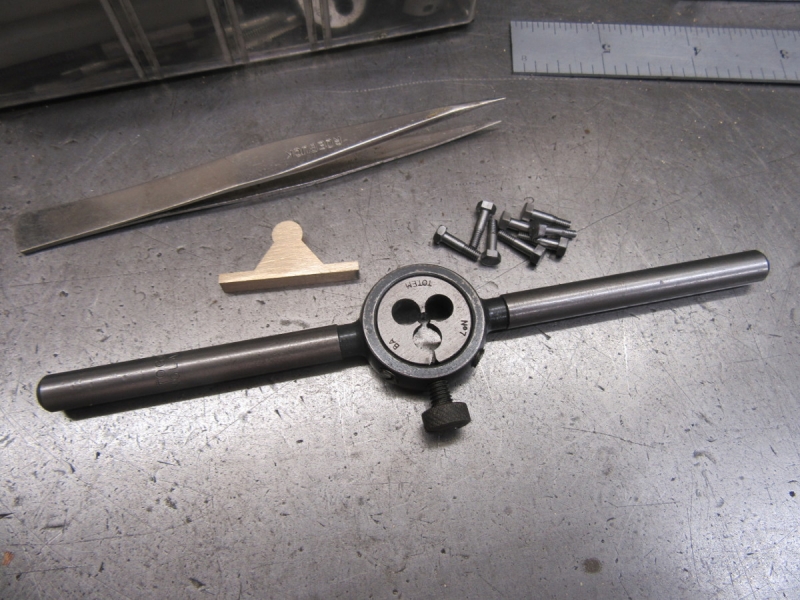
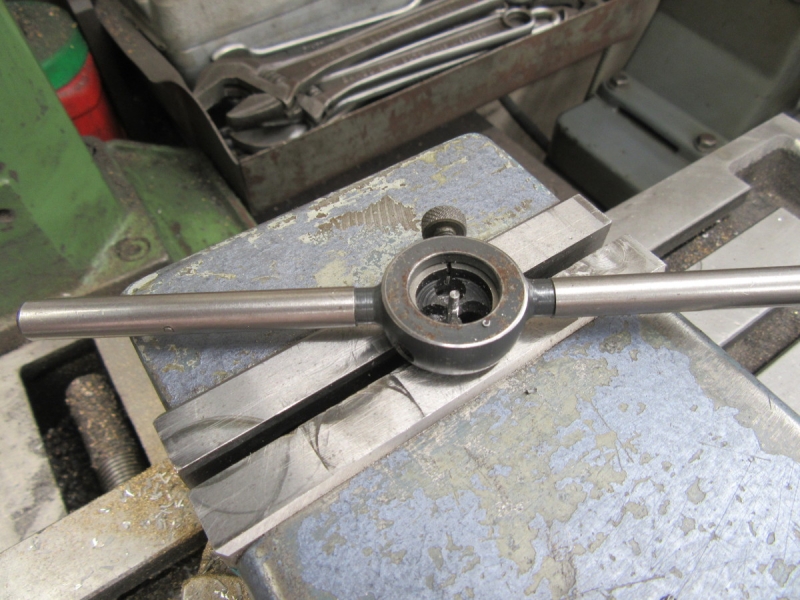
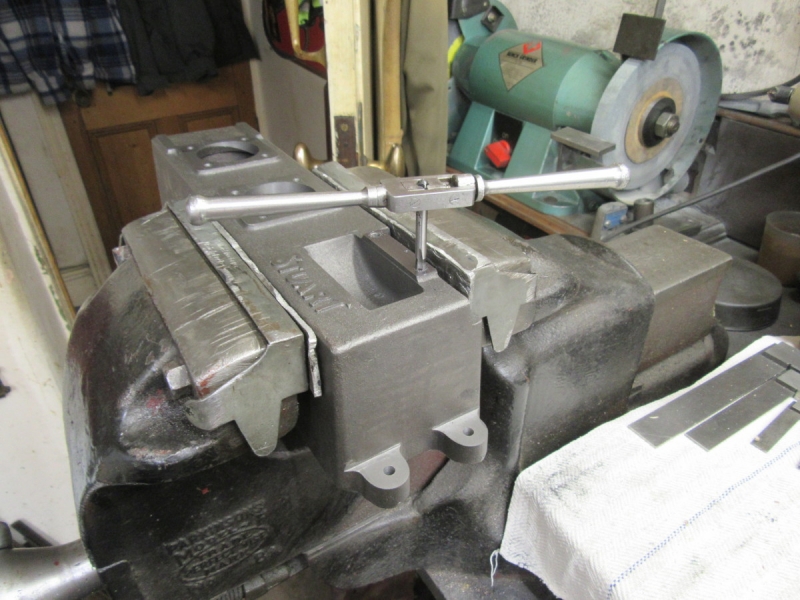
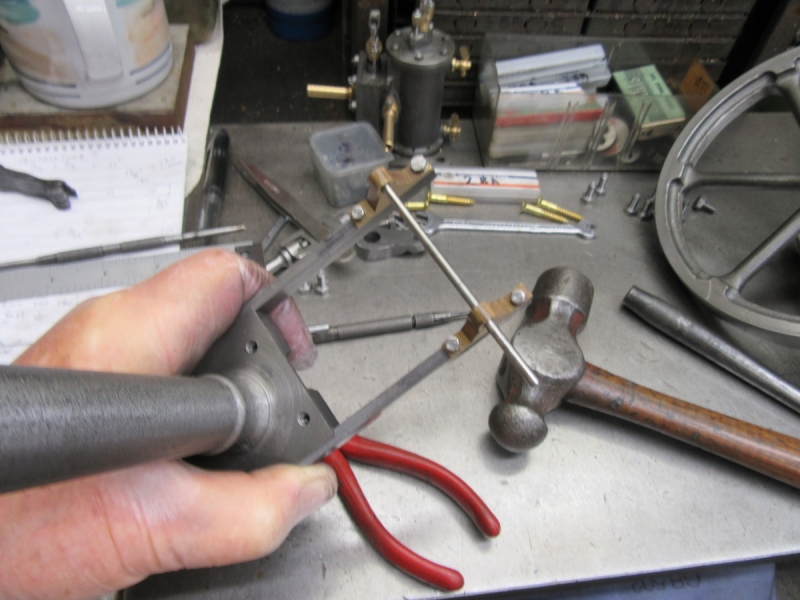
One little tip. The retaining nuts on the spindle don't need to be tight but over time can freeze up The best way to lock the wheel while you give the spanner a sharp bump is to wedge the wheel with a small wooden wedge.

Image

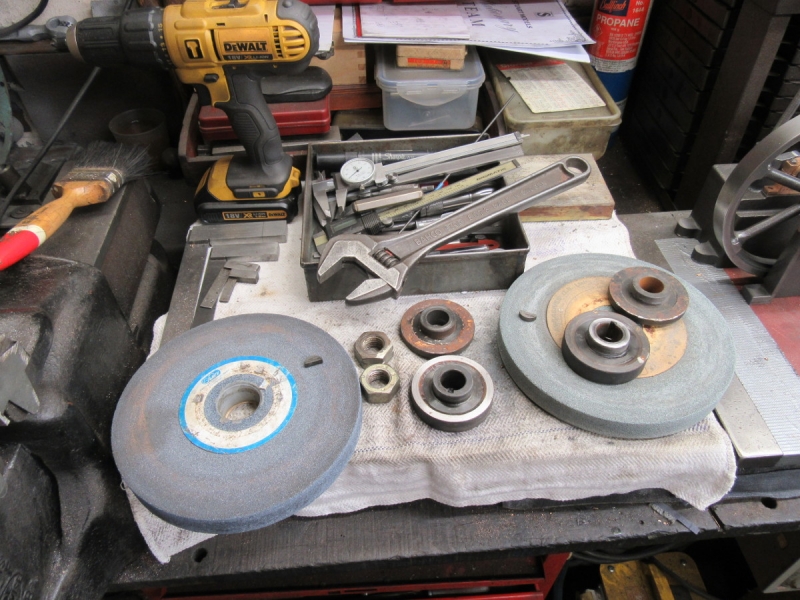
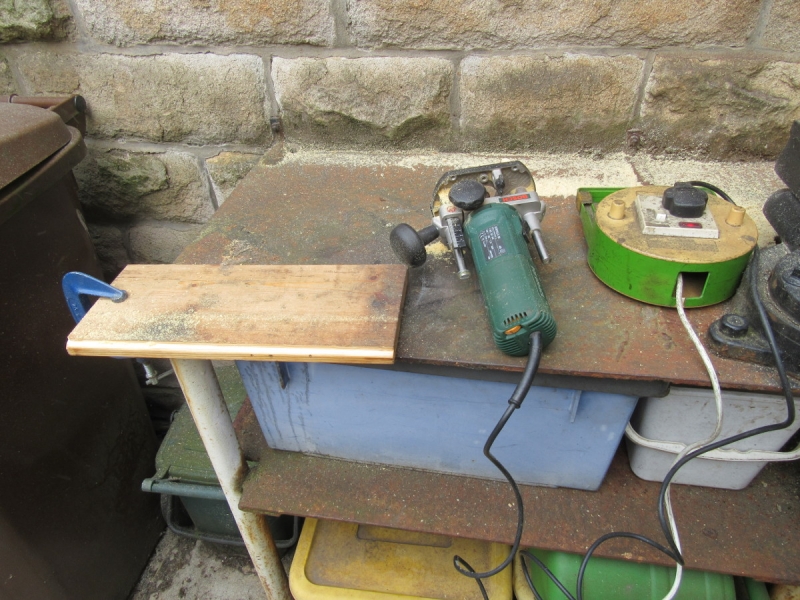
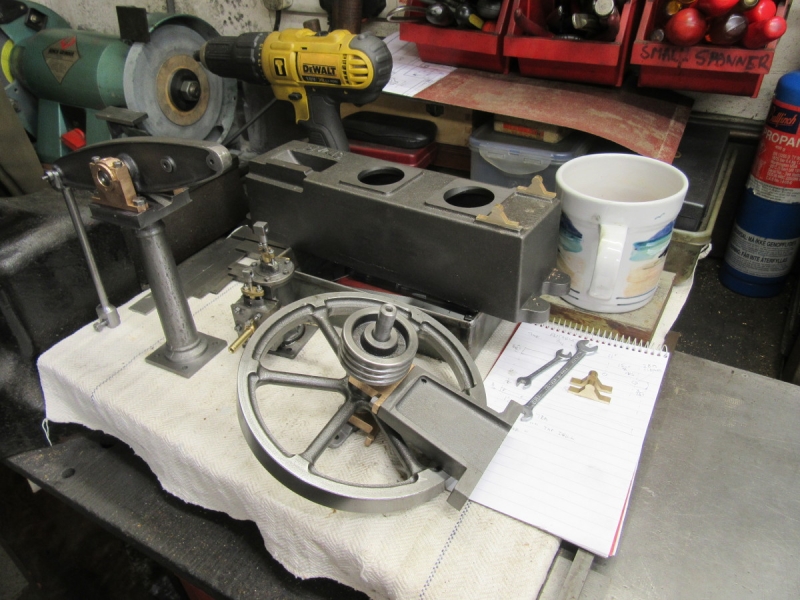
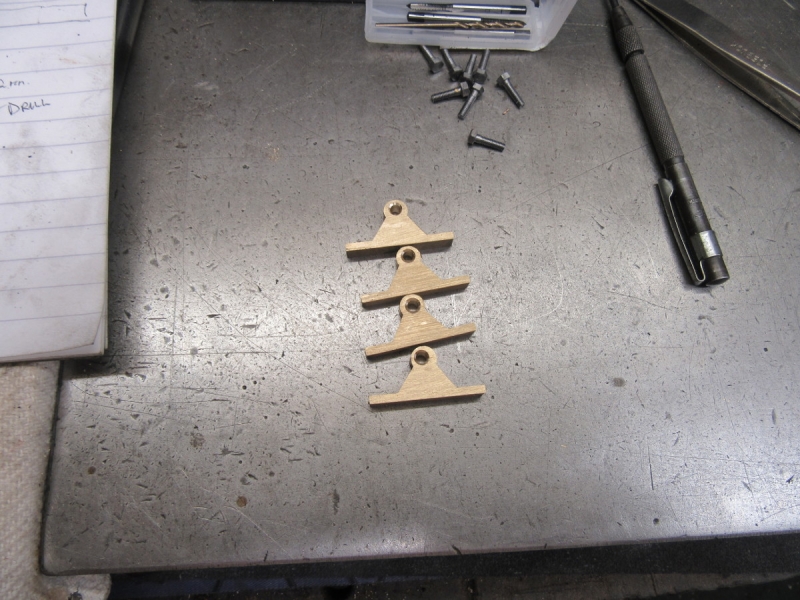
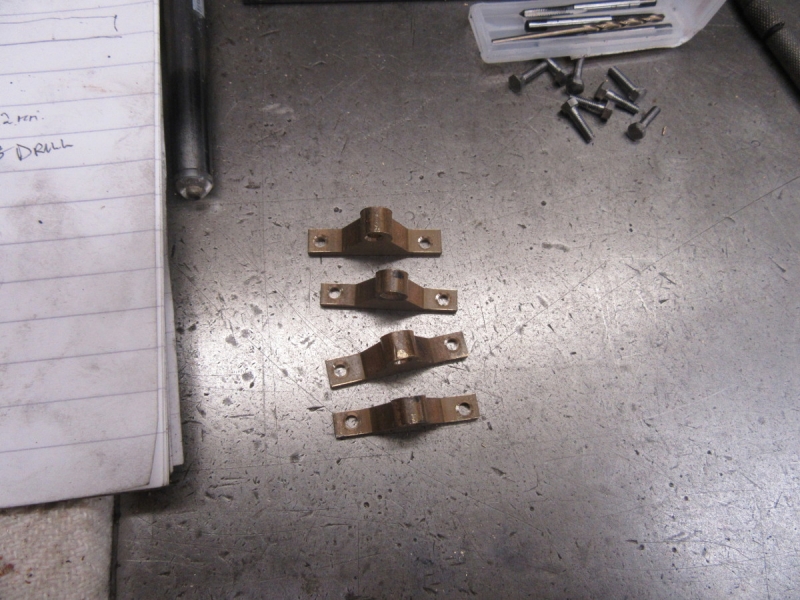
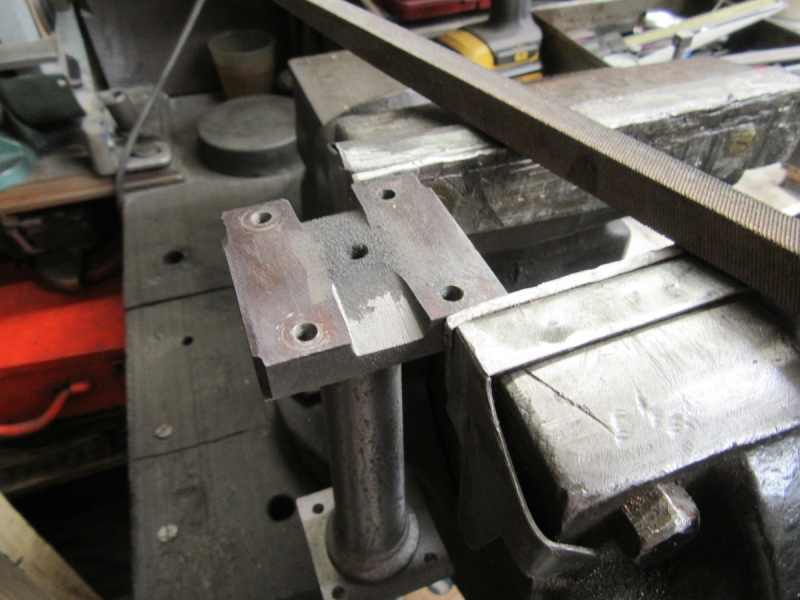
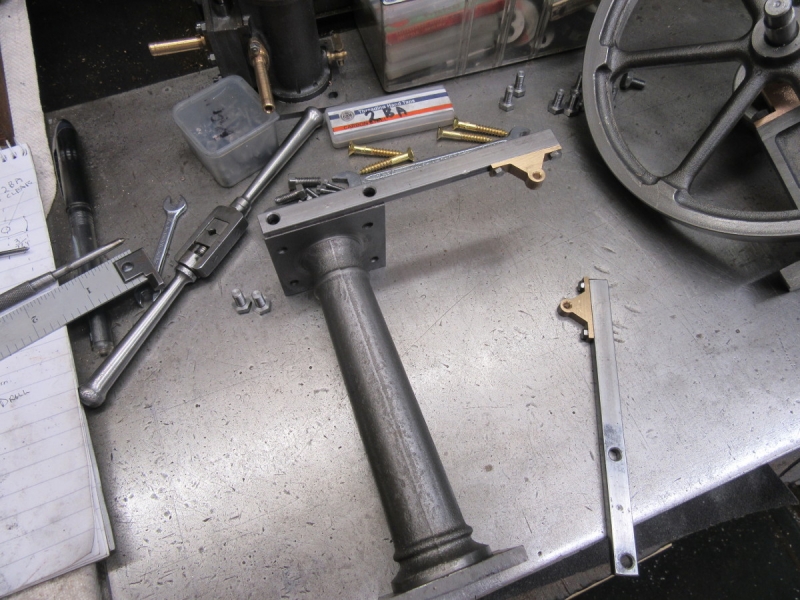
It didn't take long to get the grinder stripped down. Notice the rust on some retaining plates. Notice also the 12" Bahco adjustable for the nuts, such a treat to be to be using a decent sized spanner for a change!

Image

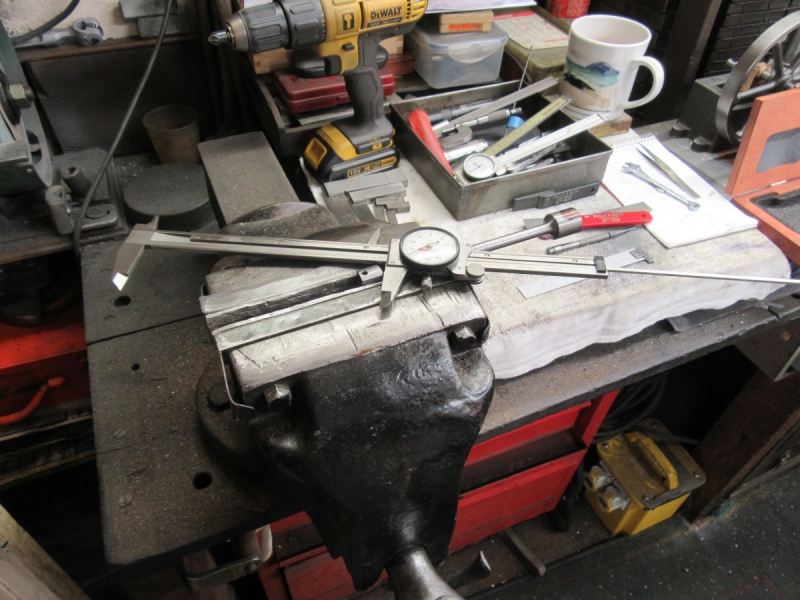
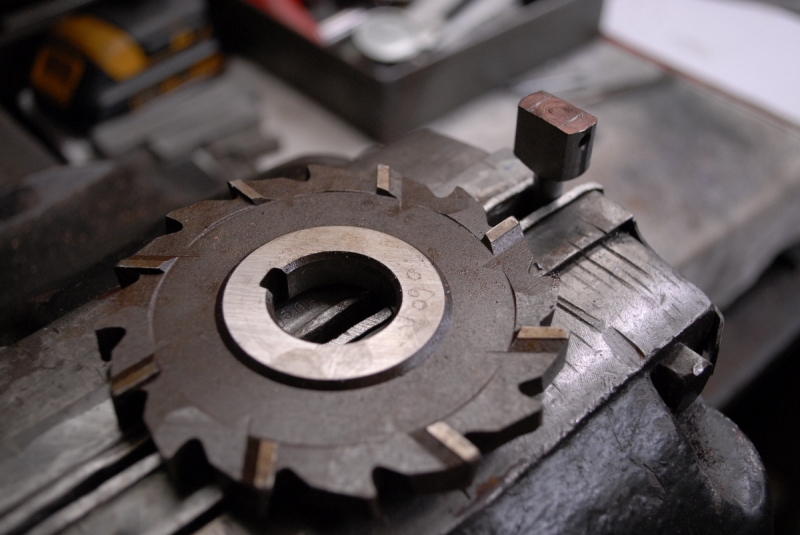
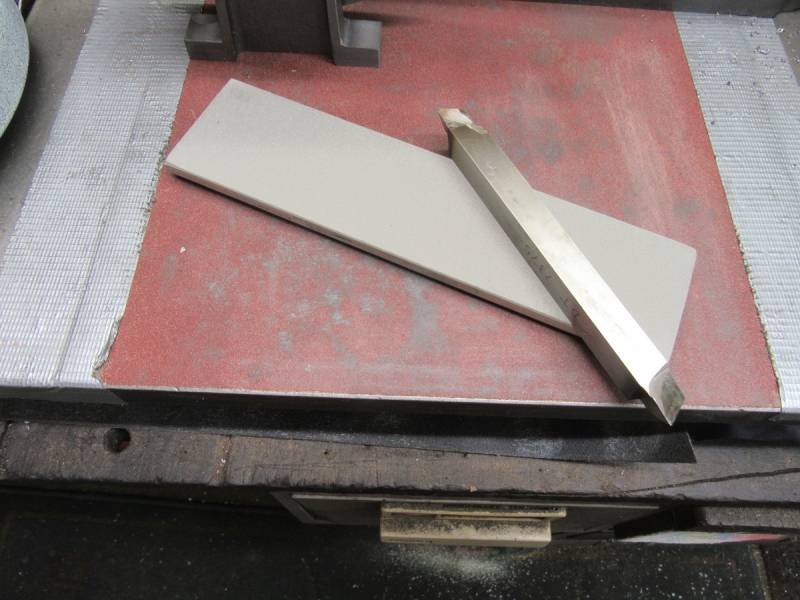
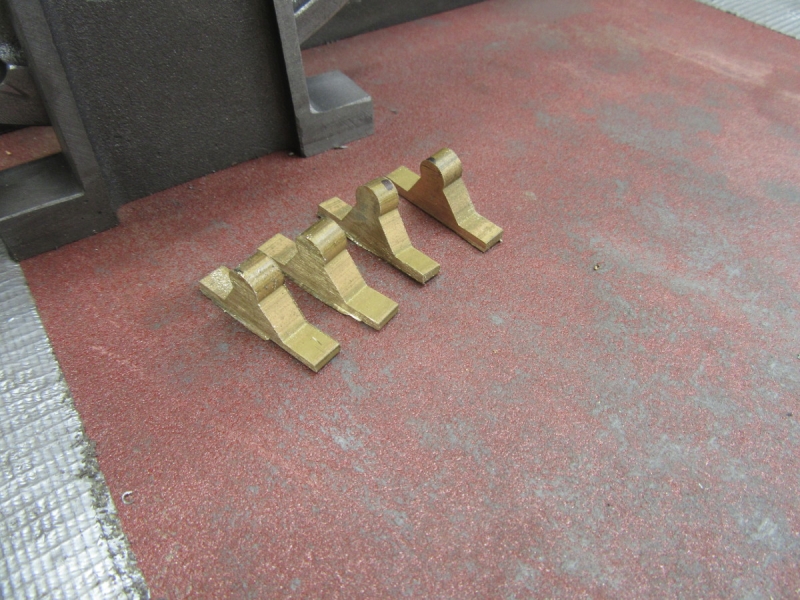
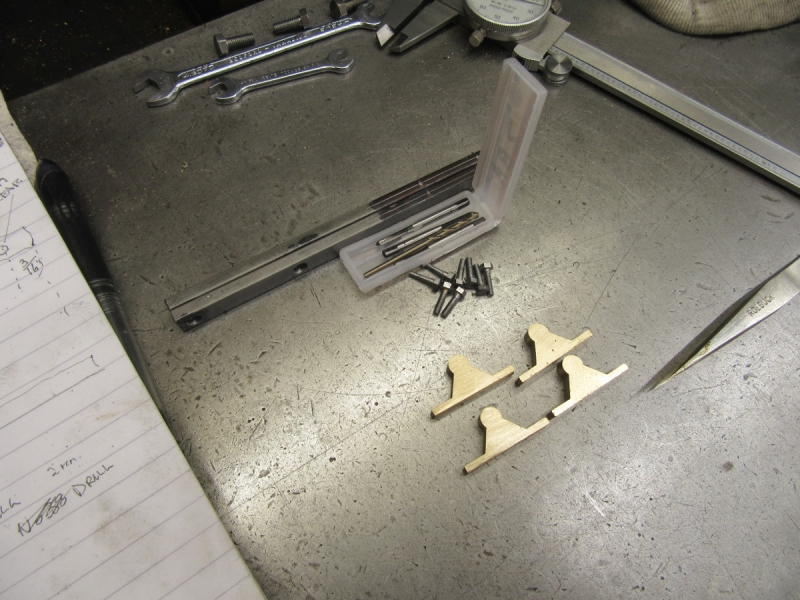
I gave the grinder a good clean and polished the spindles with emery strip. At the same time I measured them and not surprisingly seeing as it is a continental machine they are 20mm. The retaining plates are a good fit on these spindles so I can trust the central hole in them.

Image

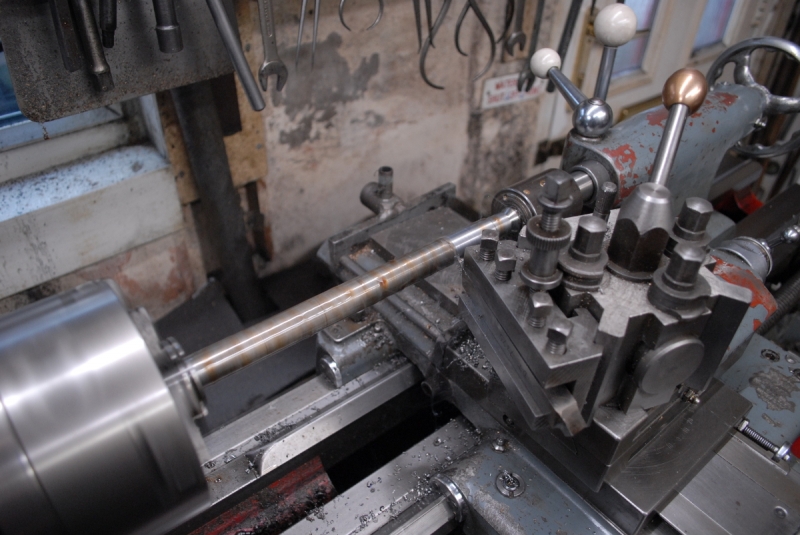
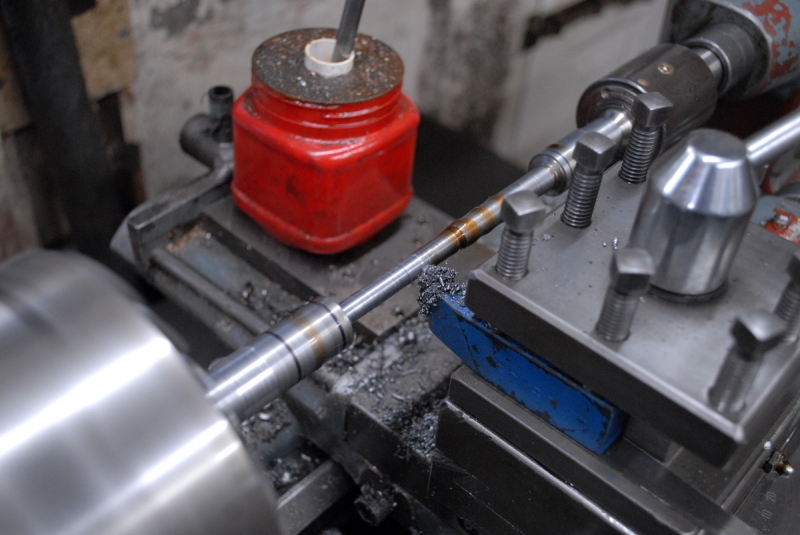
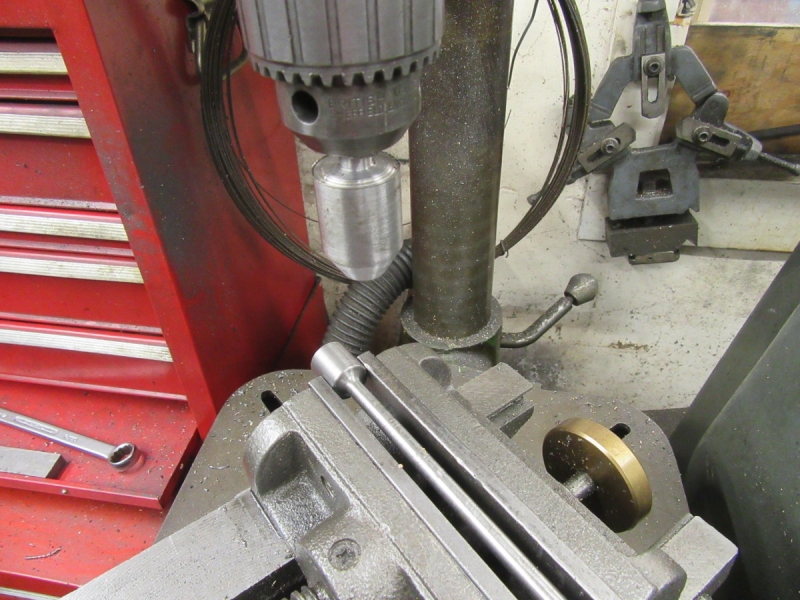
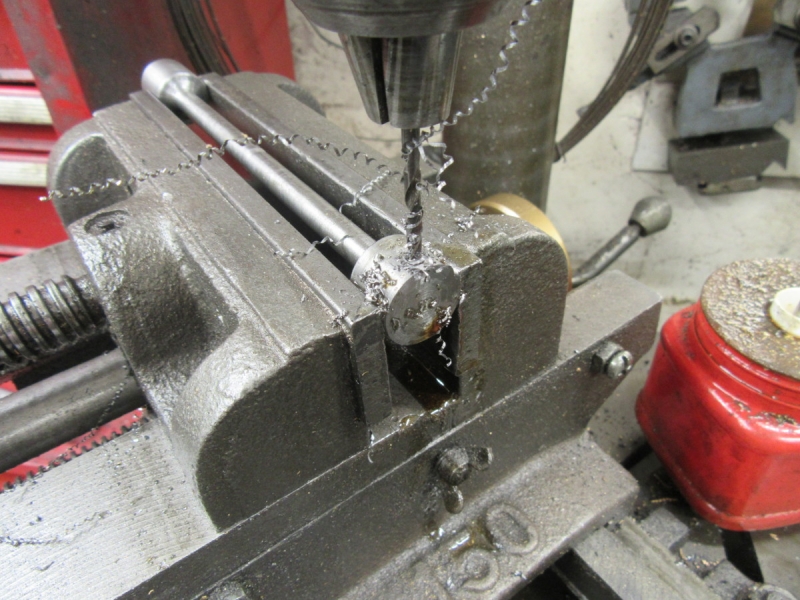
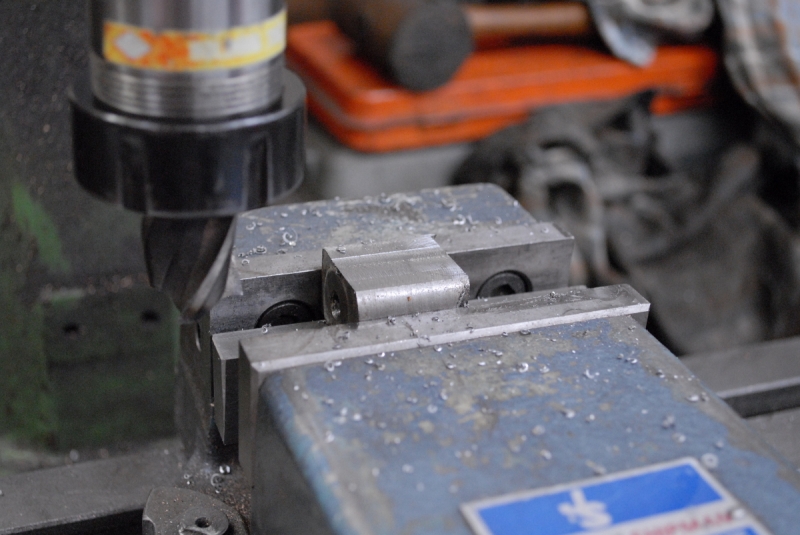
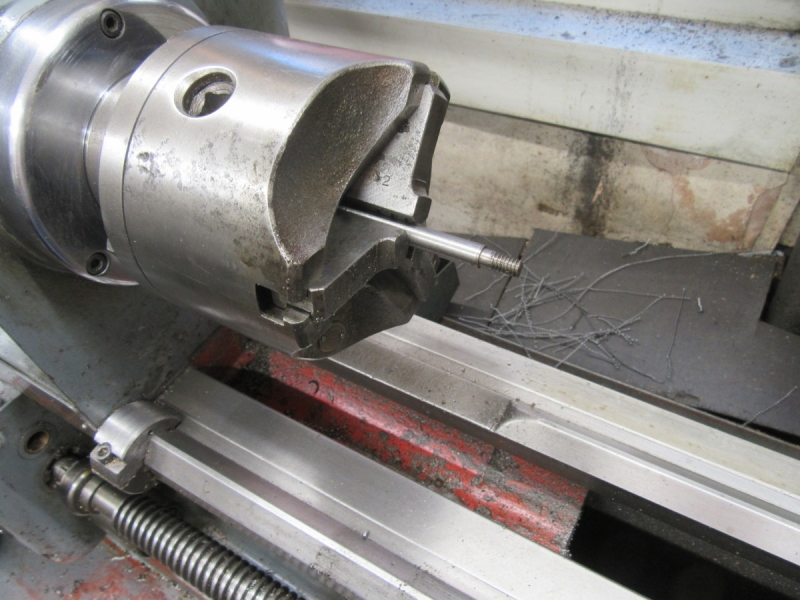
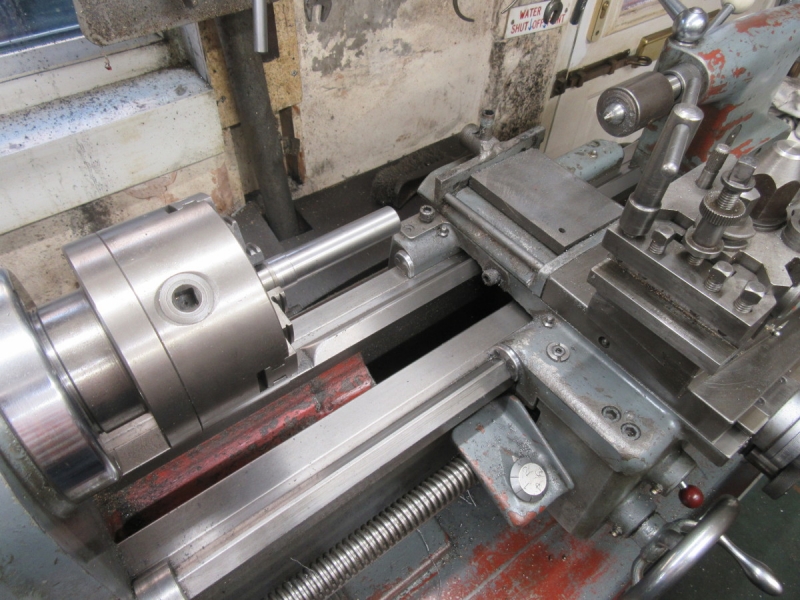
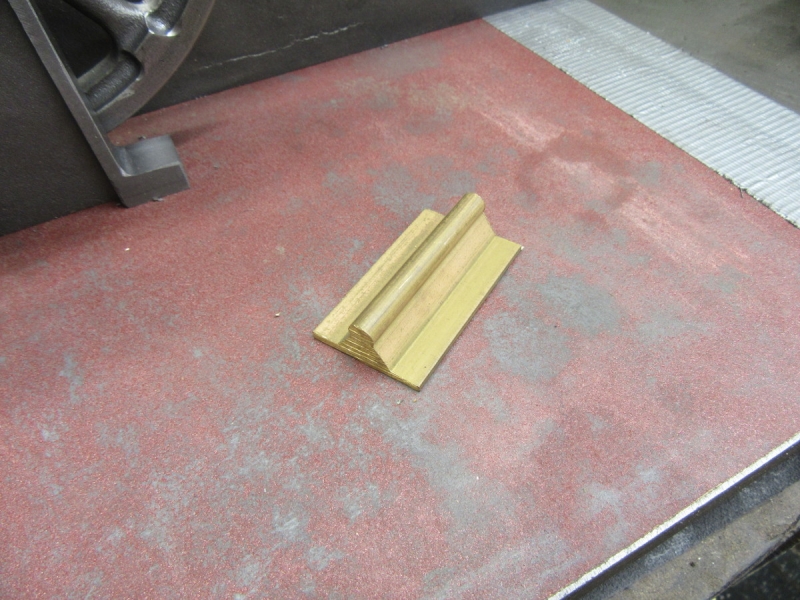
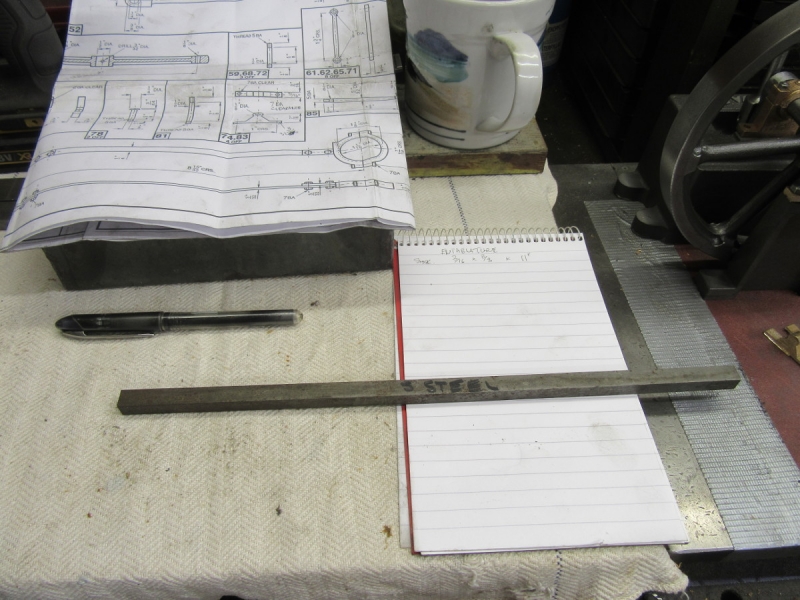
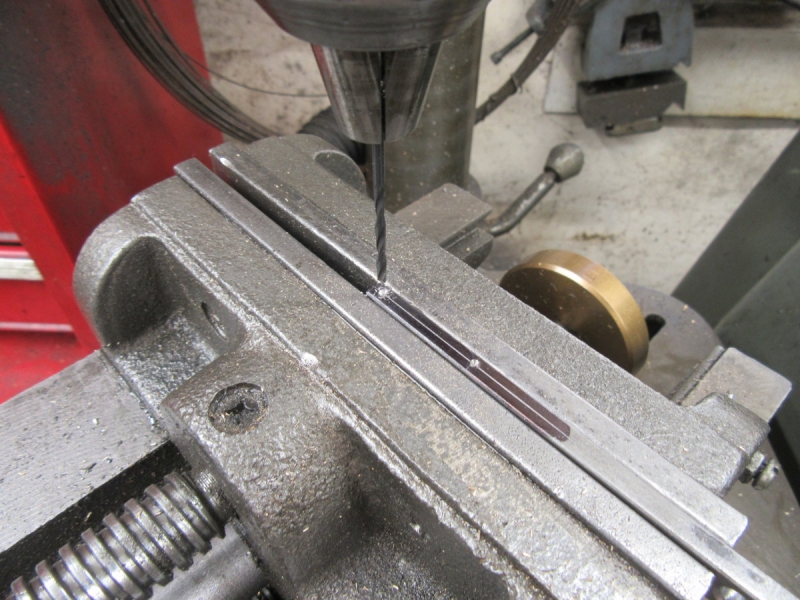
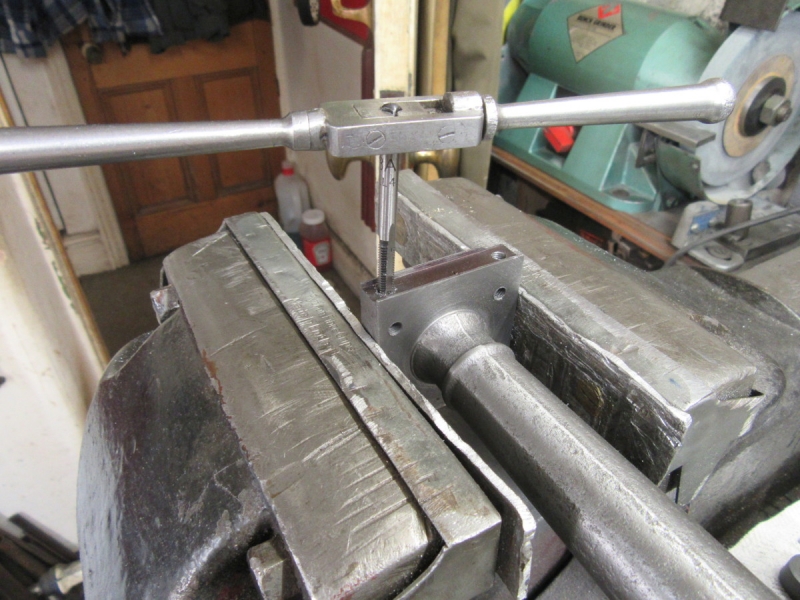
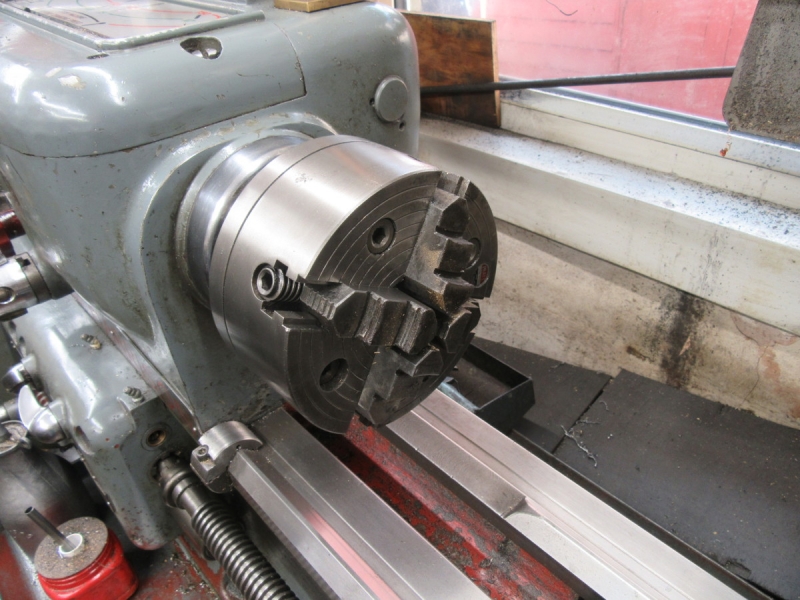
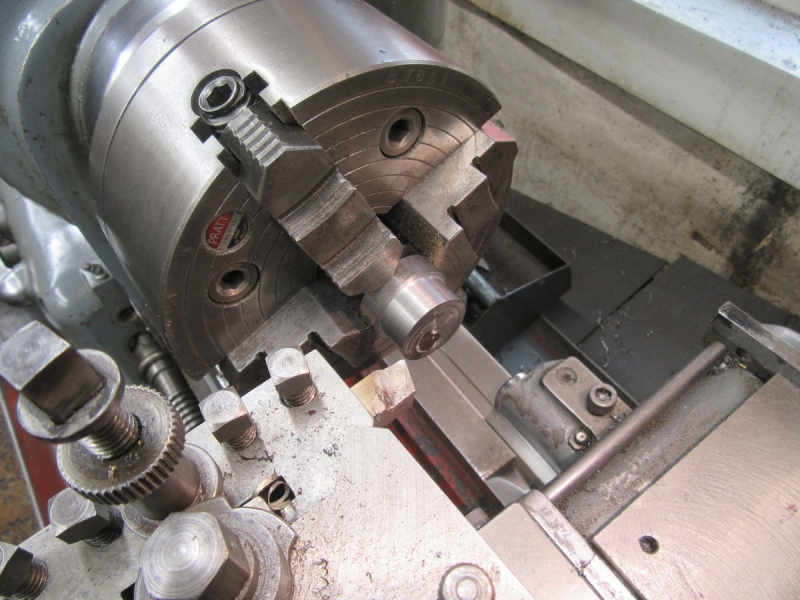
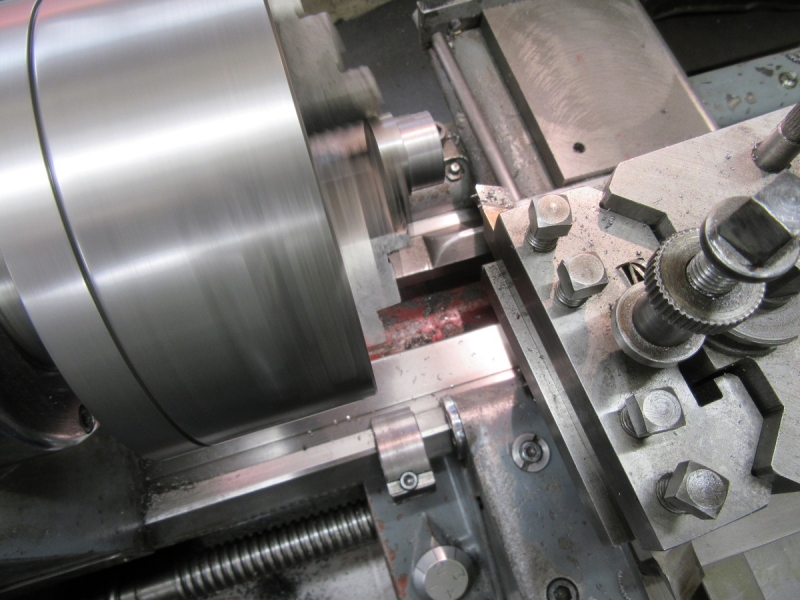
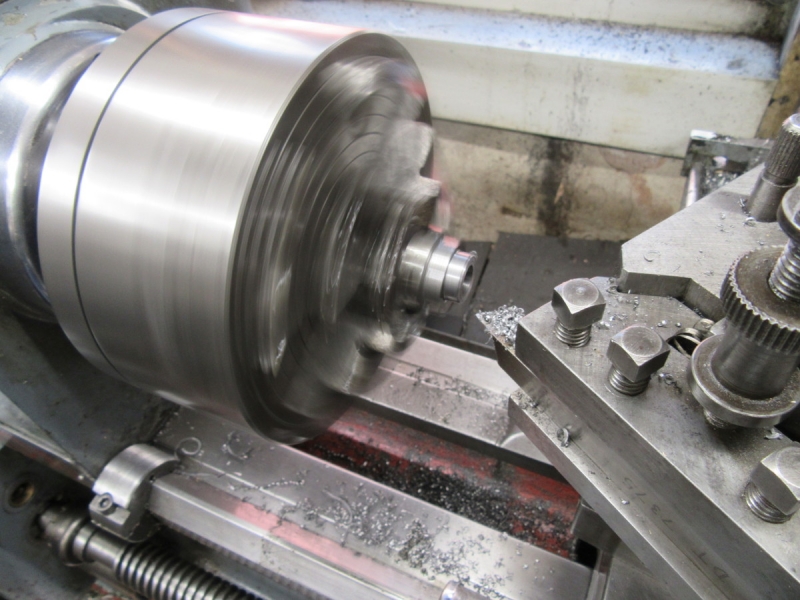
I changed the chuck for my most accurate 3 jaw in the expectation that the jaws would fit in the central hole but no way, far too big. So I went in the front room and tried the three jaw on the smaller 1927 lathe but that was no good either. Only one thing for it, I needed to make a 20mm tapered mandrel. So into the scrap box and I found this piece that was very close. I shall turn it to size and use it without disturbing it, that way it will be dead accurate. All I have to do is turn it close and put a very slight taper in it. Less than 2 thou over the approximately 5" length. Not an easy matter.

Image

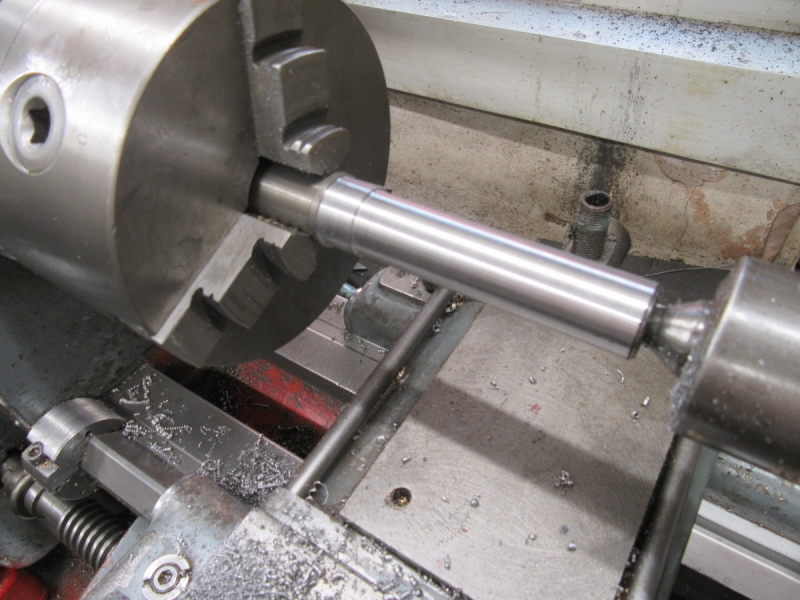
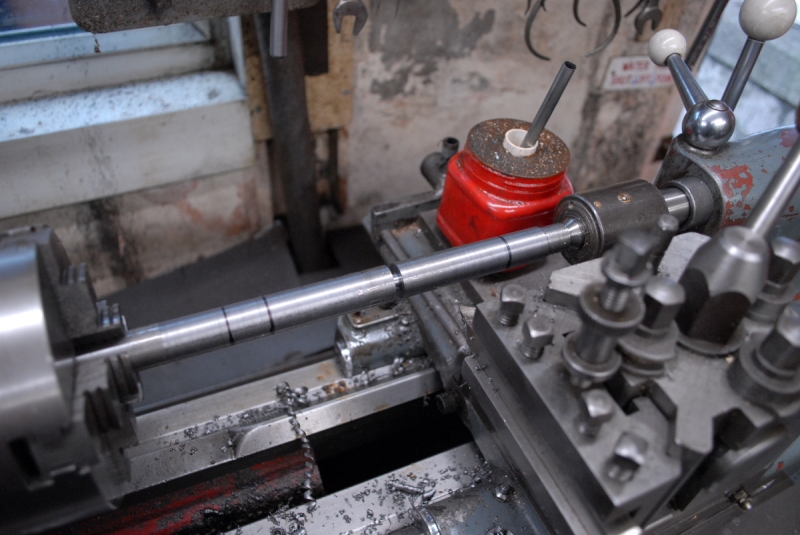
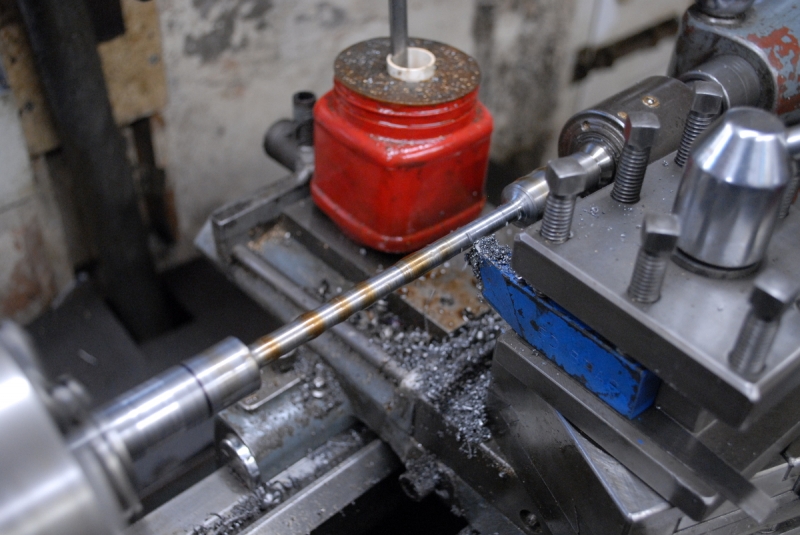
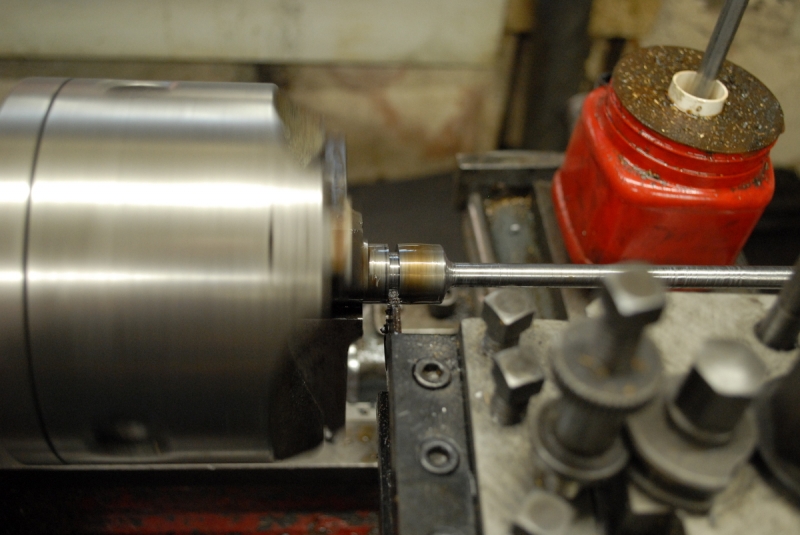
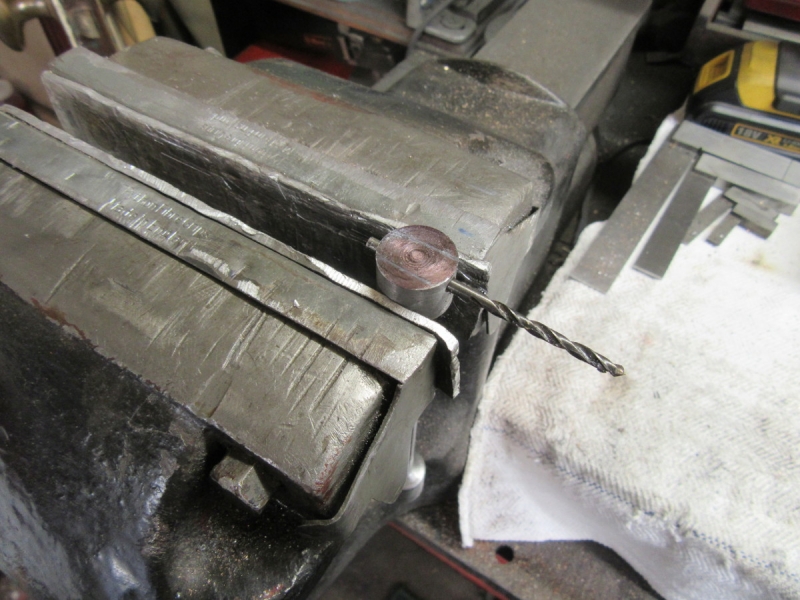
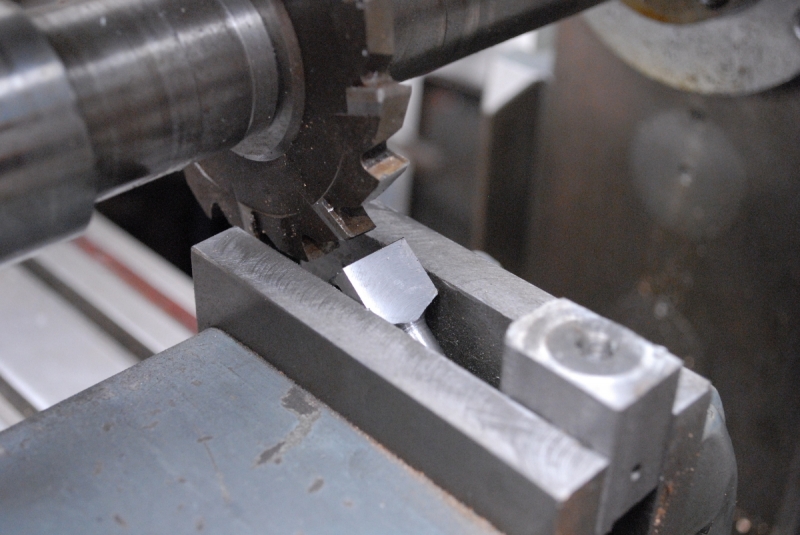
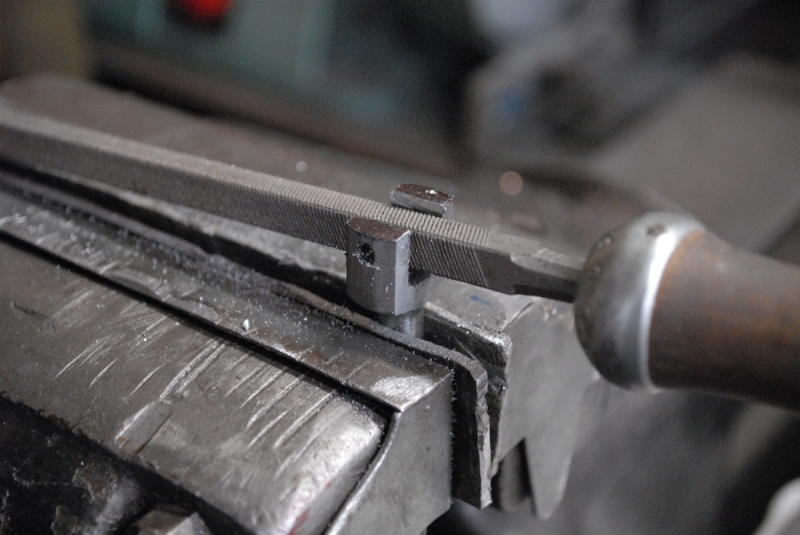
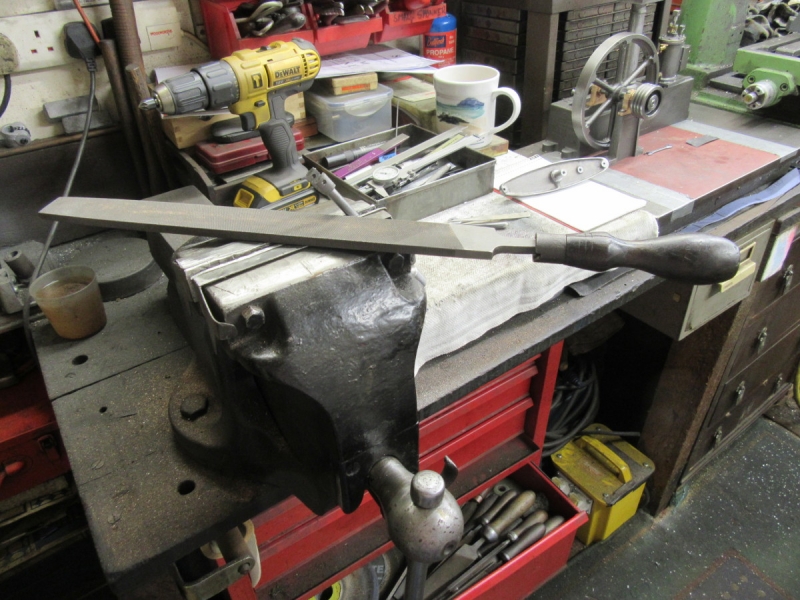
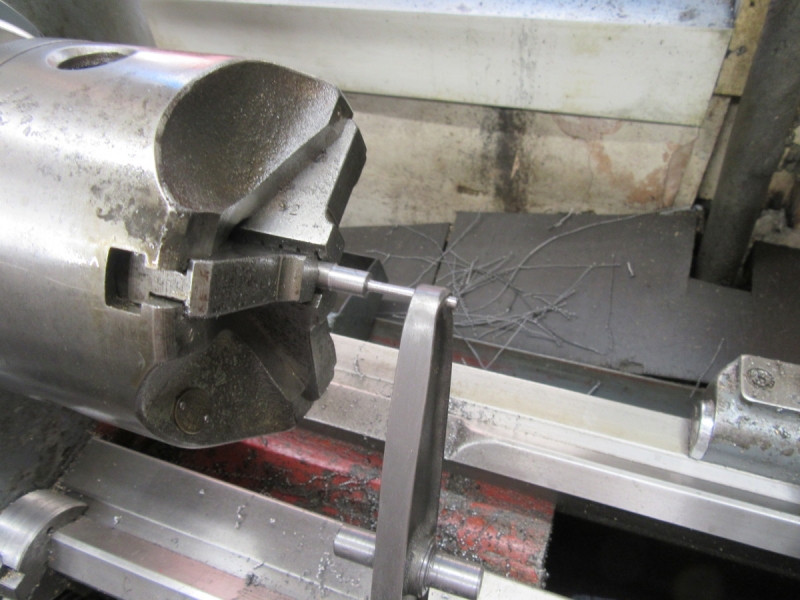
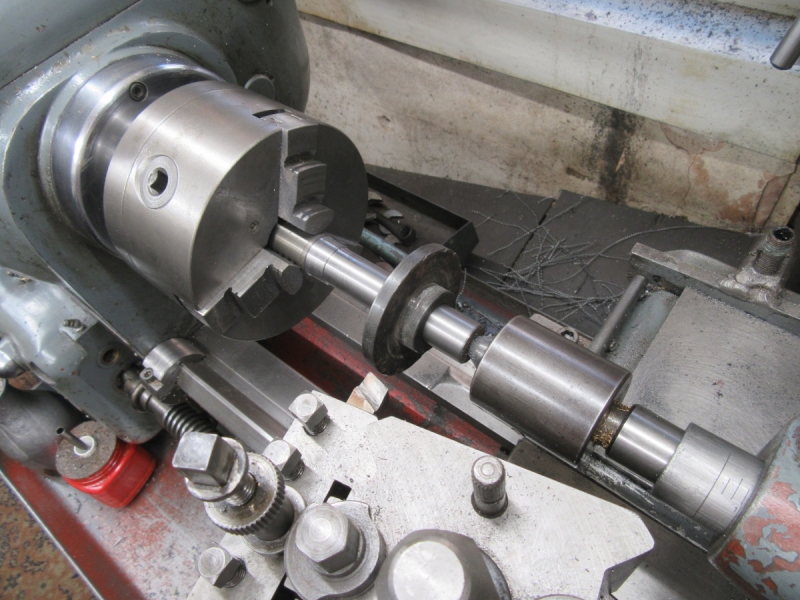
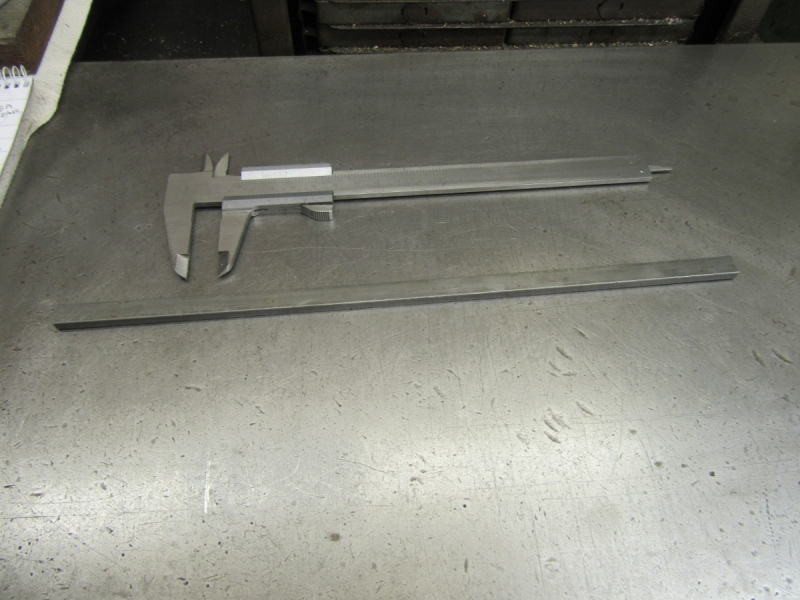
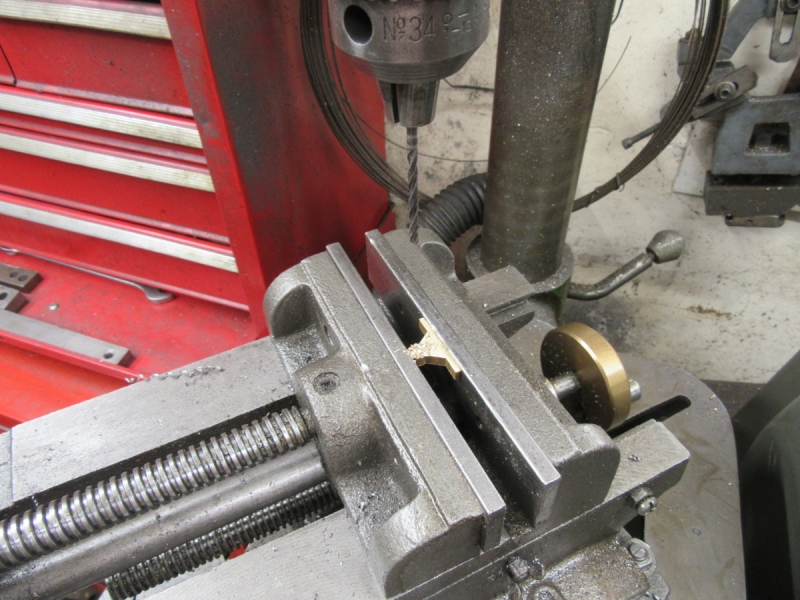
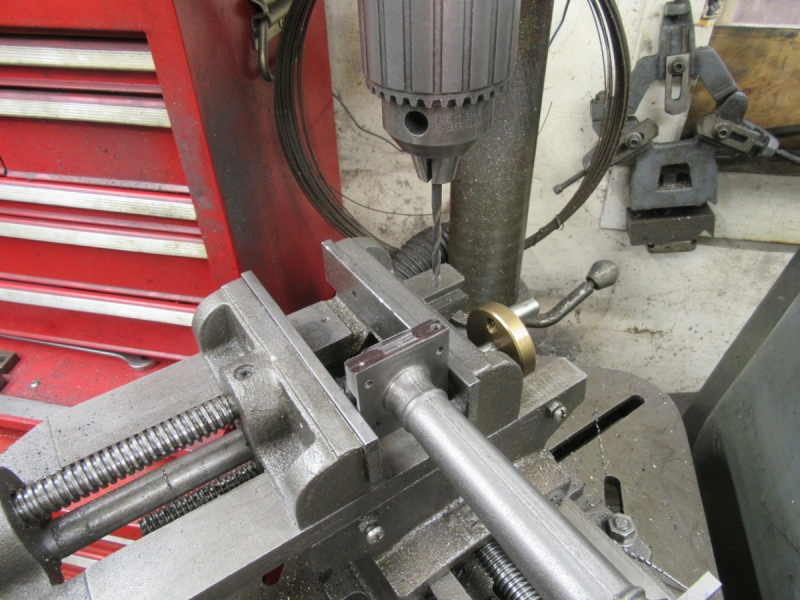
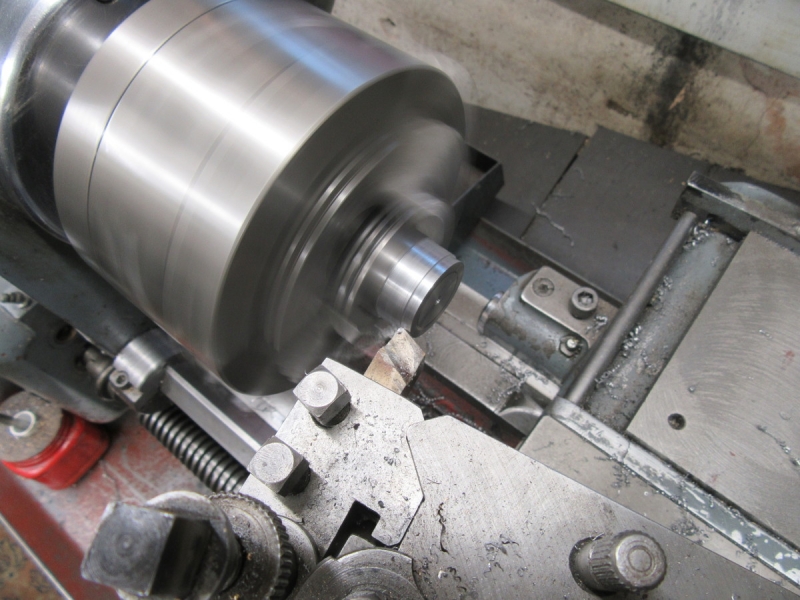
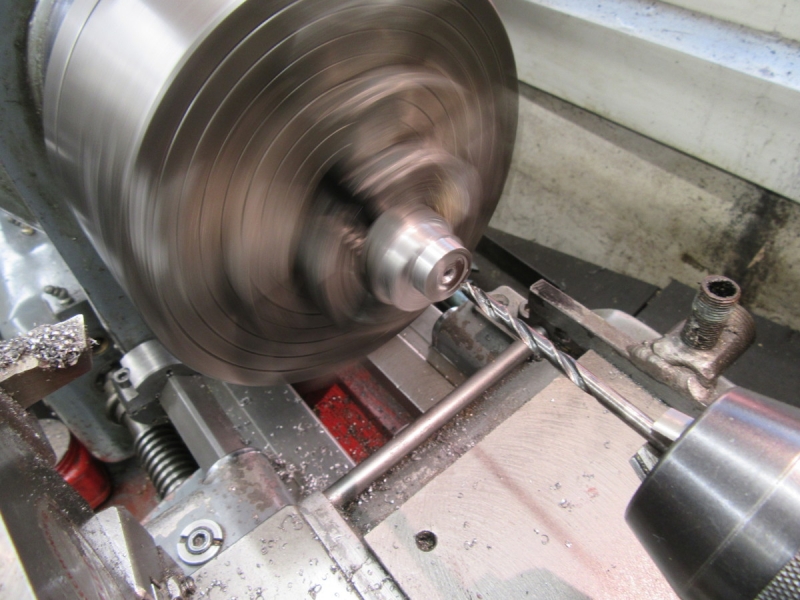
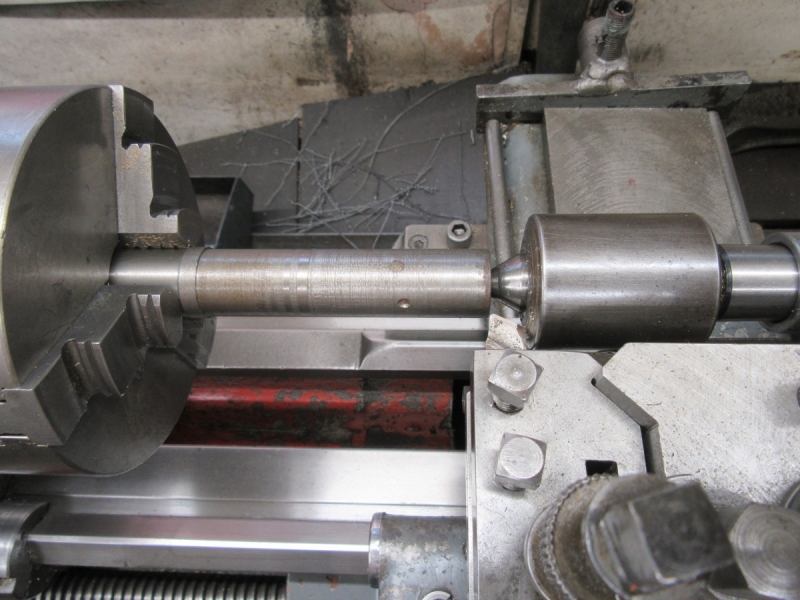
Here we are after some careful turning and the making of the taper by filing the mandrel and making the final adjustment with fine emery strip. Slow and needing a lot of patience but there was no way I could set the lathe accurately enough to make a taper as fine as this. I got there in the end and I could mount the plates simply by hand and tight enough to turn with very light cuts. It worked well.

Image

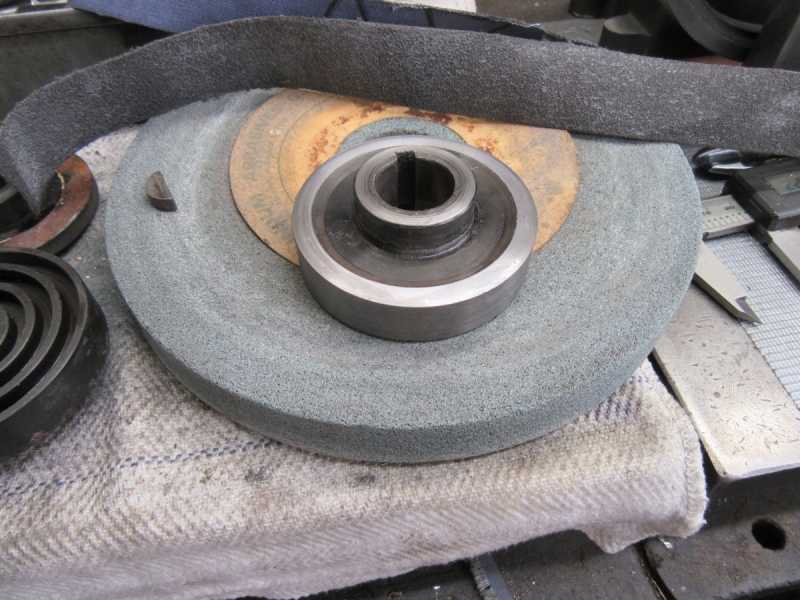
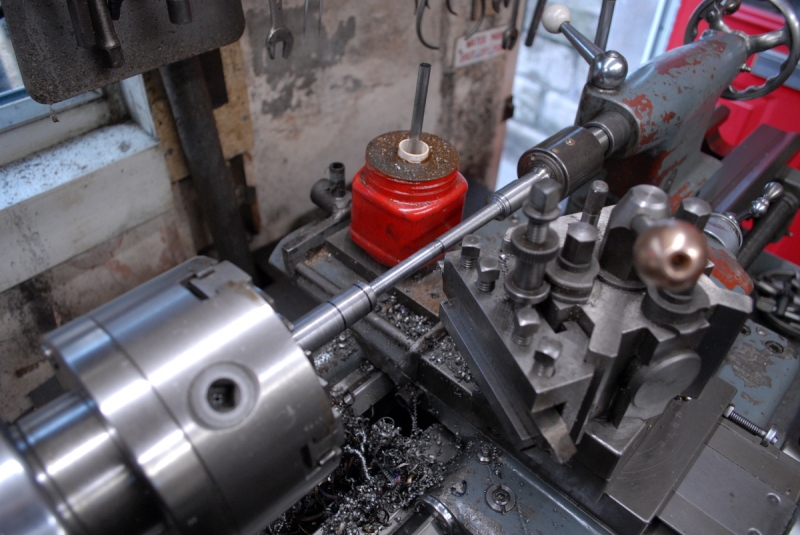
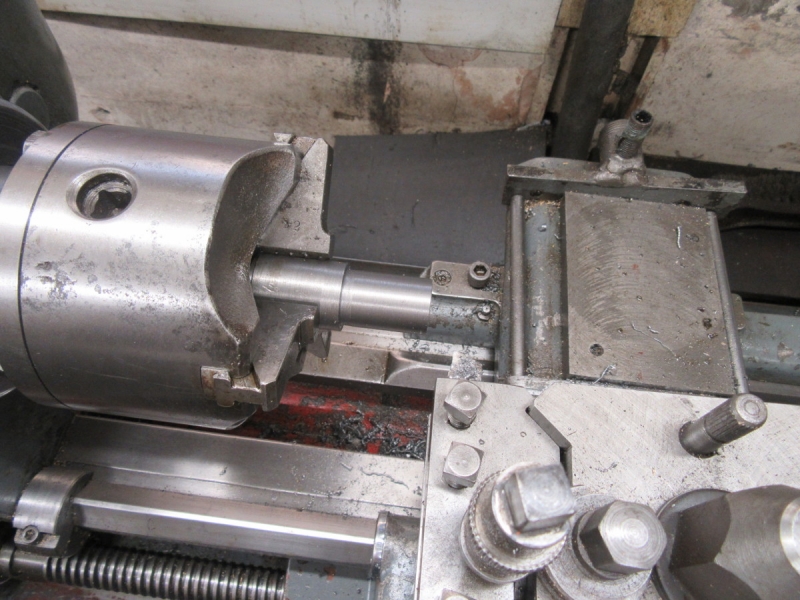
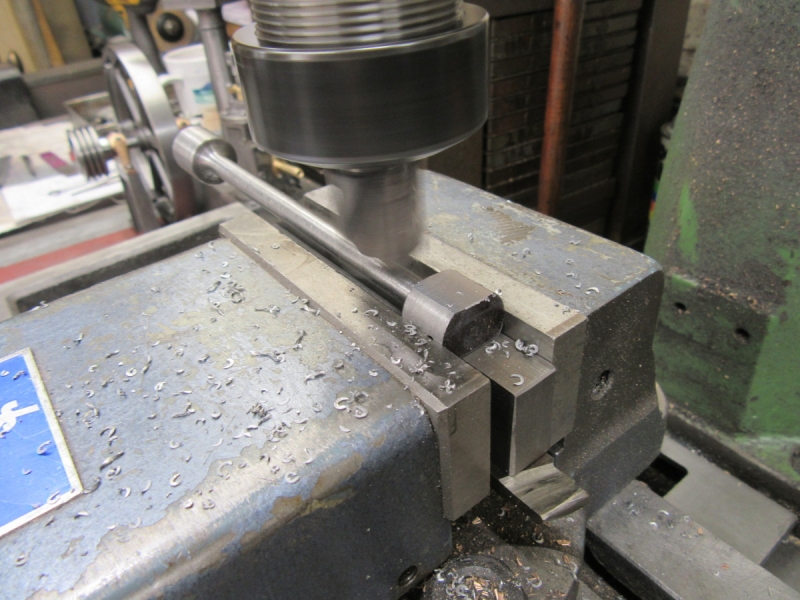
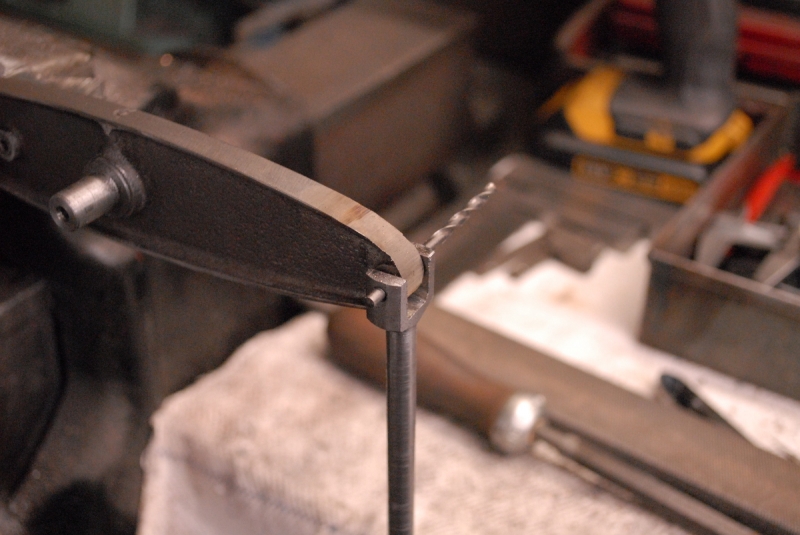
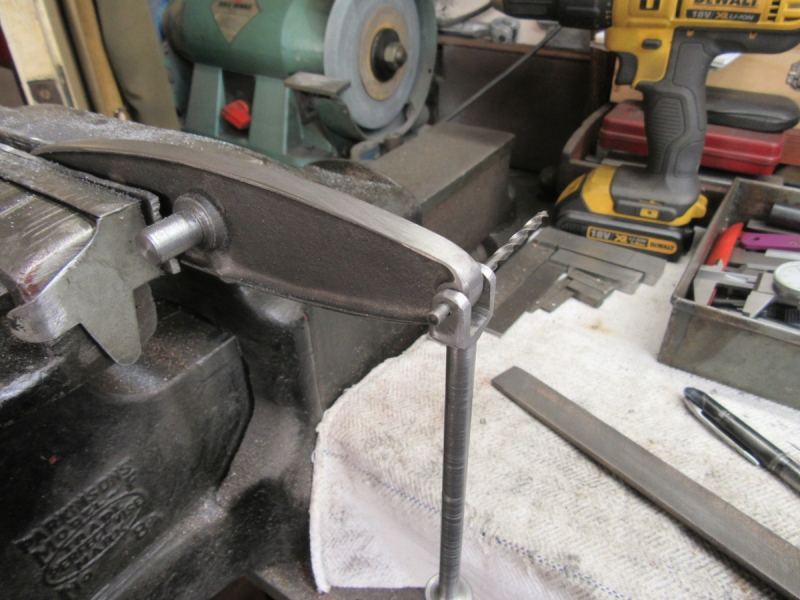
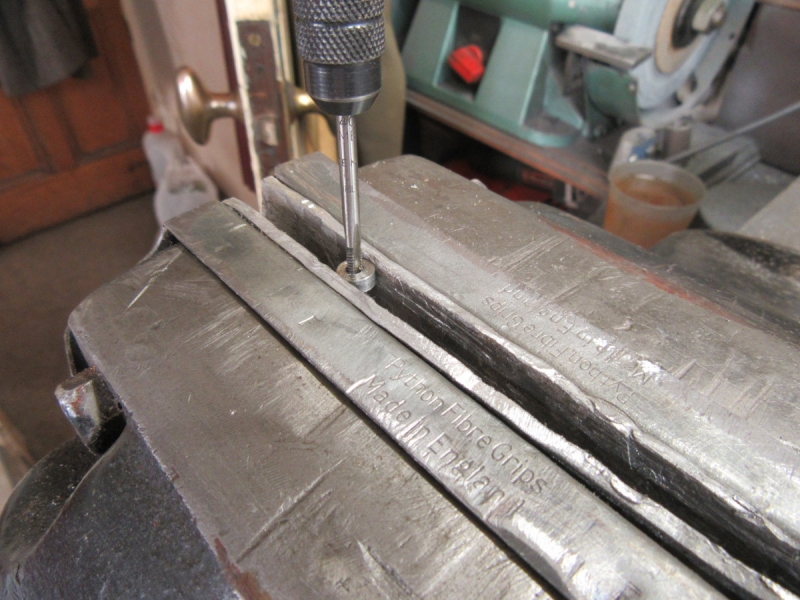
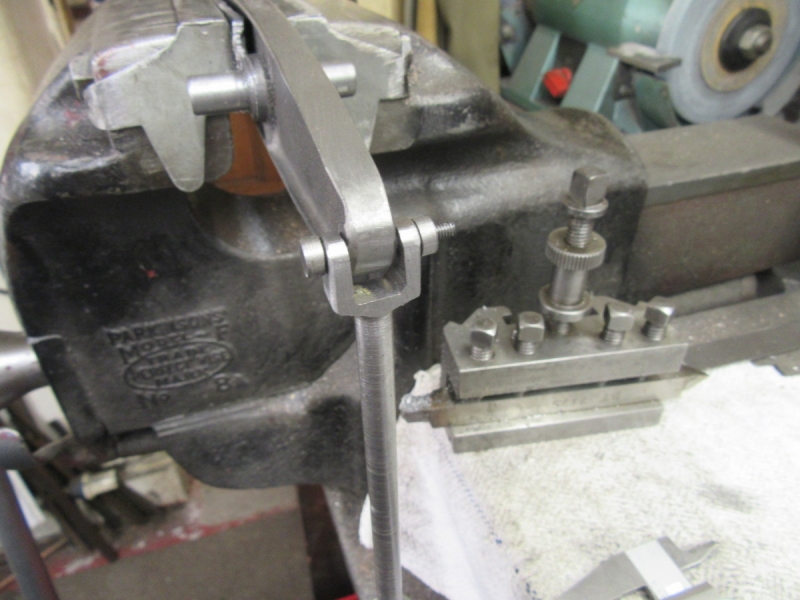
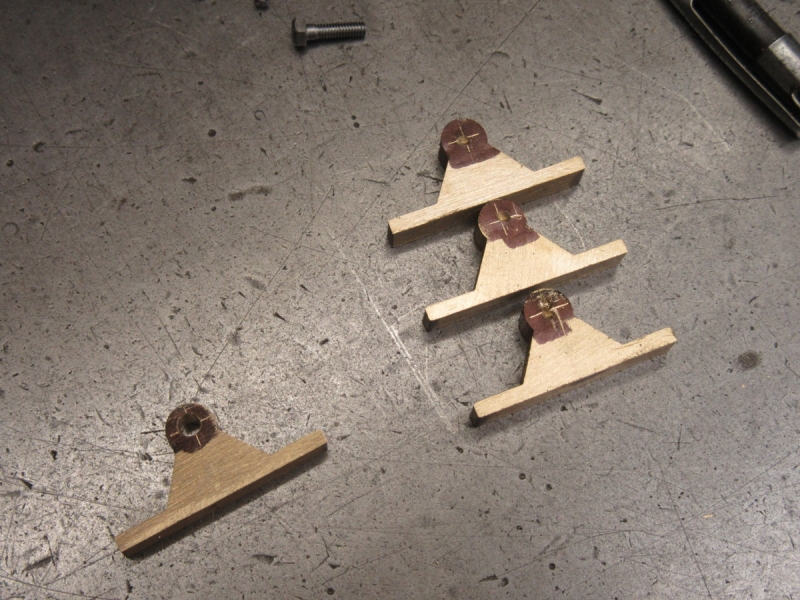
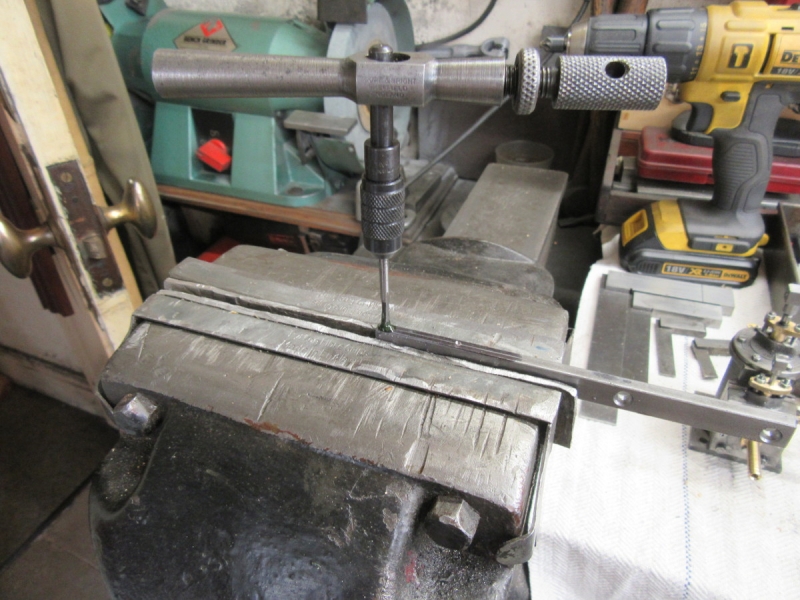
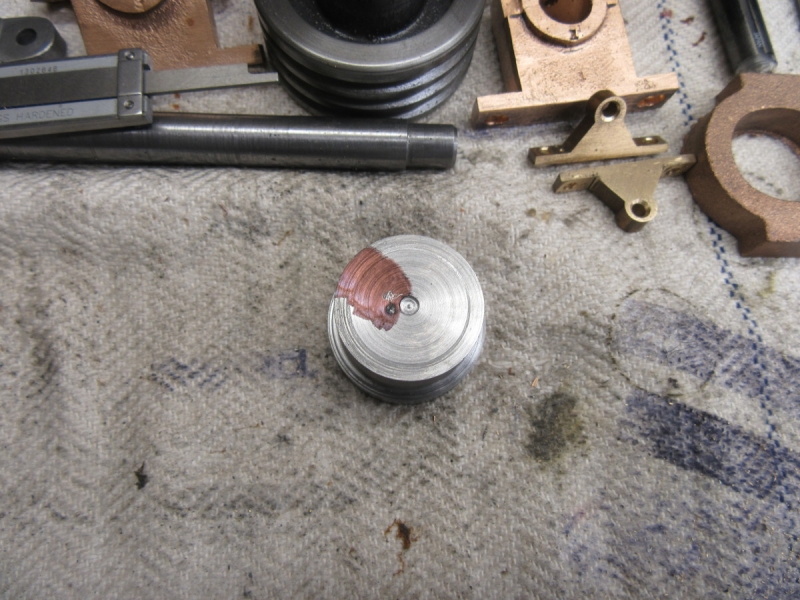
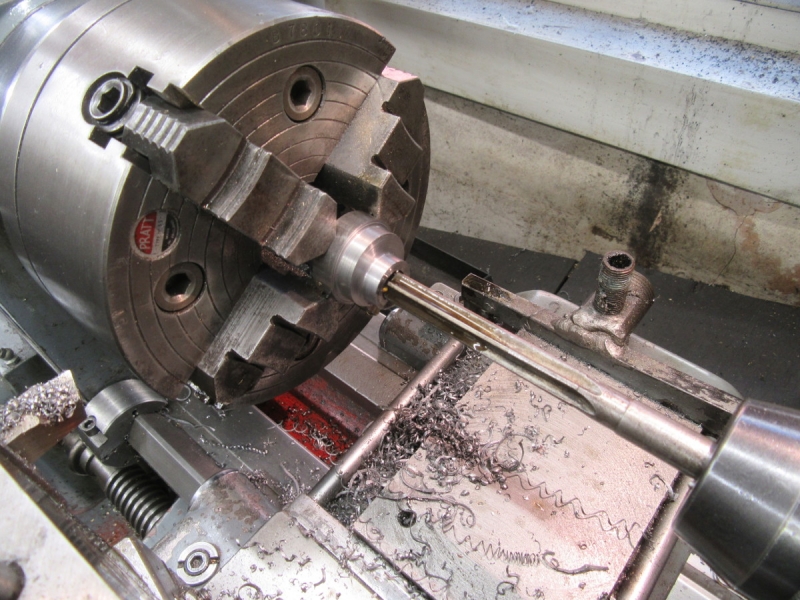
Here we are at knocking off time after more than 2 hours concentrated work. I am certain the mandrel is dead accurate and when I mounted this first plate it was slightly out on both the periphery and the mating face with the wheel. I don't think it was enough to cause serious vibration but there are three more and they could be worse. I shall find out tomorrow as it will be dead easy to do them.
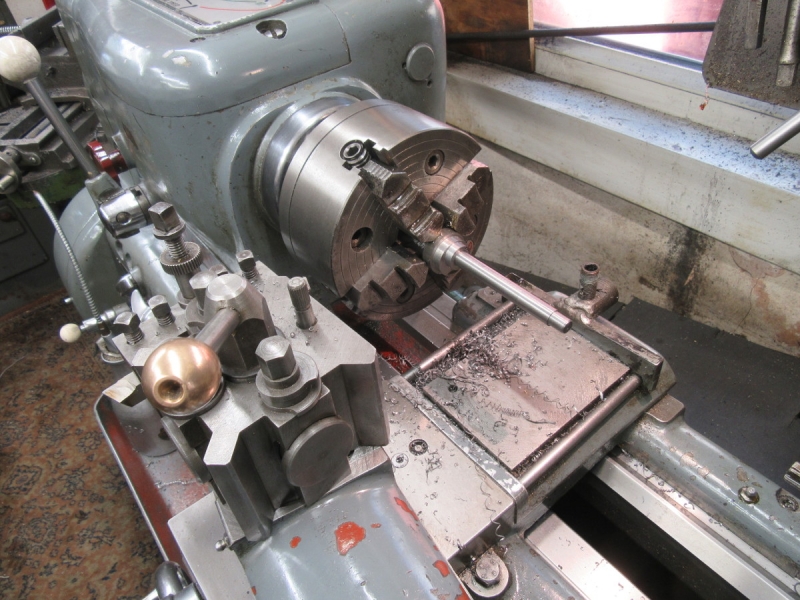
A good morning and I am satisfied with the work. Nice....
Stanley Challenger Graham
Stanley's View
scg1936 at talktalk.net

"Beware of certitude" (Jimmy Reid)
The floggings will continue until morale improves!
Magnu420
Newbie
Posts: 41
Joined: 15 Feb 2016, 20:49
Location: in a house in lancashire

Re: Shed Matters 3

Post by Magnu420 »

are the retaining plates have counter weights on them, the grinding wheel might need balancing

when i worked on cylindrical grinding and centreless grinding i had to balance a few wheels as the grinders had a little vibration,once balanced they need dressing
User avatar
Stanley
Global Moderator
Global Moderator
Posts: 90335
Joined: 23 Jan 2012, 12:01
Location: Barnoldswick. Nearer to Heaven than Gloria.

Re: Shed Matters 3

Post by Stanley »

I wouldn't give a bench grinder that needed counterweights to balance it house room! Everything from rotor to grinding wheels should be central and in balance and that's what I am aiming for.
Stanley Challenger Graham
Stanley's View
scg1936 at talktalk.net

"Beware of certitude" (Jimmy Reid)
The floggings will continue until morale improves!
User avatar
Stanley
Global Moderator
Global Moderator
Posts: 90335
Joined: 23 Jan 2012, 12:01
Location: Barnoldswick. Nearer to Heaven than Gloria.

Re: Shed Matters 3

Post by Stanley »

Image

Still chasing an improvement in my grinder but first some housekeeping. I gave Mrs Harrison a quick clean.

Image

Next I gave myself a treat. I think you might have noticed that, taking notice of how Johnny Pickles worked I like the hone the cutting edges of my HSS tools in an effort to get the best possible finish. I am a long established fan of Eze-Lap small diamond hones but have been lusting for one of their more serious diamond hones for a while. I bit the bullet this week and it arrived yesterday. I gave it it's first outing this morning and am delighted with it. A seriously good addition to the shop, I can do my tools with this and finish them of with the finer small laps.

Image

Next I made sure the bores of the retaining plates were clean. A big split pin with a strip of abrasive cloth trapped in it makes a good cheap flap wheel.

Image

Then down to business! I soon had the plates trued. All of them were slightly out of true and of course I have complete confidence in the mandrel because it has never been disturbed since I made it so it's running dead true.

Image

Then the only test that matters. I rebuilt the grinder and switched it on. Much better than it was but still a bit of vibration and I tracked that down to the right hand wheel. I did some adjustments to the paper pads and got it to a state where is is very acceptable. Ideally I would get a new wheel from a reliable maker but they are too expensive to justify the small improvement I would get so I'm calling it job done. Tomorrow I'll do another clean up but I have had enough exposure to dust already this morning when I dressed the wheels and readjusted the tool rests.
Main thing is that I have got the bug out of my system so I knocked off. Back to the beam engine tomorrow. I will have to have a long think about the way to go.
Stanley Challenger Graham
Stanley's View
scg1936 at talktalk.net

"Beware of certitude" (Jimmy Reid)
The floggings will continue until morale improves!
User avatar
plaques
Donor
Posts: 8094
Joined: 23 May 2013, 22:09

Re: Shed Matters 3

Post by plaques »

Magnu420 wrote: 13 May 2020, 13:40 are the retaining plates have counter weights on them, the grinding wheel might need balancing
I would go along with Magnu. a trim up with a diamond grit stone or single diamond then feel the vibration. Also the single slot keyway without any compensatory balance looks a bit suspicious.
User avatar
Stanley
Global Moderator
Global Moderator
Posts: 90335
Joined: 23 Jan 2012, 12:01
Location: Barnoldswick. Nearer to Heaven than Gloria.

Re: Shed Matters 3

Post by Stanley »

The keyway occurred to me but as it is almost filled by the Woodruff key I discounted it. Trimming with a diamond stone also occurred to me but think of the dust..... I came to the conclusion that the improvement I had gained was enough for a bloke in his 85th year! Certainly tolerable.
Stanley Challenger Graham
Stanley's View
scg1936 at talktalk.net

"Beware of certitude" (Jimmy Reid)
The floggings will continue until morale improves!
User avatar
Stanley
Global Moderator
Global Moderator
Posts: 90335
Joined: 23 Jan 2012, 12:01
Location: Barnoldswick. Nearer to Heaven than Gloria.

Re: Shed Matters 3

Post by Stanley »

Image

Image

Image

Time for a straight edge and a clean up before we go any further. Mrs Harrison has been deep cleaned and oiled. We have a clean tablecloth and the grinder has had a good clean to get rid of the dust.
Now I can have a think about the course forwards. Another thing that needs to be thought about is painting. Susan mentioned the other day how much she liked the cast finish. This chimes in with my thinking, I don't like the usual practice of bright colours. I am tending towards black lead or even boot polish for the cast surfaces. We'll see but that's the way my mind is working at the moment.
Stanley Challenger Graham
Stanley's View
scg1936 at talktalk.net

"Beware of certitude" (Jimmy Reid)
The floggings will continue until morale improves!
User avatar
Stanley
Global Moderator
Global Moderator
Posts: 90335
Joined: 23 Jan 2012, 12:01
Location: Barnoldswick. Nearer to Heaven than Gloria.

Re: Shed Matters 3

Post by Stanley »

It didn't take a lot of thinking to come to the conclusion that what we need next is a plinth so we can mount the engine on it. I have to have it firm to measure for fitting.

Image

Image

Image

Image

Image

Image

I don't think this needs a lot of explanation. I happened to have a piece of shelving about me and did the best I could (I am a lousy woodworker) to make it into a half decent base for the engine. It needs to dry now and then I can get the base fastened down and start fitting.
Stanley Challenger Graham
Stanley's View
scg1936 at talktalk.net

"Beware of certitude" (Jimmy Reid)
The floggings will continue until morale improves!
User avatar
Stanley
Global Moderator
Global Moderator
Posts: 90335
Joined: 23 Jan 2012, 12:01
Location: Barnoldswick. Nearer to Heaven than Gloria.

Re: Shed Matters 3

Post by Stanley »

Image

First job was to clean the plinth up and give it a light sanding. It will get distressed slightly as I do the build and look nicely worn in by the time I am finished.

Image

My thinking about the route forward started with a desire to get the base mounted on a board so I could fit the crankshaft and couple the con rod up but I soon realised that other matters have to be addressed before I am ready for that. Essentially I can't fit the base until all my fixing holes are drilled and tapped and before I can do that I need to finish the elements which have to be bolted on. That's why we start with this casting. I need to make 4 sections from it and drill them to form two brackets for the bed and two for the entablature. The problem is cutting 4 X 3/16" wide segments by hand absolutely square. No mean task when your eyes are as bad as mine.

Image

After a bit of thought I decided on this, using the miller vice as a square and using a new 24 tooth all hard blade. I am not going to live forever. No need to economise! (Have you seen the price of all hard Eclipse hacksaw blades lately?)

Image

Not a bad result, quite accurate and all they need now is rubbing down on the abrasive mounted on the surface plate.

Image

Next stage was that I have to make the entablature for the column. Problem was that when I looked for the stock I had never received it. It should be 11" of 3/16" X 3/8" and after a search I found this 3/8" square silver steel. I shall have to make what I need.

Image

Here we are at knocking off time. Looks a bit of a mess but it's good progress. If you look at the bed you'll see two of the brackets, the other two go on the entablature, notice I have rubbed them down to size and polished them on the abrasive. The silver steel needs reducing but that's just a milling job. I know what I have to do tomorrow, finish the brackets and the entablature beams. The latter need to be fitted to the columns.
Stanley Challenger Graham
Stanley's View
scg1936 at talktalk.net

"Beware of certitude" (Jimmy Reid)
The floggings will continue until morale improves!
User avatar
Stanley
Global Moderator
Global Moderator
Posts: 90335
Joined: 23 Jan 2012, 12:01
Location: Barnoldswick. Nearer to Heaven than Gloria.

Re: Shed Matters 3

Post by Stanley »

Image

We start the day on a positive note. As usual, when I settled for sleep last night I went into the shed in my head and a thought occurred to me, I had a nagging suspicion that I did have the piece of stock that was missing. This morning I went straight to it, it was laid with my rulers and the reason why it was there was because it was too long to go into the box with the other parts. Amazing what your brain does when you are asleep if you give it the information and the question. Nice....

Image

First before I do anything else I need to strip the column back so it is easy to handle as I fit the entablature which involves drilling and tapping.

Image

Next I cut the bars to approximate length, squared the ends, adjusting the length to the required 5 3/32" and de-burred them. Then some careful measuring and marking of the position of the 2 2BA clearance holes in the bar where it attaches to the column. Then under the pillar drill, drill the 3/16" clearance holes and countersink them.

Image

Next I addressed the holes that have to be drilled and tapped 7BA to attach the brackets which support the parallel motion. Small BA sizes are hard to identify so I went into the fastenings kit that came with the castings and identified the eight set screws I need for the entablature and also for the other two brackets on the base. The main reason was that there is no information on the drawings about the depth of the tapping holes needed. I hit another problem, you can see it here, the screws provided are not set screws but bolts and they haven't enough thread on them to attach the brackets.

Image

Here's where I ended up at knocking off time. The first job tomorrow is to extend the threads on the bolts so they become, in effect, set screws. I'd done two hours and decided that could wait until tomorrow!
Stanley Challenger Graham
Stanley's View
scg1936 at talktalk.net

"Beware of certitude" (Jimmy Reid)
The floggings will continue until morale improves!
User avatar
Stanley
Global Moderator
Global Moderator
Posts: 90335
Joined: 23 Jan 2012, 12:01
Location: Barnoldswick. Nearer to Heaven than Gloria.

Re: Shed Matters 3

Post by Stanley »

Image

First job was to convert the 7BA bolts into set screws. Challenging for my old eyes! But quietly away I got them done.

Image

I have to drill all the holes in the bearings themselves before I can fit them, here they are waiting. As part of the preparation for this I had to consult the drawings, check my sizes and check and identify tapping drills, taps and clearance drills. Then I needed to replace my go to 1/8" drill, can't remember how old it is! I had to go and root in my spare drills and you wouldn't believe how long that took me. But first I had to mark for the holes for the shafts....
(Notice that my bolts are now set screws.)

Image

Then under the pillar drill and drill the shaft holes with a newly checked and sharpened 1/8" drill. A big improvement!

Image

Here we are at knocking off time, one bearing has the shaft hole in but I am set up for the next three. Fiddly and the constant checking I have to do takes time. But the result is OK and no cock-ups! That'll do me...
Stanley Challenger Graham
Stanley's View
scg1936 at talktalk.net

"Beware of certitude" (Jimmy Reid)
The floggings will continue until morale improves!
User avatar
Stanley
Global Moderator
Global Moderator
Posts: 90335
Joined: 23 Jan 2012, 12:01
Location: Barnoldswick. Nearer to Heaven than Gloria.

Re: Shed Matters 3

Post by Stanley »

Image

First job was to drill the bearing holes in the other three pedestals and countersink them.

Image

Next was drill the clearance holes in the bases of the pedestals for the 7BA set screws that will hold them down.

Image

Box on!

Image

Then into the bit I have been dreading. Drilling and tapping the entablature beams for the 7BA set screws. The game plan is to just do one on each beam, attach the bearing and drill for the second tapping through the clearance hole in the base. That way I get them dead accurate.

Image

Then a dreadful 20 minutes tapping one 7BA hole through the steel beam. Decided the next one would be the next size up! (Imagine breaking a tap off in the hole...)

Image

First one done! That's progress.

Image

Knocking off time after two stressful hours. The eagle eyed will note that the second beam has a different set screw. Due to my lousy eyes I picked the wrong drill for the second beam. Easy to tap but too easy, I had gone two sizes up instead of one. No hold. So I popped a 6BA tap through the same hole and used a 6BA setscrew. That got me to thinking about doing the rest of them 6BA but I found a better 7BA tap and the right drill so I'll stick with that. If it goes pear shaped I can always go up to 6BA!
A hard morning....
Stanley Challenger Graham
Stanley's View
scg1936 at talktalk.net

"Beware of certitude" (Jimmy Reid)
The floggings will continue until morale improves!
User avatar
Stanley
Global Moderator
Global Moderator
Posts: 90335
Joined: 23 Jan 2012, 12:01
Location: Barnoldswick. Nearer to Heaven than Gloria.

Re: Shed Matters 3

Post by Stanley »

Image

Straight into finishing attaching the bearings to the entablature beams. I have found a better tapping drill, spotted the location through the hole in the pedestal with the clearance drill, swung the bearing out of the way, drilled and tapped it and nipped the bolts.

Image

Success and largely due to the fact I found an HSS tap, expensive but far better than el cheapo carbon steel ones!

Image

Now I turn my attention to the column. One thing I noted during an early fitting session on the con-rod was that the beam fouls the column before it reaches bottom dead centre. So out with a good file and take some metal off. It's guesswork but means less fitting when I do the final build.

Image

I've marked the base casting for the column and here I am drilling the holes with a tapping drill for 2BA.

Image

Then into the vice and tap them very carefully!

Image

Next set of mounting holes needed is for the cylinder. These are bit more tricky as the two under the valve chest are masked. So I have set up to drill and tap the easy ones first. Here I have marked and put two pop marks in. This is where I will start tomorrow.

Image

You wouldn't think I had already put a lot of tackle away! I must have been busy. A nice morning and good progress.
Stanley Challenger Graham
Stanley's View
scg1936 at talktalk.net

"Beware of certitude" (Jimmy Reid)
The floggings will continue until morale improves!
User avatar
Stanley
Global Moderator
Global Moderator
Posts: 90335
Joined: 23 Jan 2012, 12:01
Location: Barnoldswick. Nearer to Heaven than Gloria.

Re: Shed Matters 3

Post by Stanley »

Image

I started by drilling the two holes I had marked yesterday for the cylinder holding down bolts.

Image

The first two were fine. Once I had them tightened down I marked the other two under the valve block.

Image

I tapped them...

Image

A bit of fiddling and the other two fit. I mounted the column as well to check that they were OK.

Image

Next job was to drill the holes in the lugs for the holding down bolts on the base plate. Always handy to have a few long series drills about in the smaller sizes.

Image

Next I marked, drilled and tapped the holes for the holding down bots of the inboard crankshaft bearing.

Image

I told you it would suddenly start to look like an engine!

Image

I thought I had finished but then remembered one last small job.

Image

I needed to countersink the holes in the holding down lugs.
I always say that we spend most of our time making lumps of metal smaller. We also drill a lot of holes in them. This morning's work was a good example and it isn't over. All the drilling and tapping I have done this morning is on the large(!) 2BA set screws, relatively stress free. Now I need four 7BA drillings to attach the small bearings for the valve gear, same size as the ones holding the identical bearings on the entablature beams. I decided to stop, I'd done two hours and I want to be fresh for them!
Good progress this morning, nice.
Stanley Challenger Graham
Stanley's View
scg1936 at talktalk.net

"Beware of certitude" (Jimmy Reid)
The floggings will continue until morale improves!
User avatar
Stanley
Global Moderator
Global Moderator
Posts: 90335
Joined: 23 Jan 2012, 12:01
Location: Barnoldswick. Nearer to Heaven than Gloria.

Re: Shed Matters 3

Post by Stanley »

Image

Here's the task. I've decided that I do it the long way round, step by step and all measurements and marking done with the shaft in place so that alignment is assured. I shan't burden you with a lot of text, just the pics.

Image

One note. Notice I have put a witness mark on the base and it's on the bearing as well. Don't want to get them mixed up!

Image

Image

Image

Image

I think you can see the repetition and the use of the shaft. Everything went well but I was very careful and slow.

Image

Knocking off time, almost two hours but a good result for a bloke who can't see! The shaft is tight but turns, no problem at all. A slow, demanding morning requiring a lot of patience but a perfect result. That'll do!
Stanley Challenger Graham
Stanley's View
scg1936 at talktalk.net

"Beware of certitude" (Jimmy Reid)
The floggings will continue until morale improves!
User avatar
Stanley
Global Moderator
Global Moderator
Posts: 90335
Joined: 23 Jan 2012, 12:01
Location: Barnoldswick. Nearer to Heaven than Gloria.

Re: Shed Matters 3

Post by Stanley »

Image

This is today's job, drilling and tapping the head of the column 2BA so I can attach the entablature beams which are the basis of the most ticklish part of the build, the parallel motion. Usual drill, Mark punch drill and tap. As with the small bearings I did yesterday I shall do all my measuring and marking with the 1/8" shaft in place to ensure accuracy. So, quietly away checking everything time and time again.

Image

Image

Image

Image

I think you can follow that. A bit of filing and fitting was needed to get a perfect fit in the groove on the head of the column and then some adjustment to the length of one beam. Here we are at knocking off time after 90 minutes in the shed. All is well I think, another nice morning and step forward
Stanley Challenger Graham
Stanley's View
scg1936 at talktalk.net

"Beware of certitude" (Jimmy Reid)
The floggings will continue until morale improves!
User avatar
Stanley
Global Moderator
Global Moderator
Posts: 90335
Joined: 23 Jan 2012, 12:01
Location: Barnoldswick. Nearer to Heaven than Gloria.

Re: Shed Matters 3

Post by Stanley »

Image

I've made up my mind. It's ideal painting weather outside so I am going to give the cast surfaces a coat of black Hammerite.

Image

First thing to do was put all the tackle away and clear the decks. Then strip off all the bearings etc so I have all the castings uncluttered. I made an exception of the entablature bars and noted that I still had to drill the mounting holes in the outrigger support for the crankshaft so I dug a long series drill out and did them.

Image

Then a flit outside for I suppose nearly an hour of close attention and painting. Perfect conditions and whilst I am by no means a good painter I did a reasonable job.

Image

Knocking off time. Brushes cleaned and everything put away. I think they look better. The finish is a bit too raw for me but as I do my fitting and handle the castings I will distress them a bit and tone them down. A good decision I think. Plenty of time for the paint to harden as the next job in the preparation for mounting the engine on its baseboard is to make the valve eccentric and operating rod. Then I'm into parallel motion and valve gear which can all be done with the engine assembled. In fact it's the only way to do it and check the geometry.
But that's for tomorrow. A good hour and a half. I enjoyed it.
Stanley Challenger Graham
Stanley's View
scg1936 at talktalk.net

"Beware of certitude" (Jimmy Reid)
The floggings will continue until morale improves!
User avatar
Stanley
Global Moderator
Global Moderator
Posts: 90335
Joined: 23 Jan 2012, 12:01
Location: Barnoldswick. Nearer to Heaven than Gloria.

Re: Shed Matters 3

Post by Stanley »

Image

Today I have to make an eccentric but as usual I got diverted. My slides on the lathe were a bit stiff so I oiled them but used a little lubricator I haven't used for a while so it needed cleaning out. It worked well.

Image

This was a mistake actually, I used the bit of stock that came with the castings, I should have gone into the scrap box and got a longer piece. First thing was to turn it down to the diameter I want and at this point I decided to make a change and not do it their way, my way is easier and avoids cutting tiny internal grooves in tiny pieces of bronze.

Image

Then mark the offset of the eccentric.

Image

Now I need the 4 jaw on Mrs Harrison.

Image

I'm not going to burden you with the long and ticklish struggle to get the stock set up properly for the offset.

Image

Can you remember me making a carriage stop for Mrs Harrison? Hardly ever use it but it's ideal for this job. I started cutting the eccentric boss 10 thou at a time. Then an extended interlude of hand turning.

Image

The boss is done, now drill it on the same centre to fit on the crankshaft. Started small and gradually increased until I was 1/64" under size.

Image

Then I reamed it.

Image

Then a trial fit of the shaft. Perfect!

Image

Last touch I faced the boss and put a bevel on it. That will do, two and half hours, I needed to stop and have a sit down. We'll see later if my alteration to the eccentric will work. If it doesn't I shall have to make another but I think it could be all right....
Stanley Challenger Graham
Stanley's View
scg1936 at talktalk.net

"Beware of certitude" (Jimmy Reid)
The floggings will continue until morale improves!
Post Reply

Return to “Crafts”