Shed Matters 3

User avatar
Stanley
Global Moderator
Global Moderator
Posts: 90301
Joined: 23 Jan 2012, 12:01
Location: Barnoldswick. Nearer to Heaven than Gloria.

Re: Shed Matters 3

Post by Stanley »

Image

Image

Image

Image

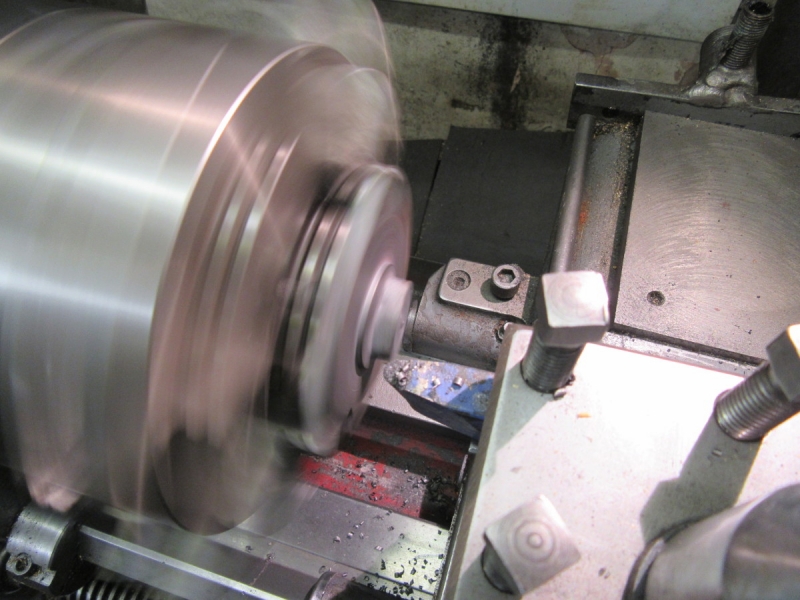
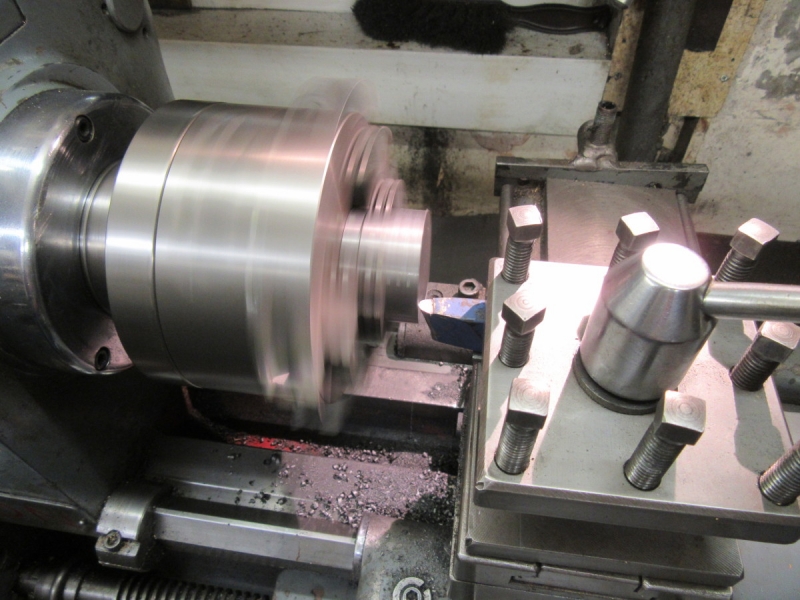
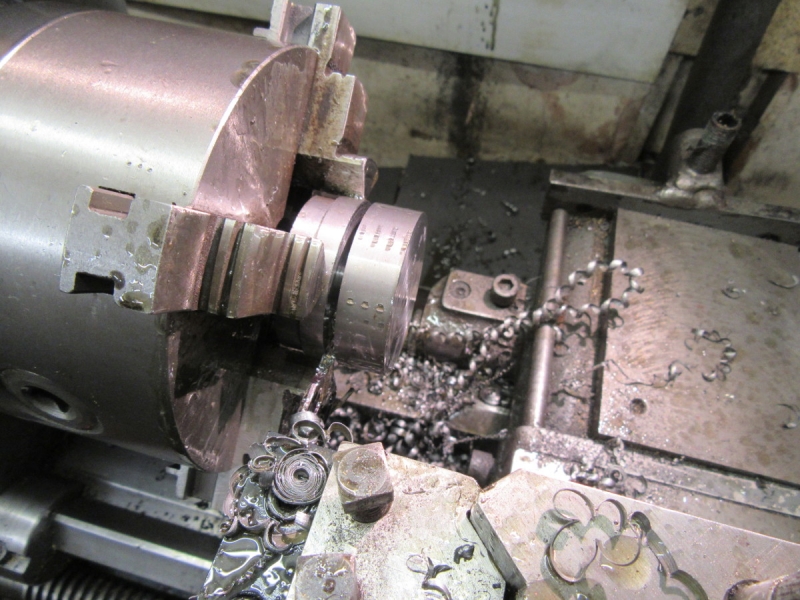
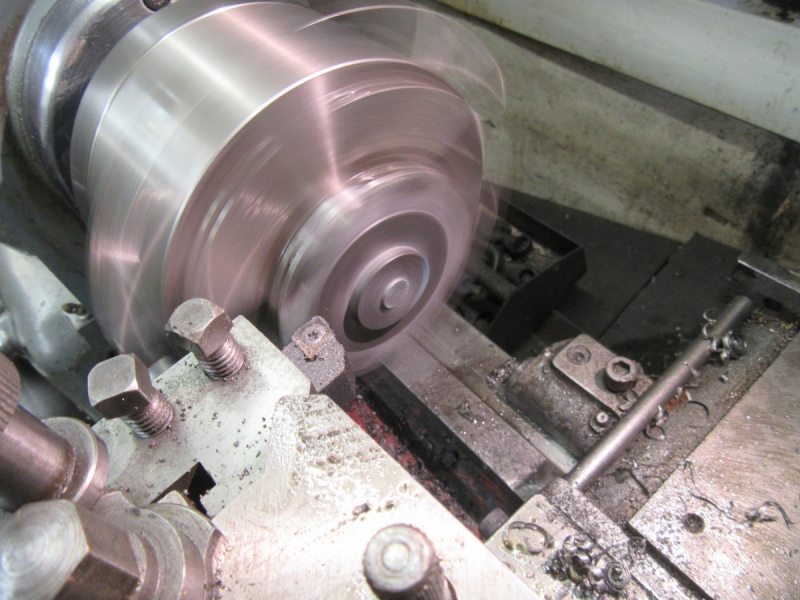
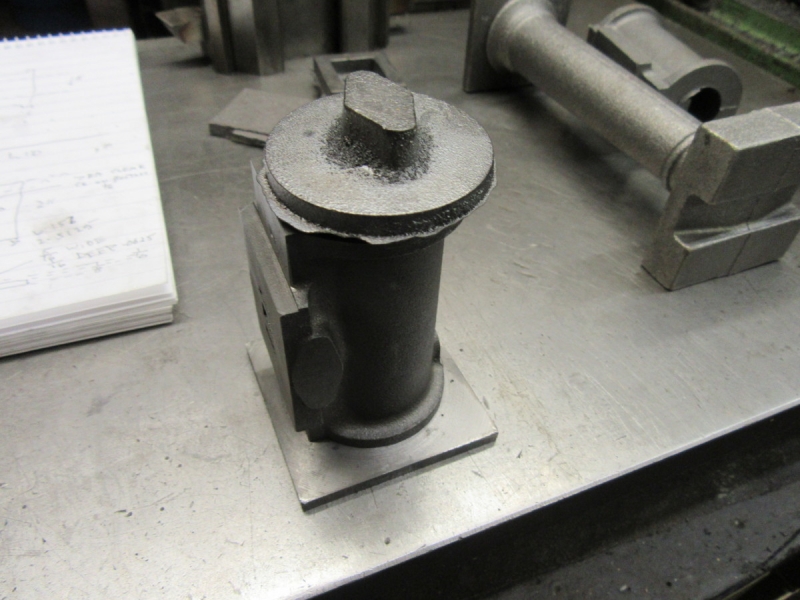
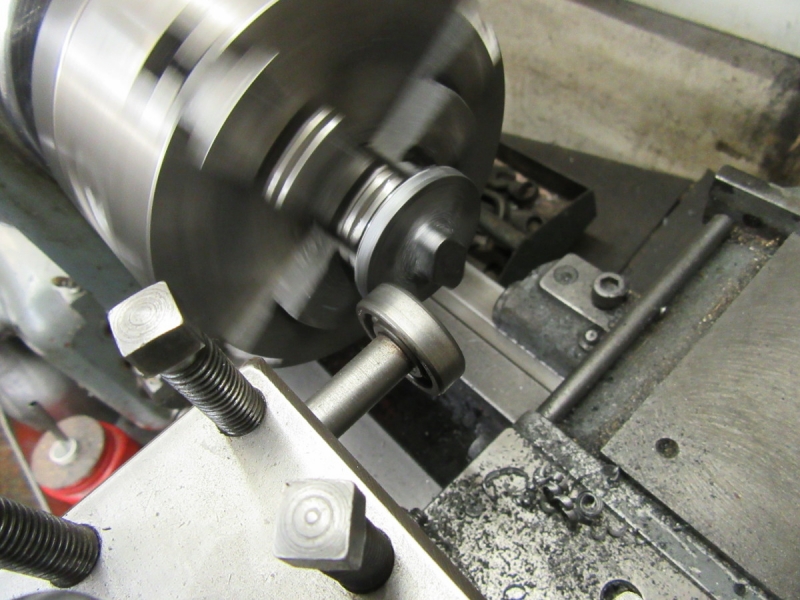
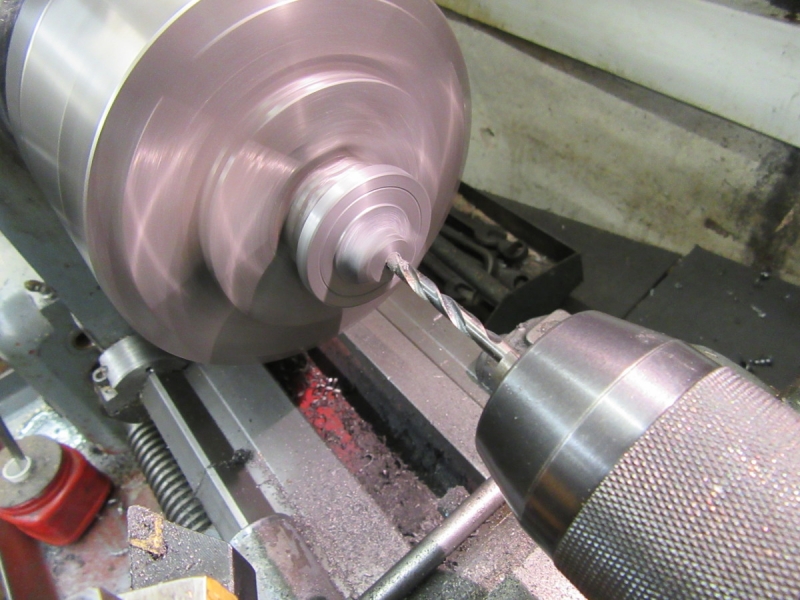
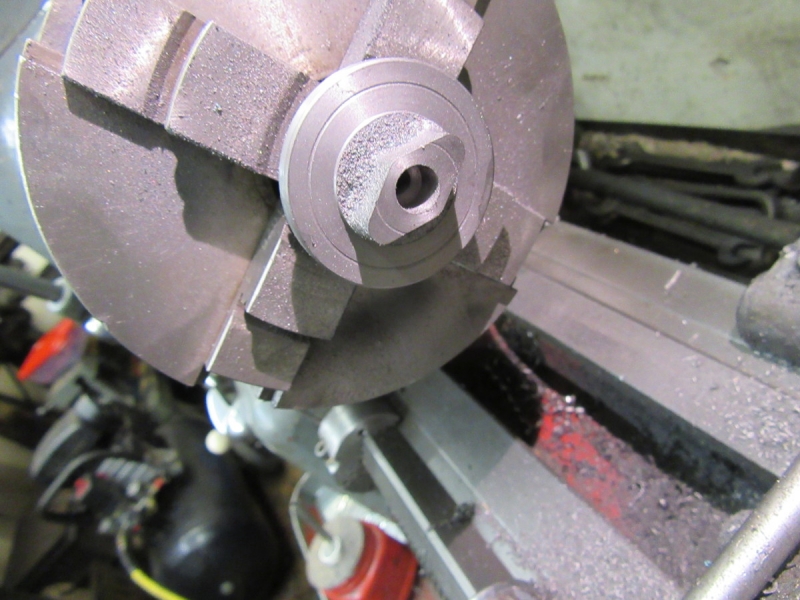
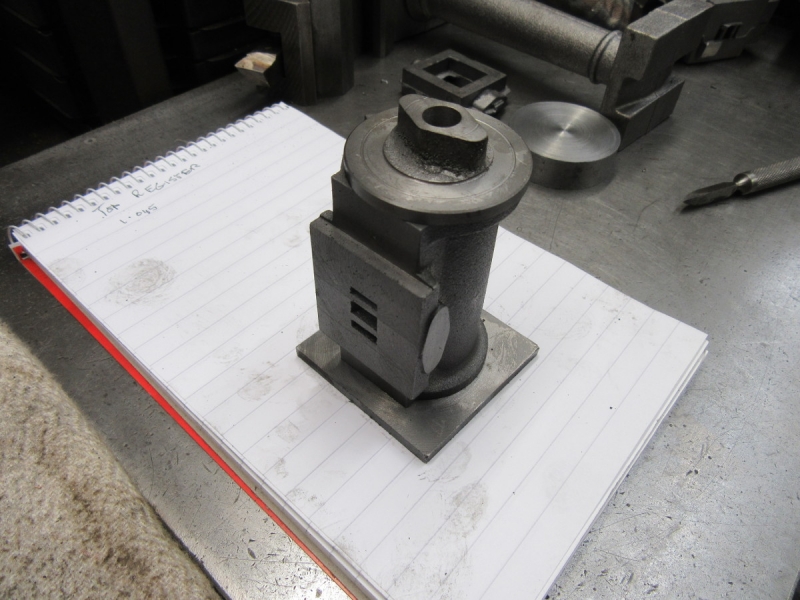
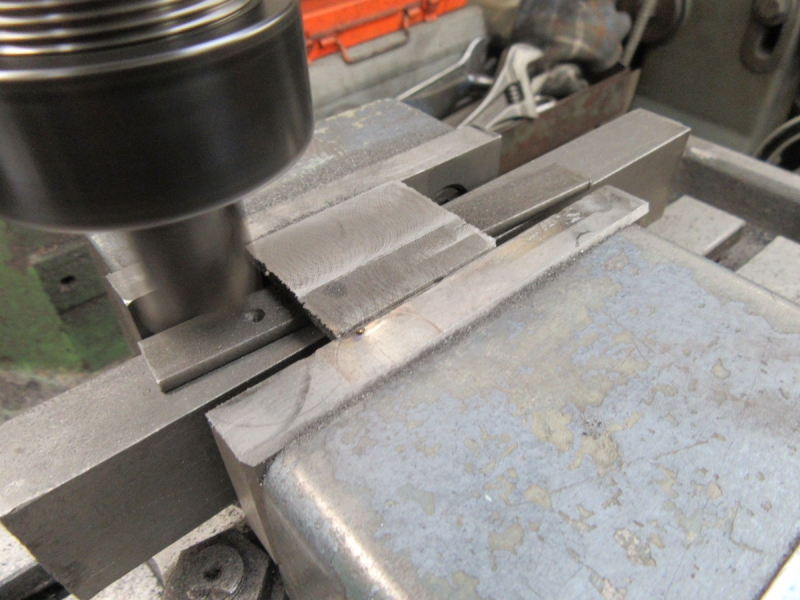
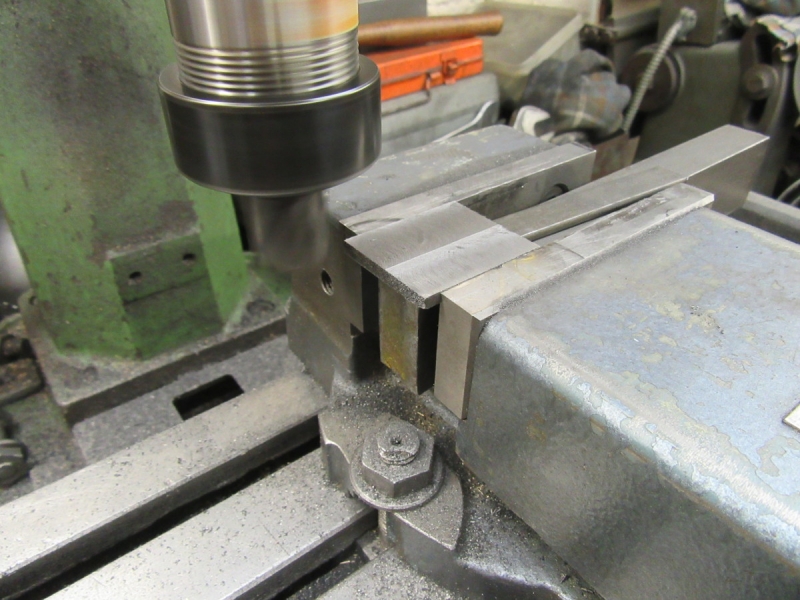
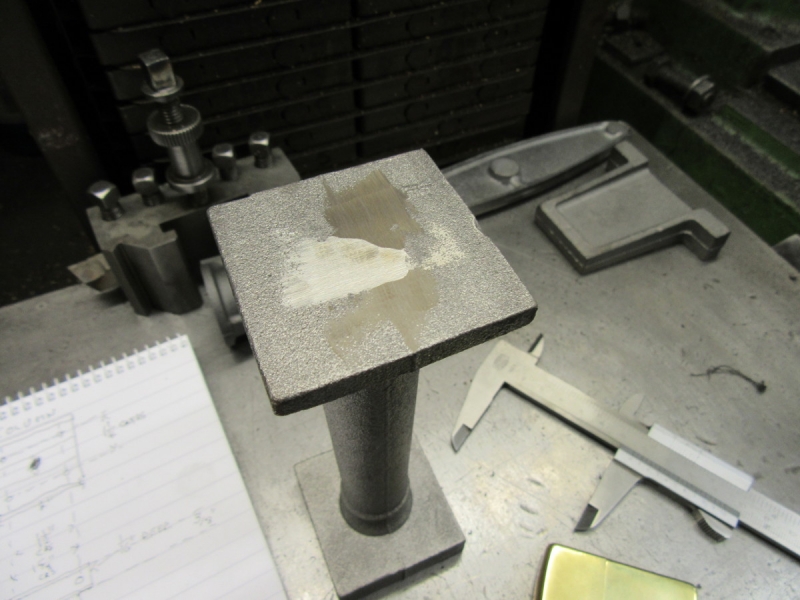
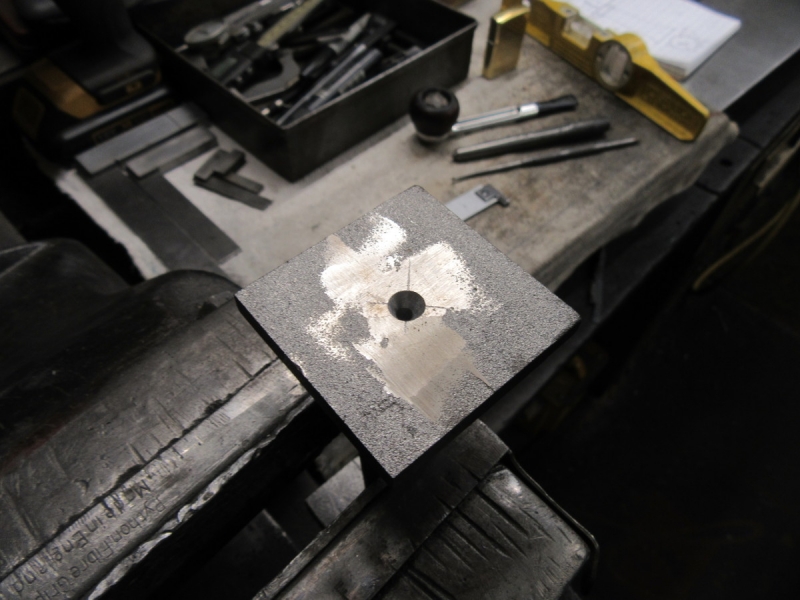
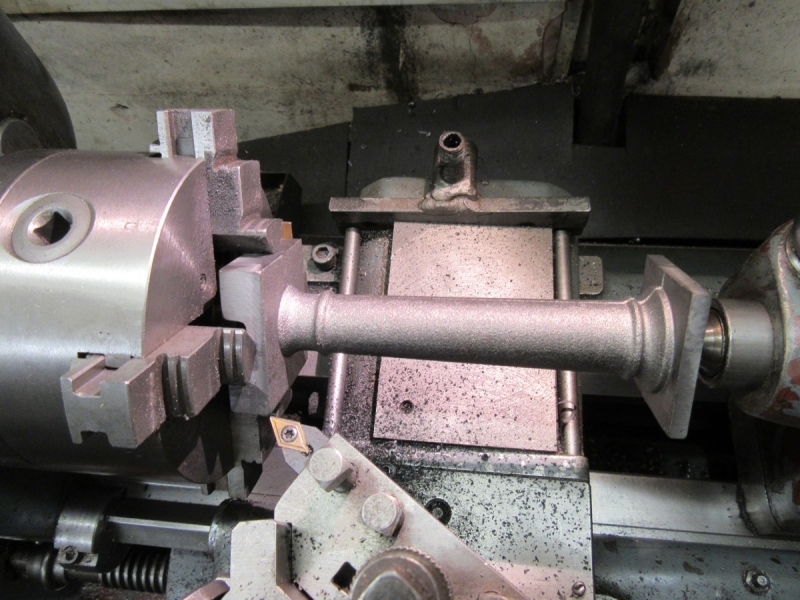
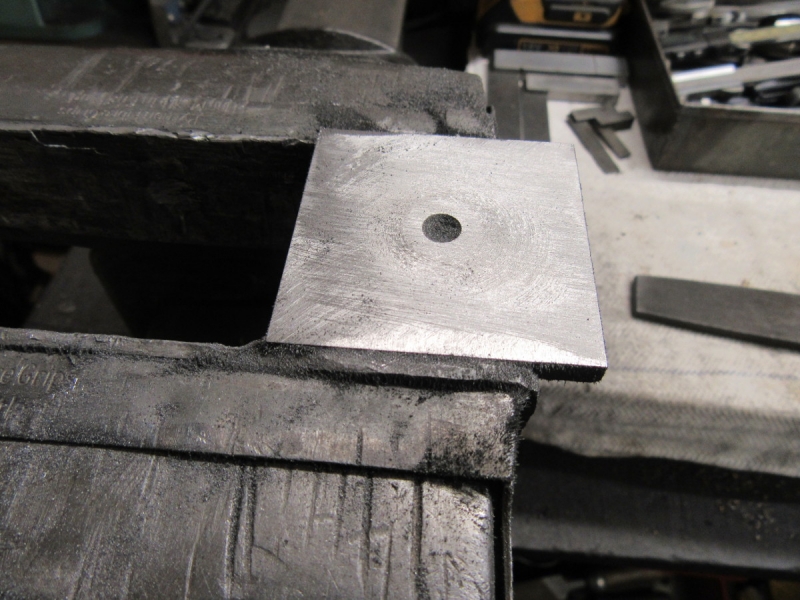
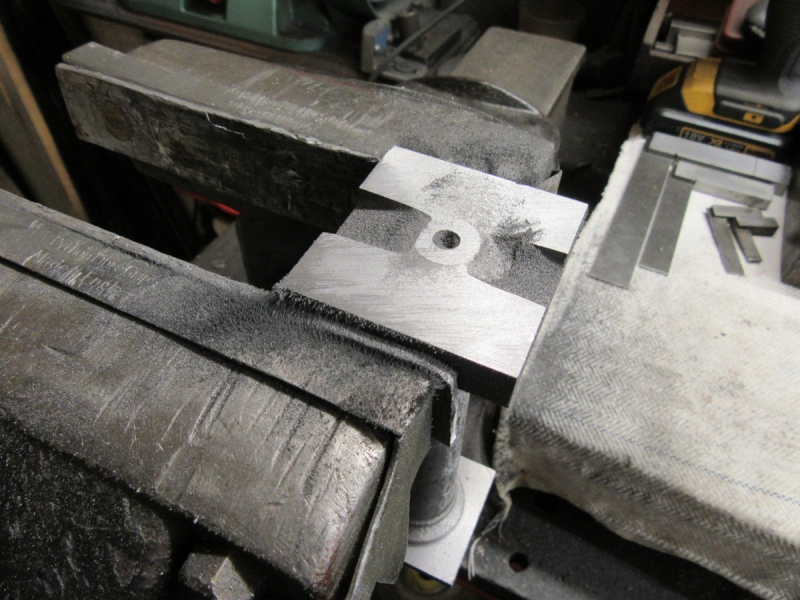
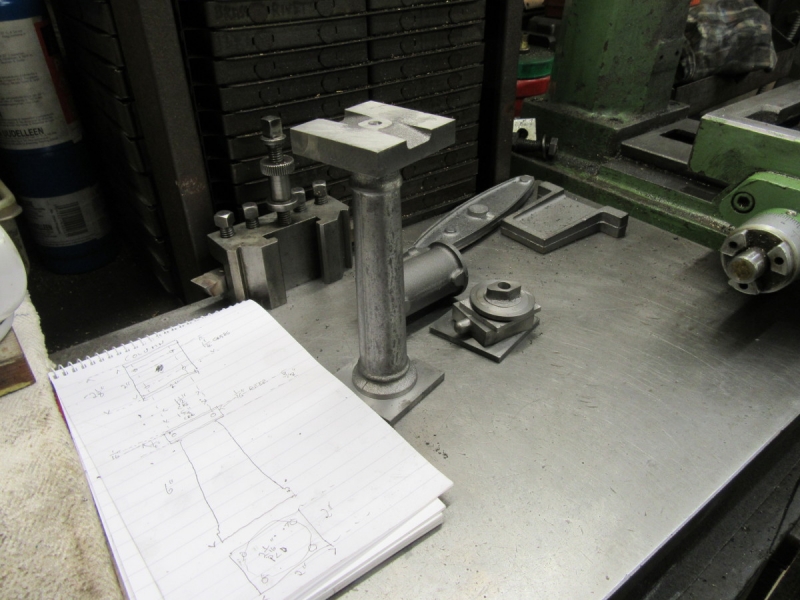
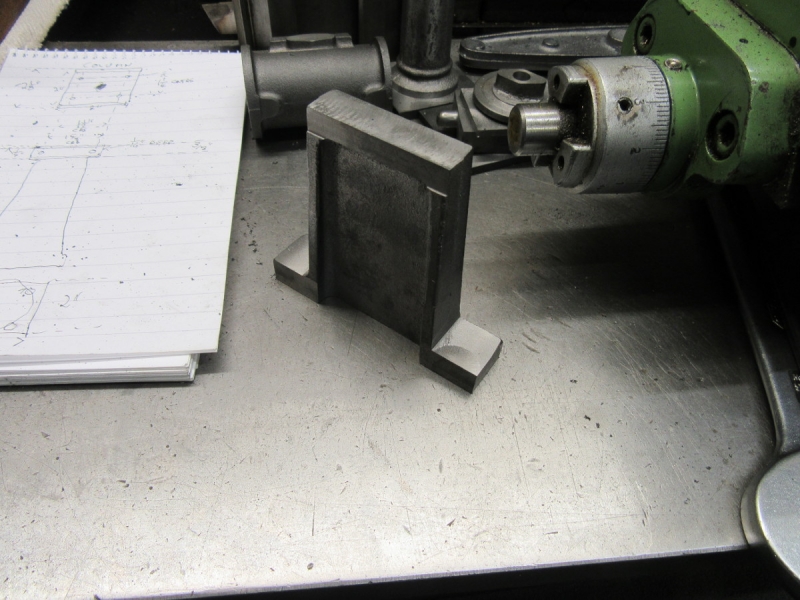
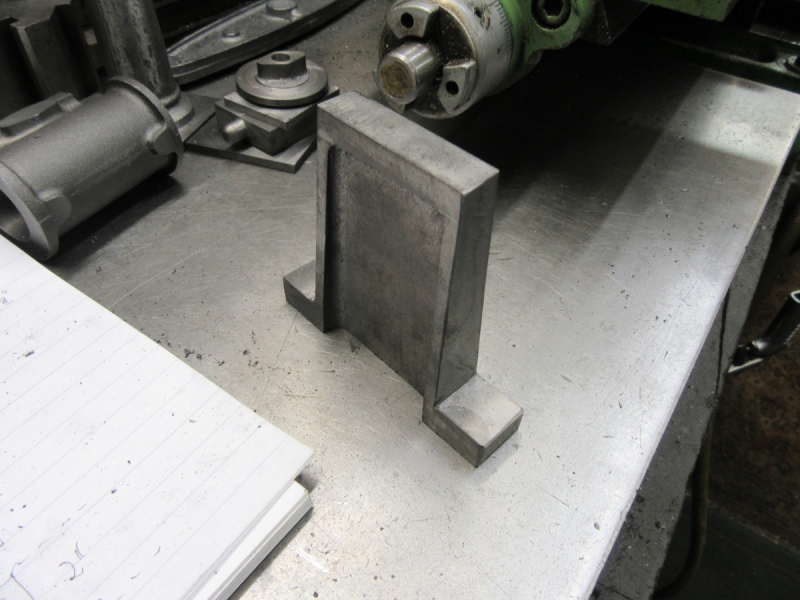
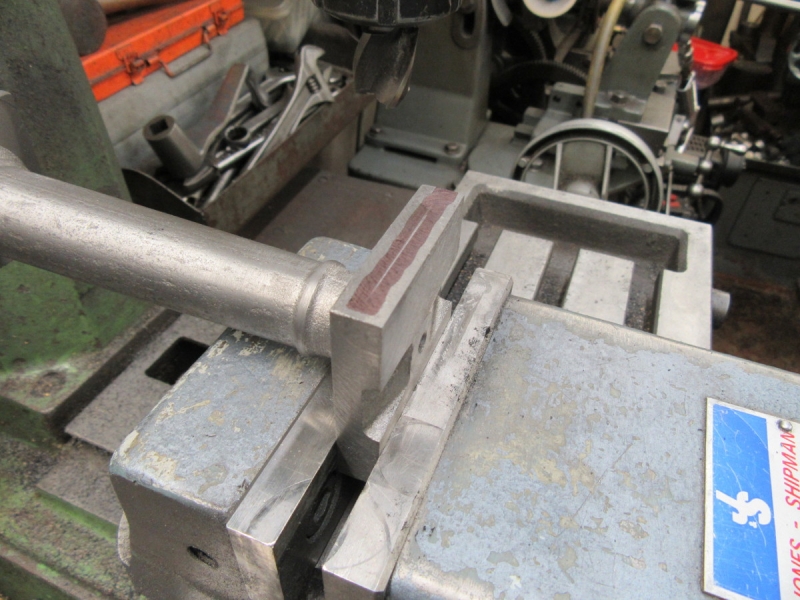
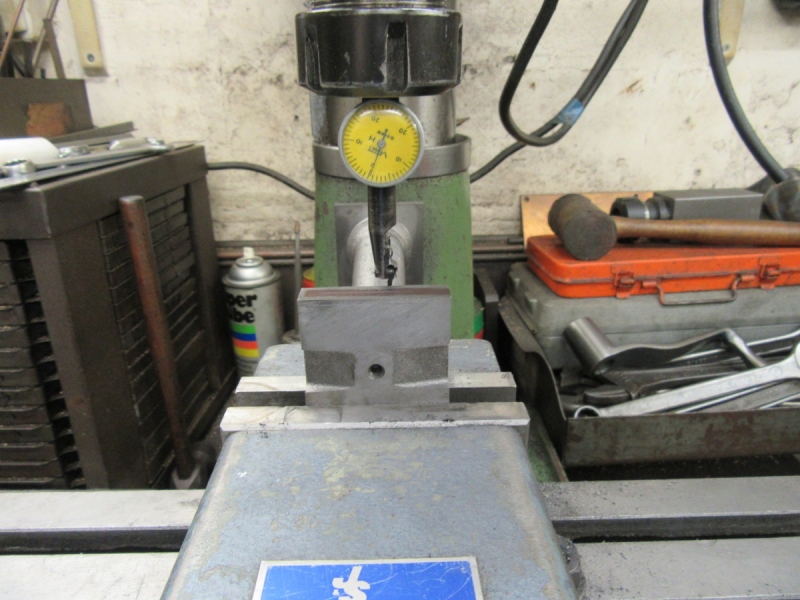
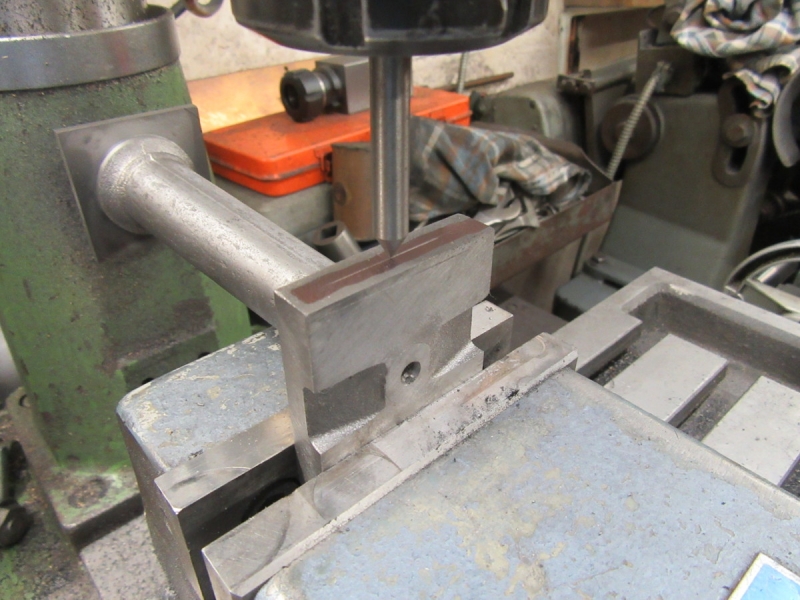
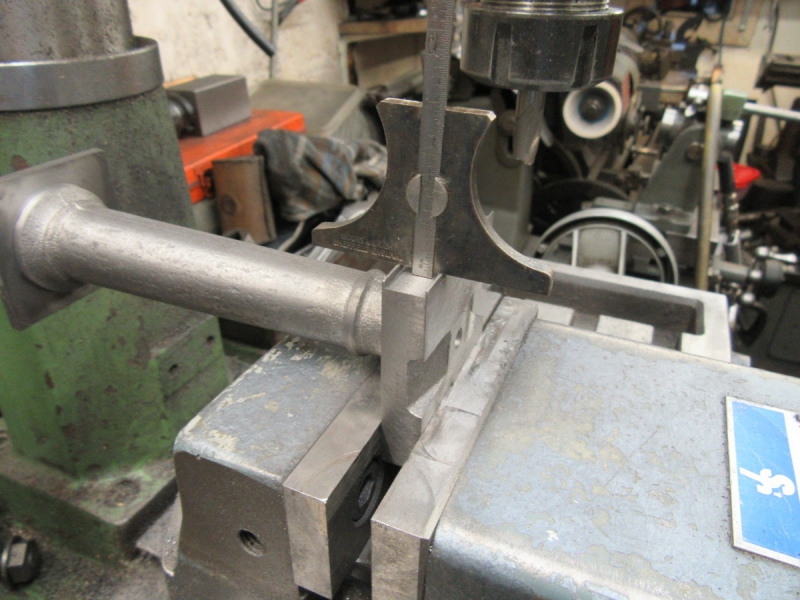
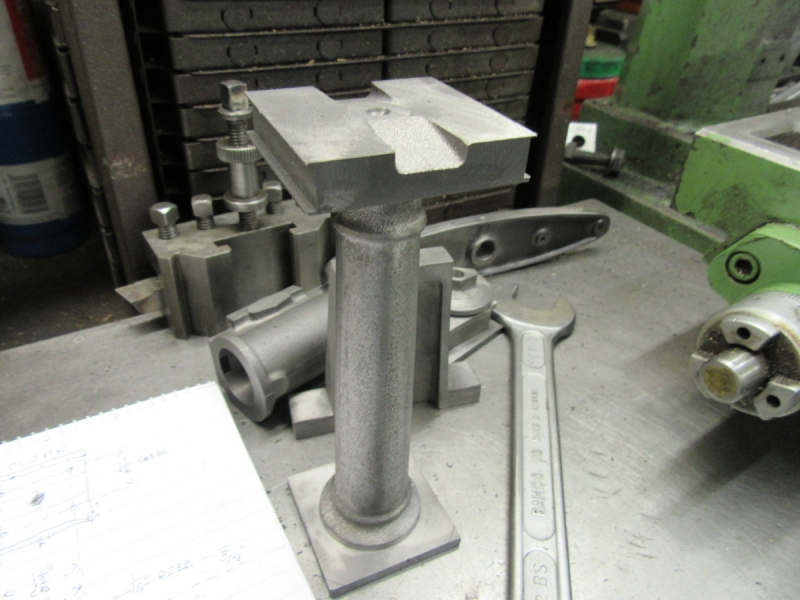
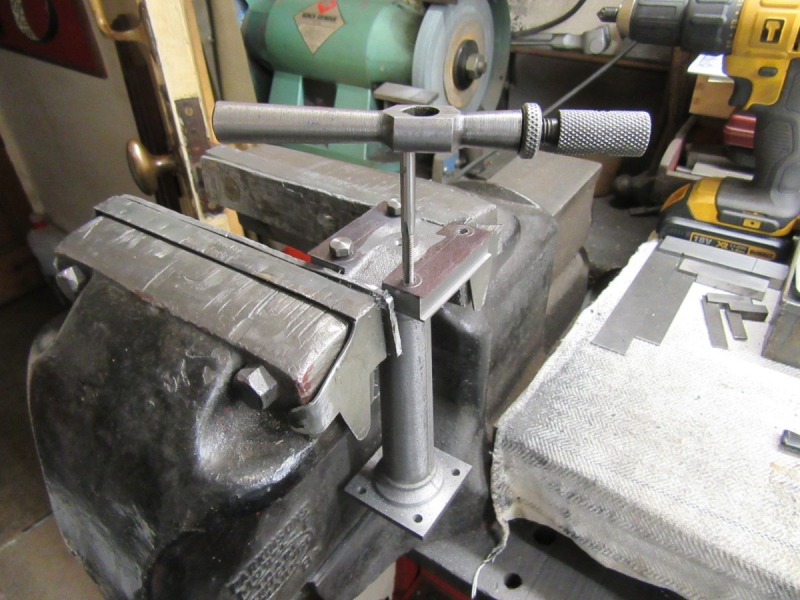
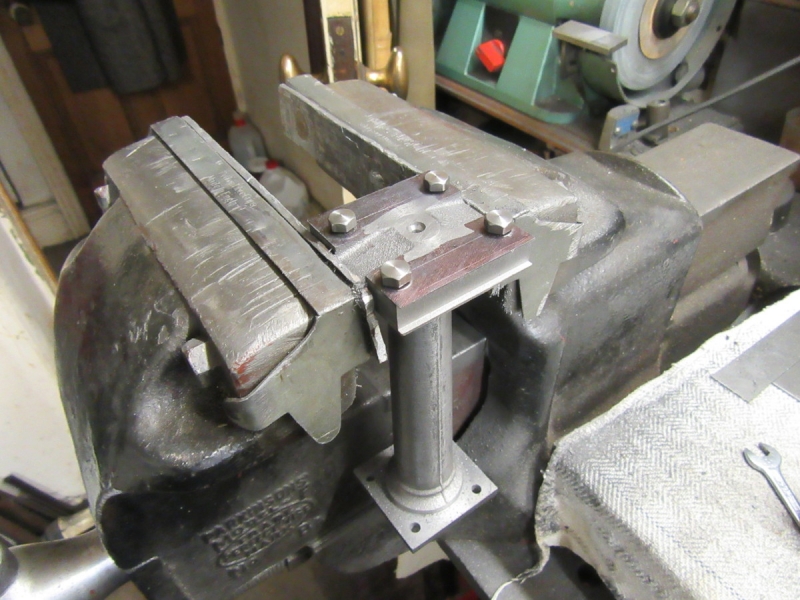
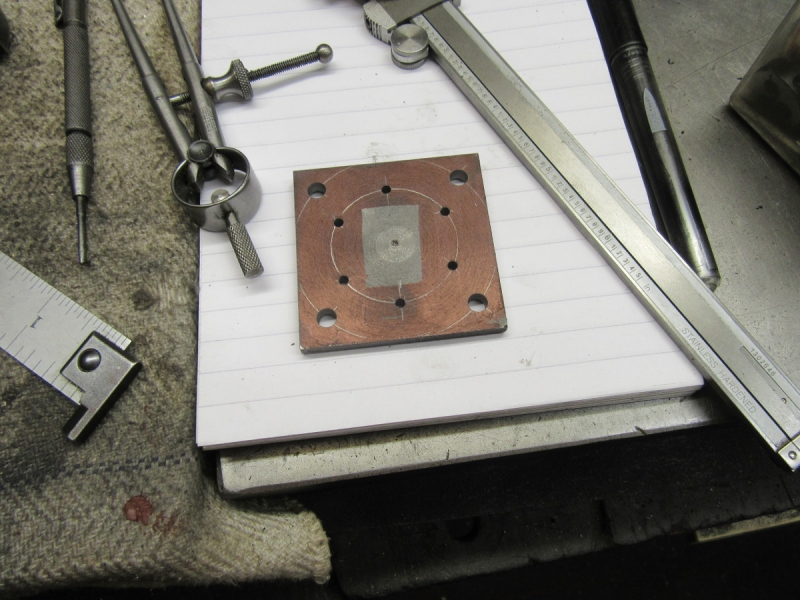
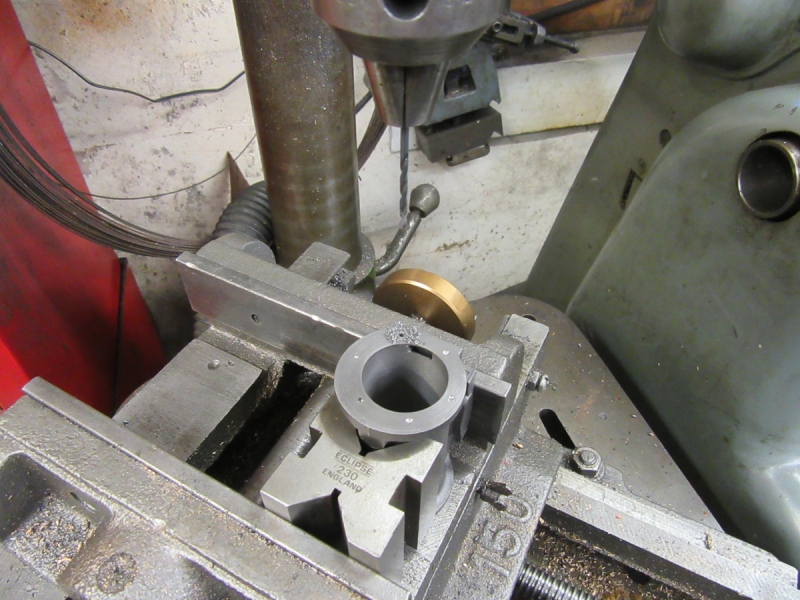
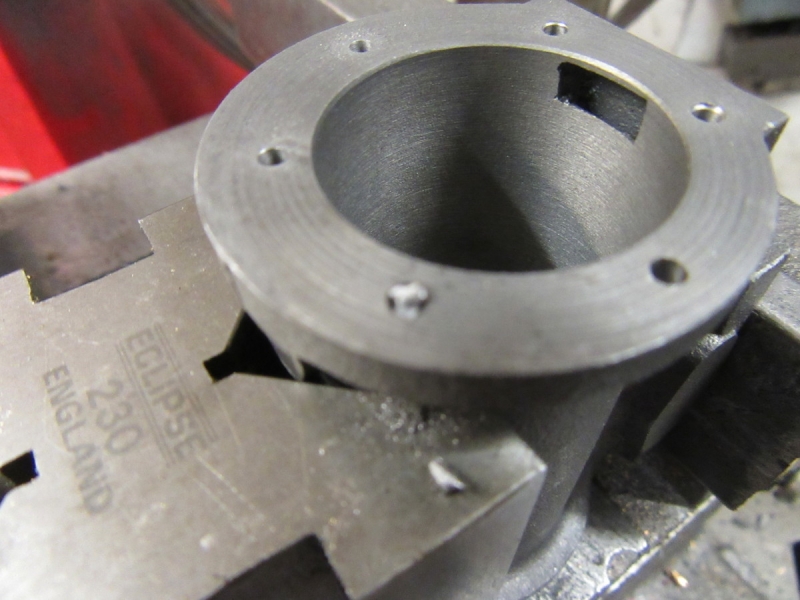
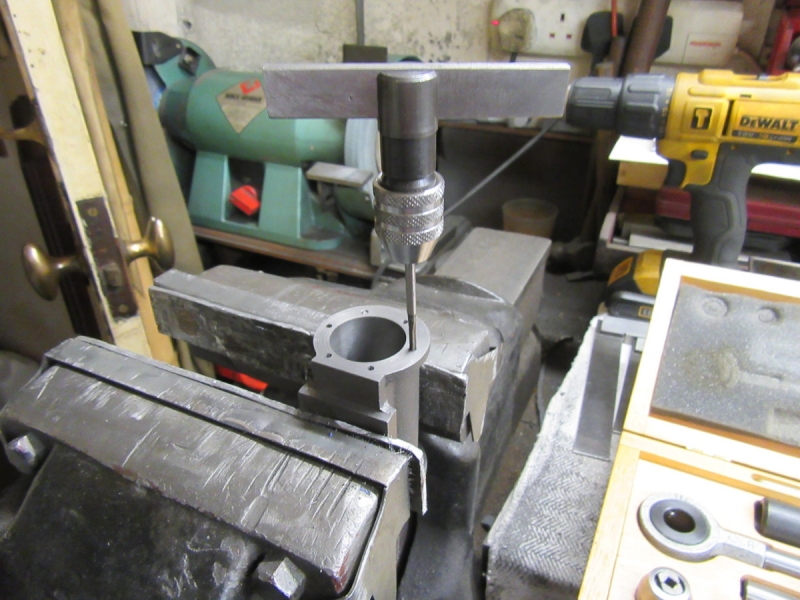
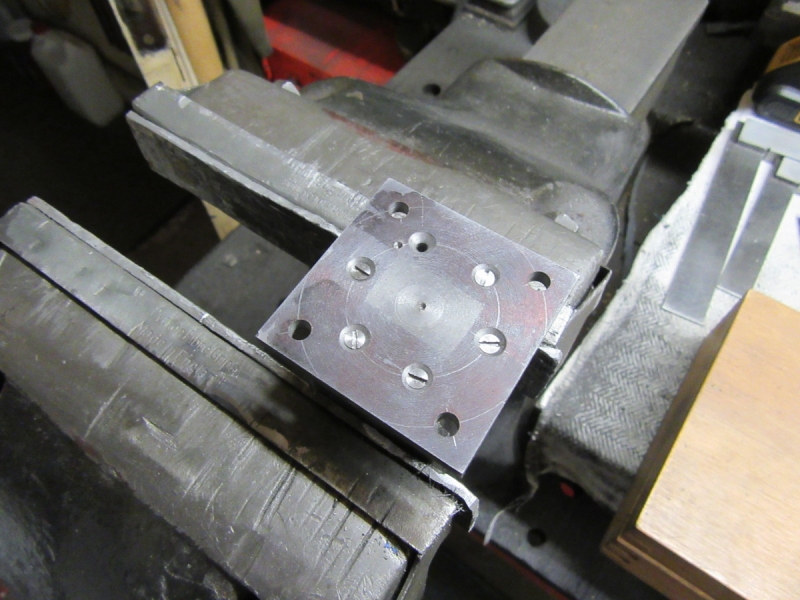
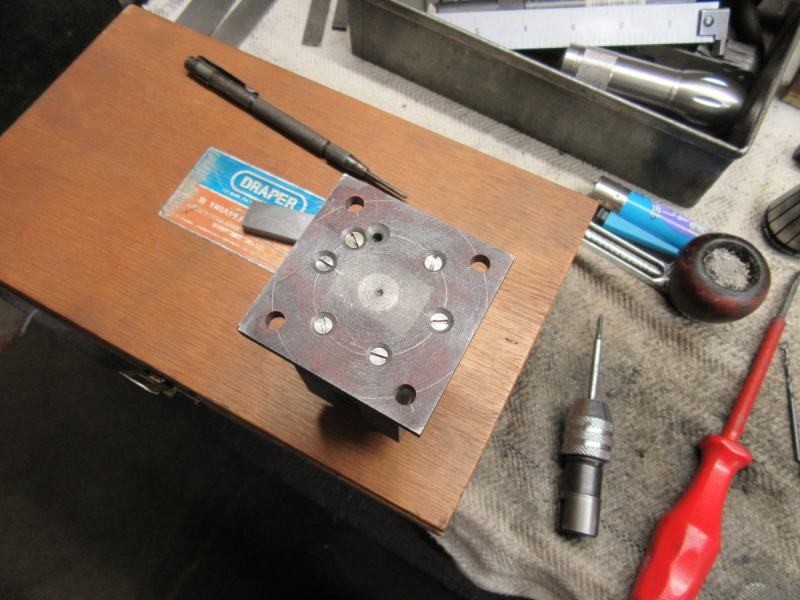
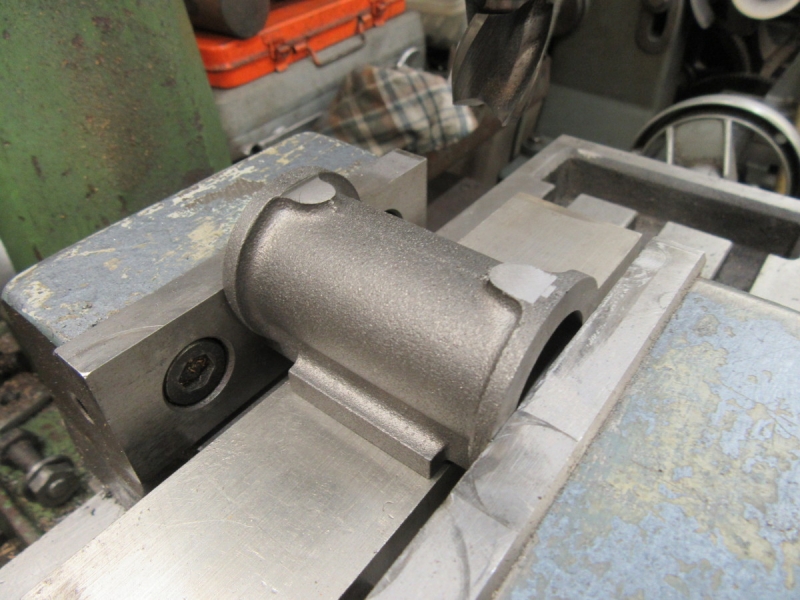
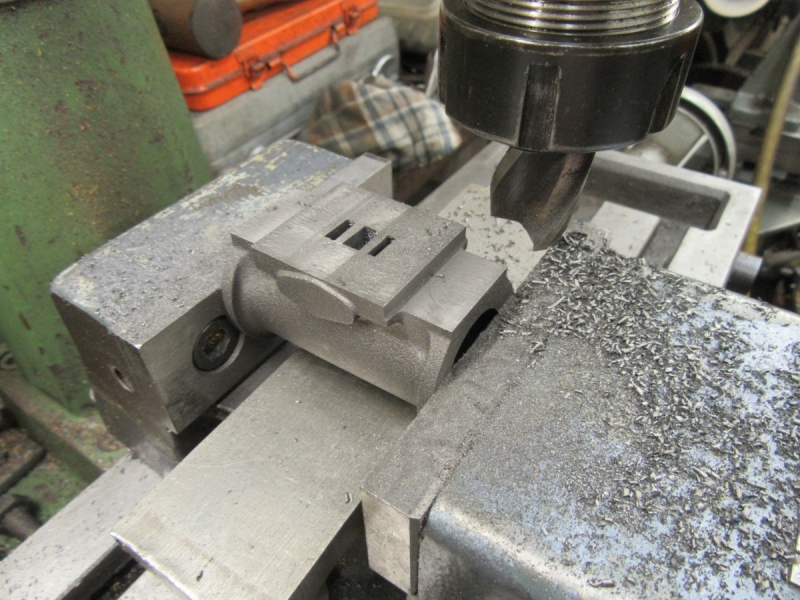
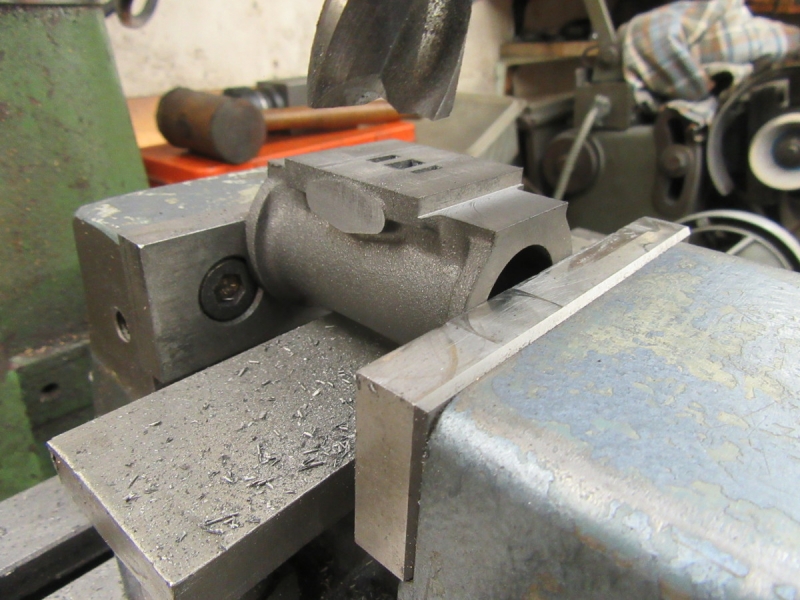
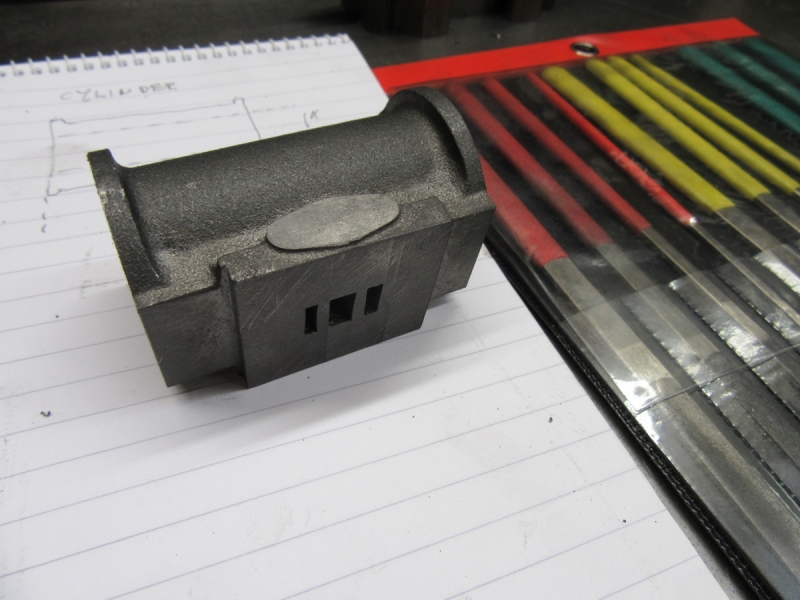
The first order of business was to finish machining all the faces on the cylinder. Nothing exotic about this, just careful machining finishing up with breaking all the sharp edges and cleaning the small amount of flash up that remained. Then check all the measurements and they are OK, not exactly to drawing but that can be allowed for in machining the associated parts.

Image

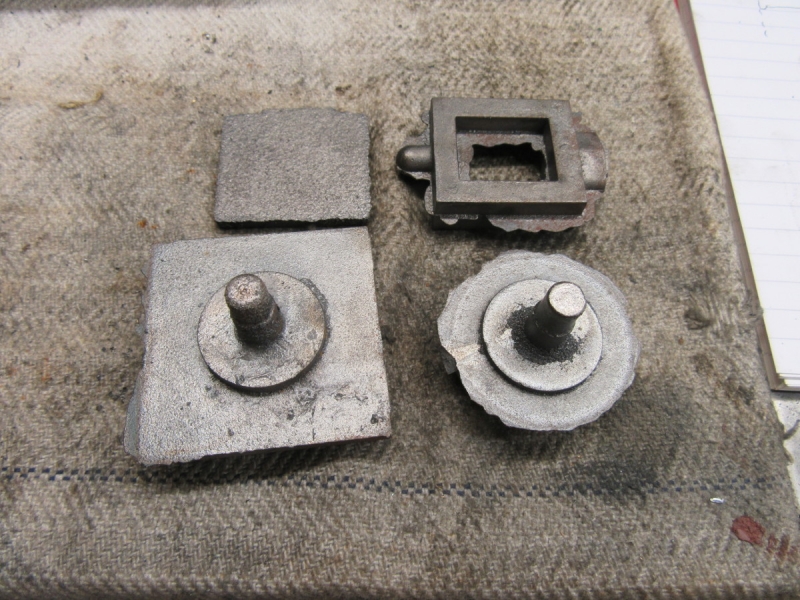
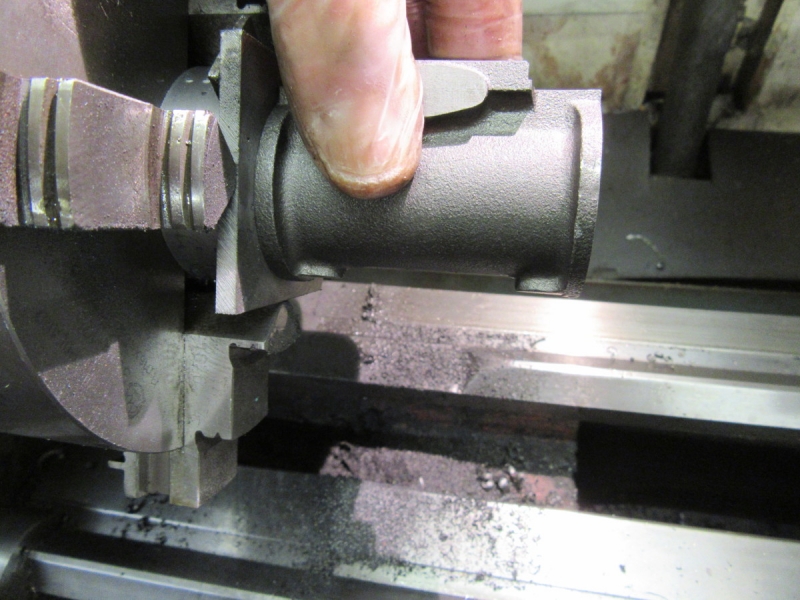
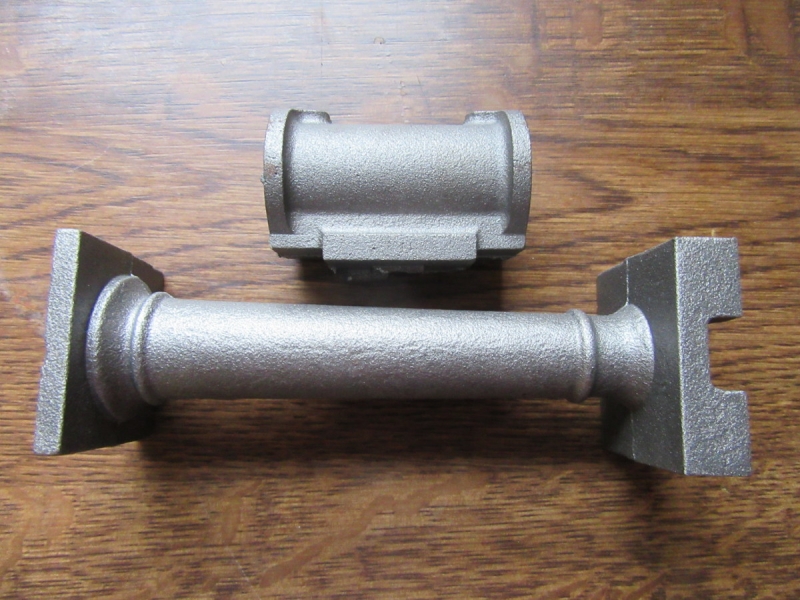
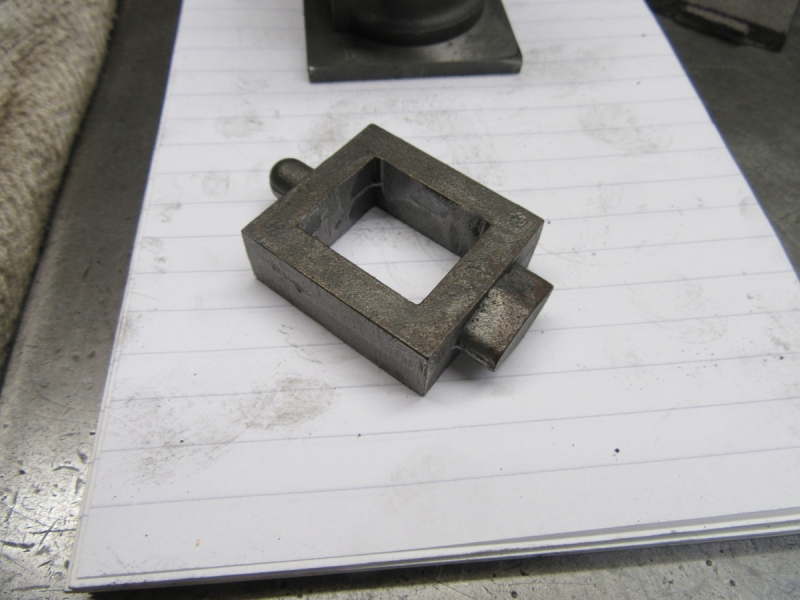
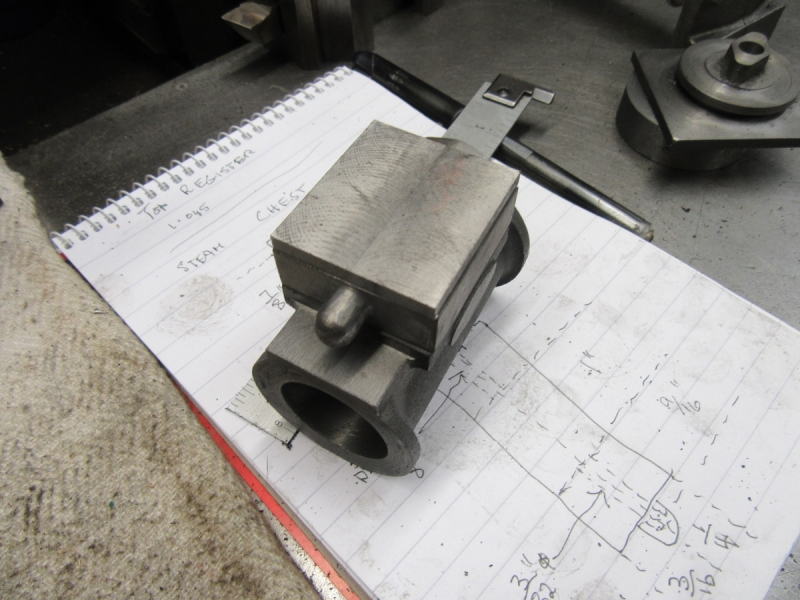
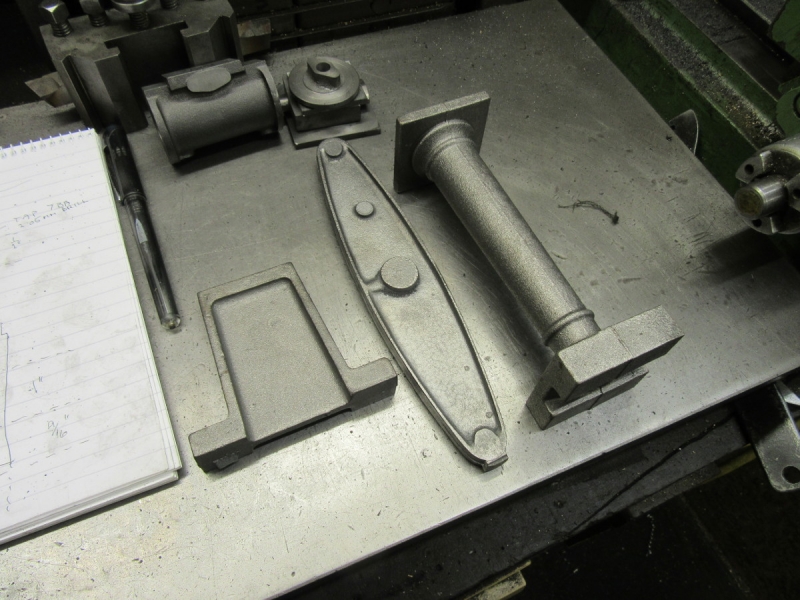
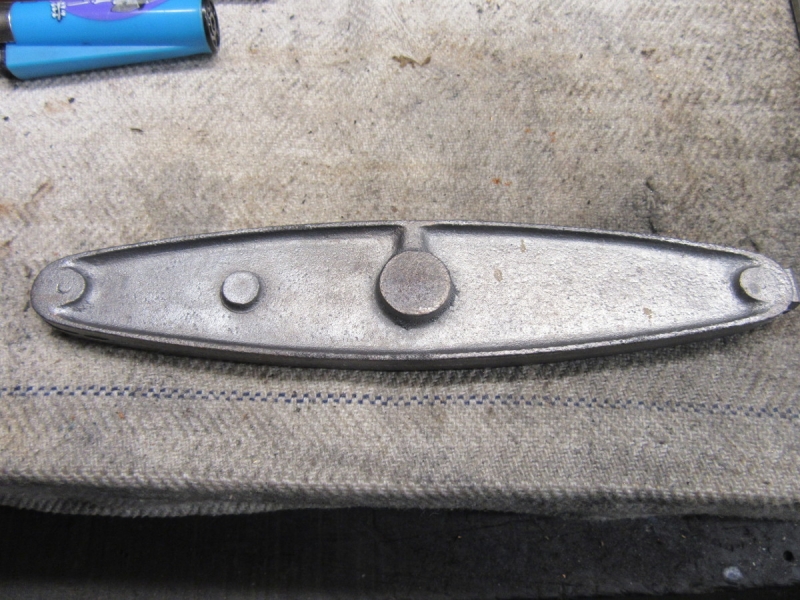
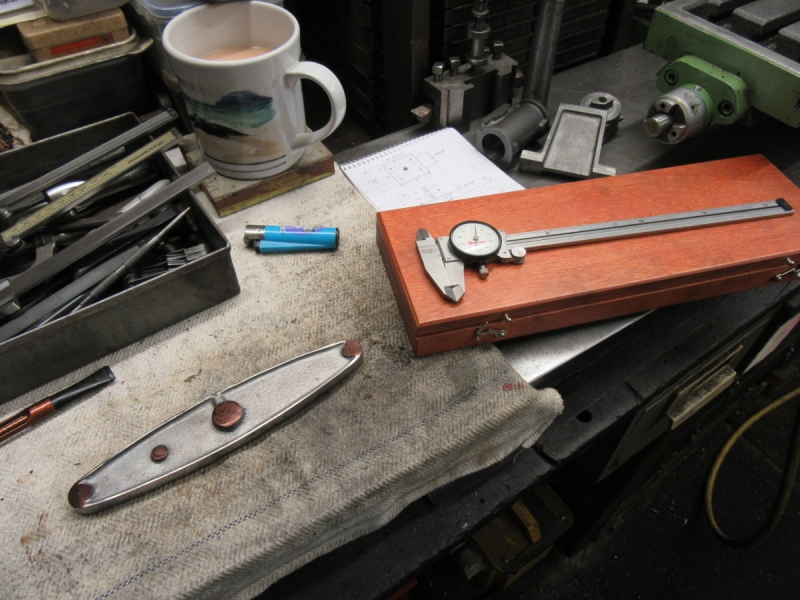
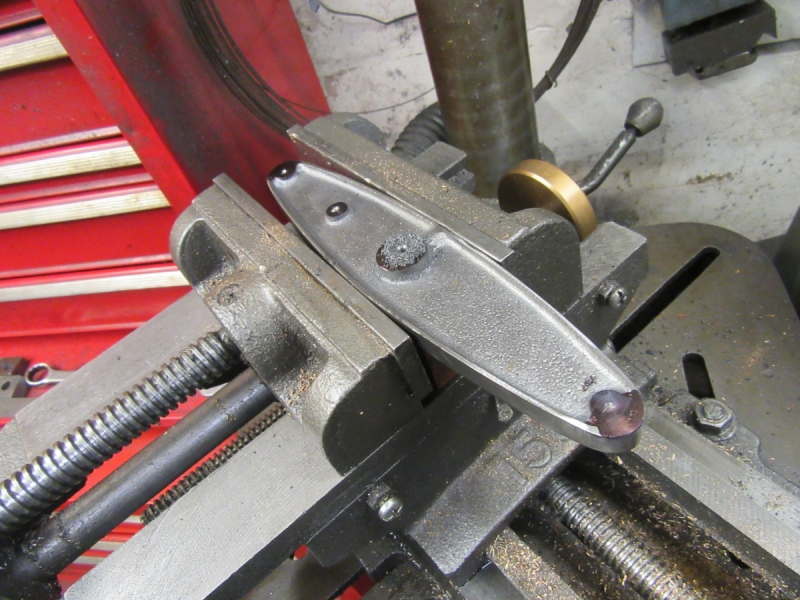
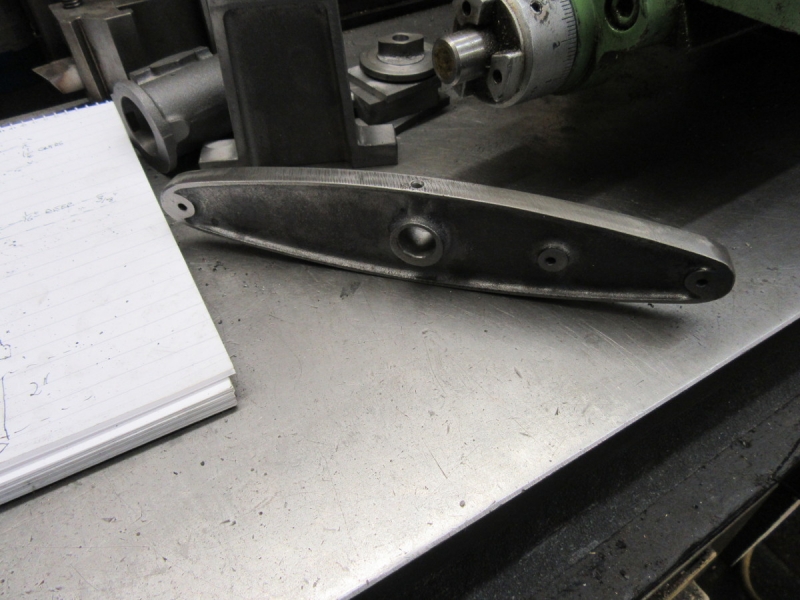
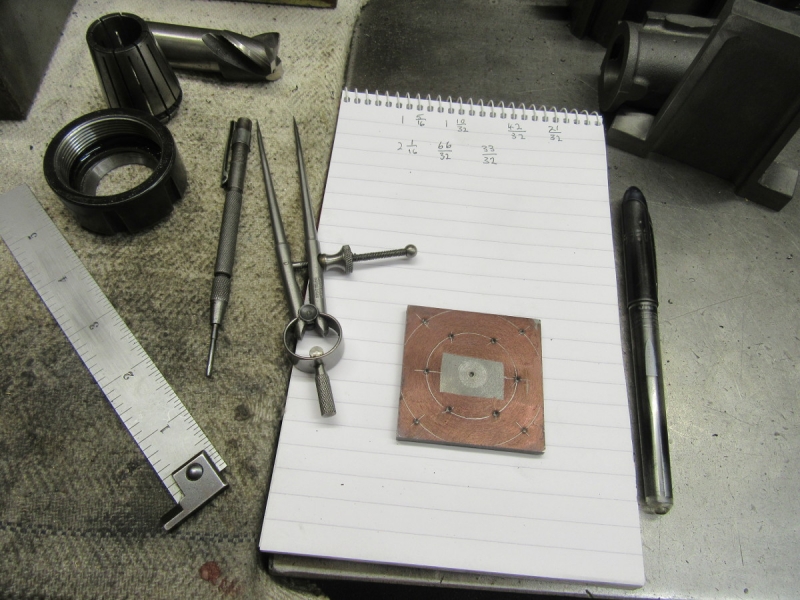
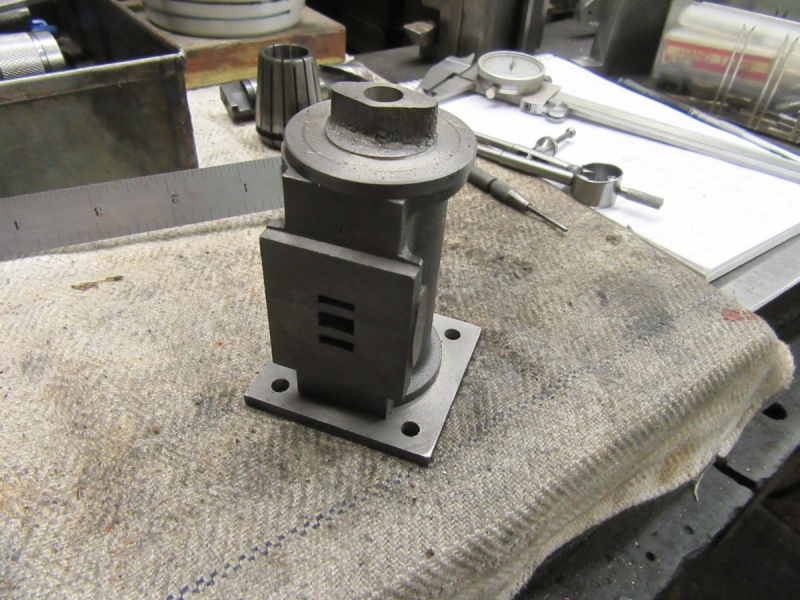
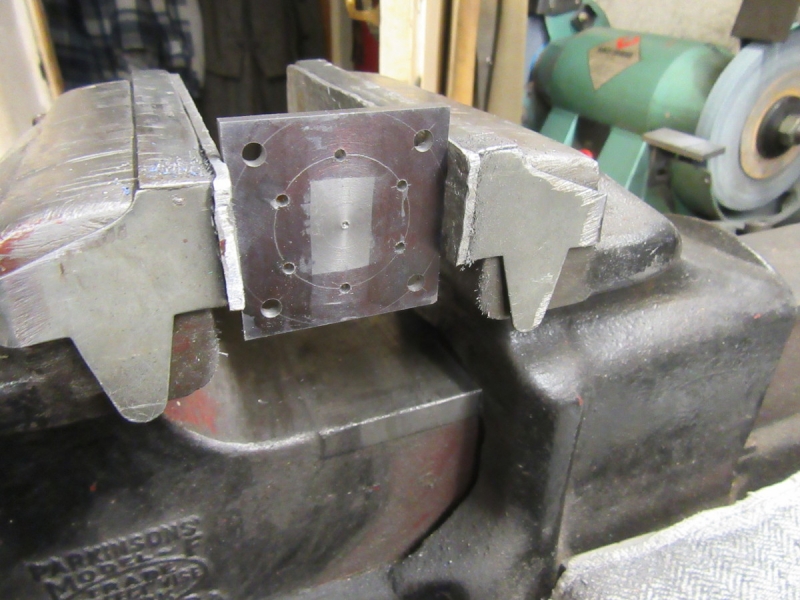
Next I went to my castings and picked out the ones that are associated with the cylinder. That was when I hit a problem.

Image

The problem is that the design of the castings doesn't match what is needed. This mismatch is so glaring that I can't believe I haven't missed something but after a lot of thinking that got me to knocking off time, if there is something I can't find it. I shall come back to this fresh tomorrow morning and see if I can make sense out of what I'm looking at. At the moment it's a puzzle!
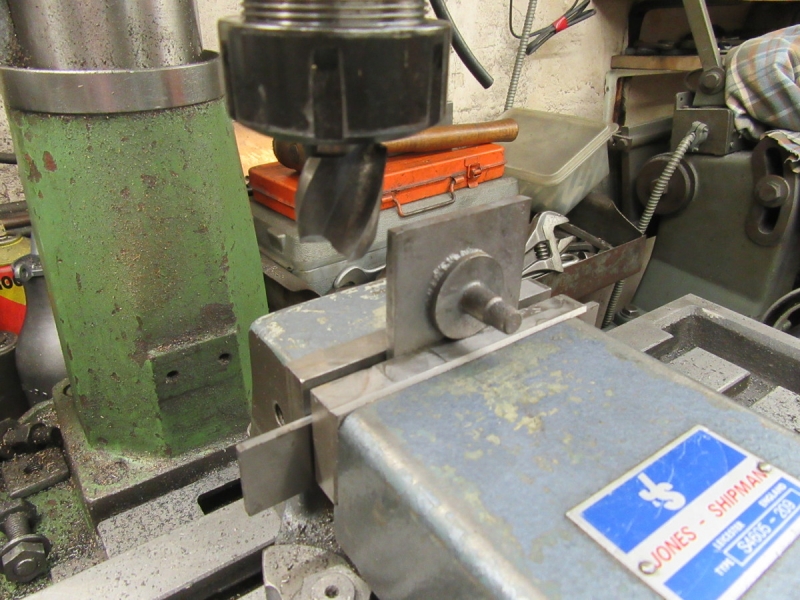
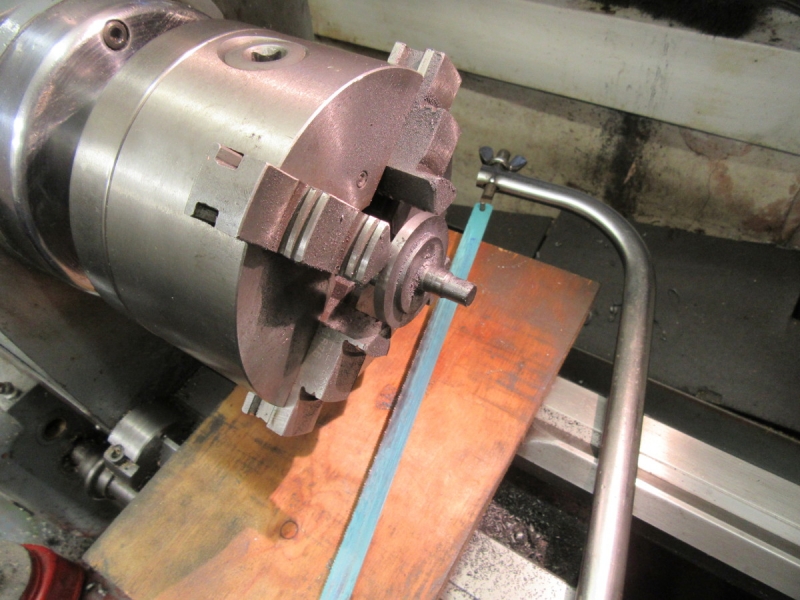
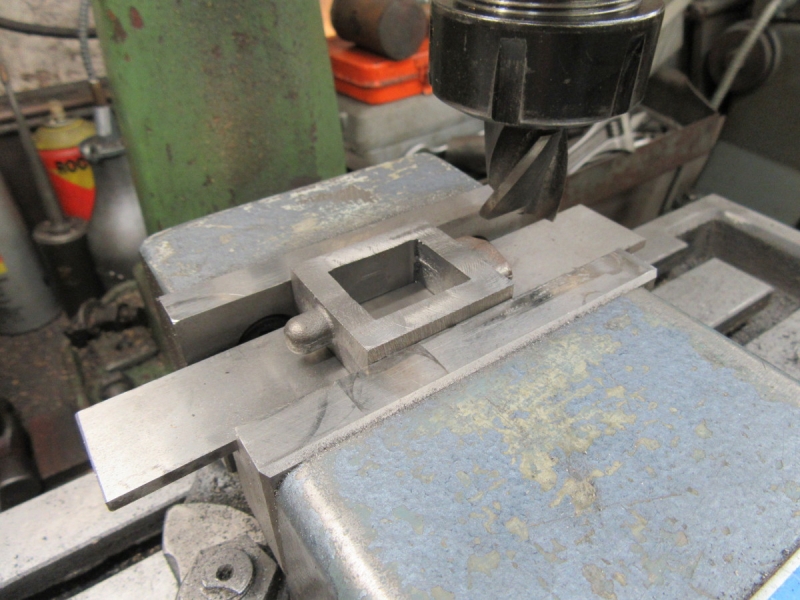
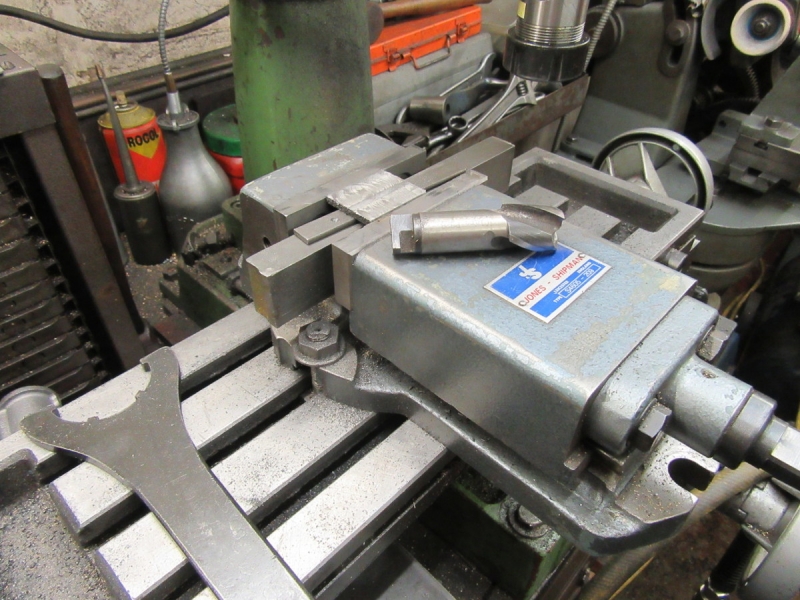
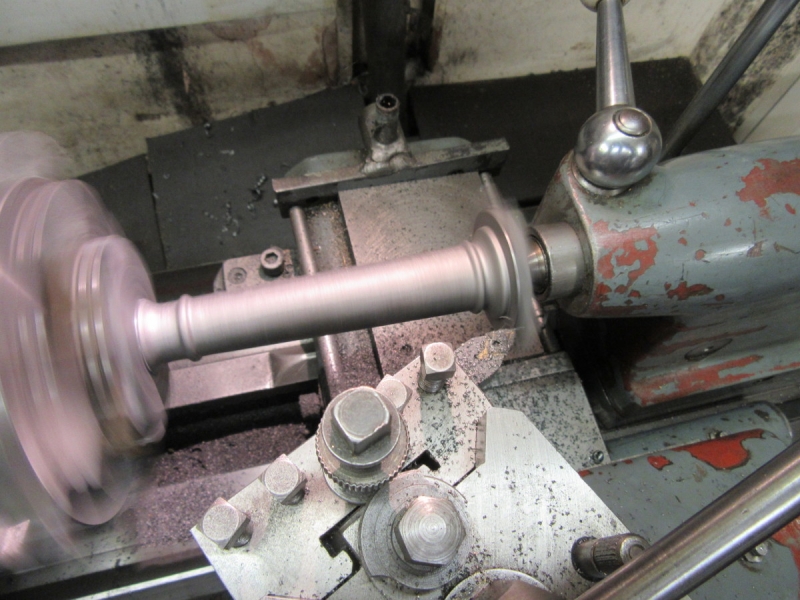
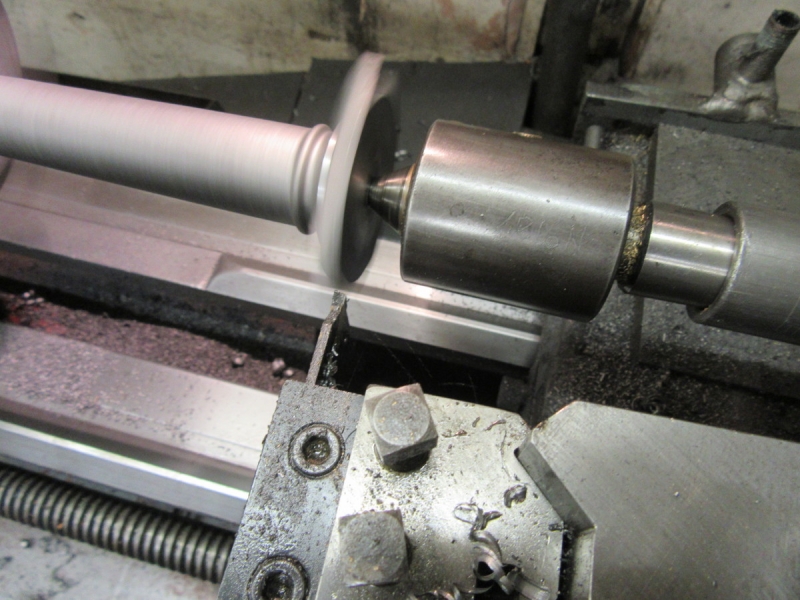
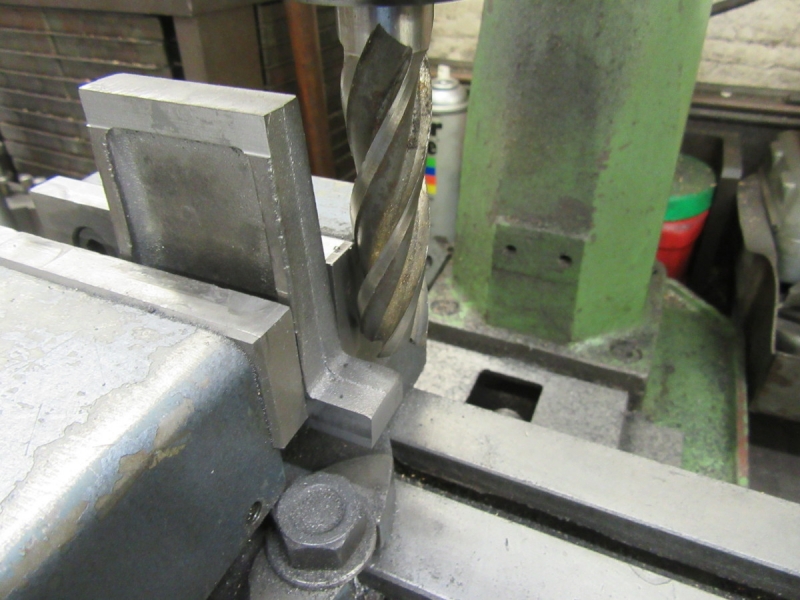
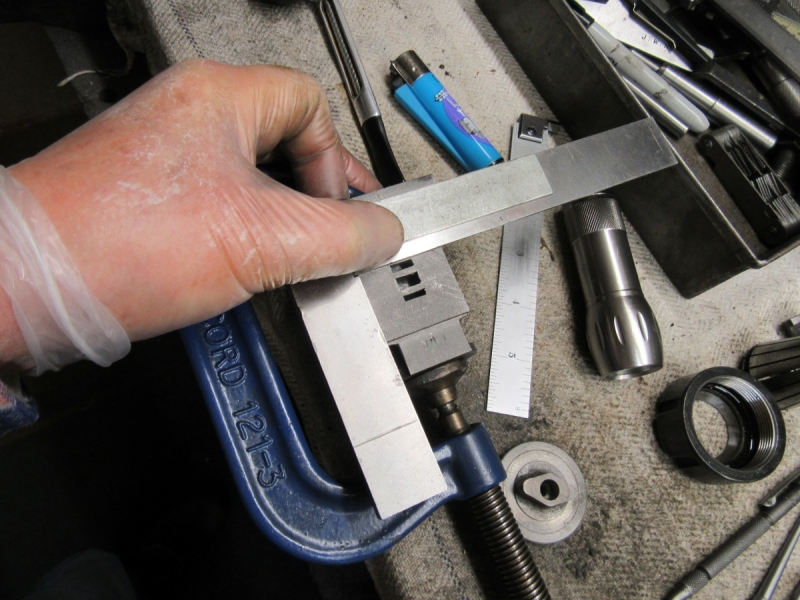
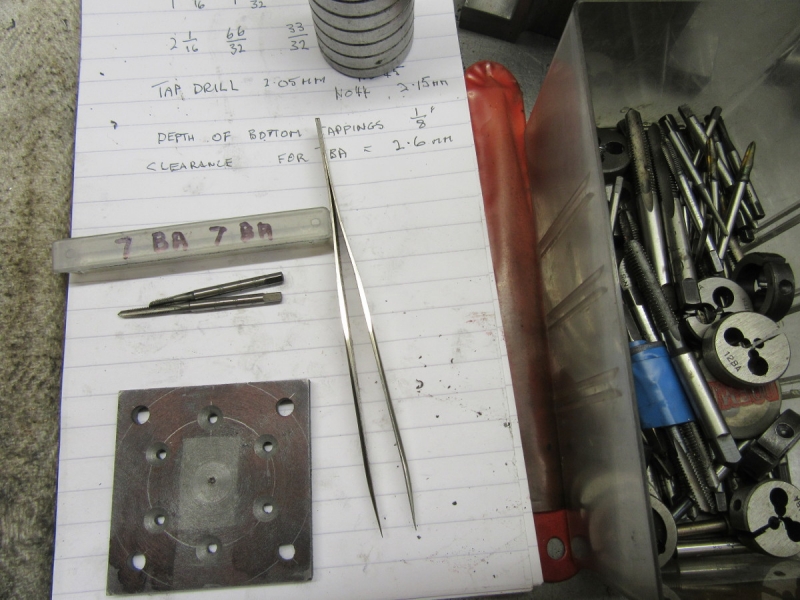
One other matter that I have been forgetting. Not many amateur sheds have a tool and cutter grinder. Even fewer have an inmate who has taken the trouble to get to an adequate level of proficiency. I'm sure many of you will remember my sharpening binges when I sharpened all my cutters for both the horizontal and vertical mills. I just want to say that at no point in that process was I wasting my time. Both the slab mill and this end mill perform perfectly. That's a matter of great satisfaction to me.
Stanley Challenger Graham
Stanley's View
scg1936 at talktalk.net

"Beware of certitude" (Jimmy Reid)
The floggings will continue until morale improves!
User avatar
Stanley
Global Moderator
Global Moderator
Posts: 90301
Joined: 23 Jan 2012, 12:01
Location: Barnoldswick. Nearer to Heaven than Gloria.

Re: Shed Matters 3

Post by Stanley »

Image

I have decided that it is Stuarts who are wrong and on that basis I will have to rectify their shortcomings. I started with the base casting for the cylinder which is of course also the bottom lid. These aren't generous castings, there is very little meat on them, not up to their usual standard. First job was to get the worst of the flash off the edges so I can grip them properly and accurately in the milling vise. So, a few minutes with a big smooth file.

Image

Here we are under the mill. The aim is to get the base square and somewhere near the target of 2". As you can see, because of the section my hold is minimal and I'm cutting a long way from the support, add to that it's brittle cast iron. So tiny cuts to keep stresses down and also because I have no metal to spare. I won't bore you with it but it took longer than it should have done. But, I achieved my target with no cock-ups.

Image

Off with the 4 jaw independent and on with the 4 Jaw SC which will work because I haven't done a bad job of getting the base square. I used the ball bearing push tool to get the face as near flat as the fact it's a rough casting will allow. You can see the mistake Stuarts made, the casting had a boss and a gland cast in it. The casting doesn't need either and needs a perfectly flat bottom. Once again I have minimal hold on the edges and so careful cuts and lots of them. Rushing here can only be bad!

Image

Knocking off time, it's square and within 30thou of the size they asked for and has a perfectly flat base. Tomorrow I'll have to set it up so it's reversed so I can work on the cylinder side.
Ticklish work but I've made good progress with no mistakes. That'll do me!
Stanley Challenger Graham
Stanley's View
scg1936 at talktalk.net

"Beware of certitude" (Jimmy Reid)
The floggings will continue until morale improves!
User avatar
Stanley
Global Moderator
Global Moderator
Posts: 90301
Joined: 23 Jan 2012, 12:01
Location: Barnoldswick. Nearer to Heaven than Gloria.

Re: Shed Matters 3

Post by Stanley »

Later, news from Stuarts that the column is in the post, they had a delivery from the foundry yesterday. I am happier.....
Stanley Challenger Graham
Stanley's View
scg1936 at talktalk.net

"Beware of certitude" (Jimmy Reid)
The floggings will continue until morale improves!
User avatar
Stanley
Global Moderator
Global Moderator
Posts: 90301
Joined: 23 Jan 2012, 12:01
Location: Barnoldswick. Nearer to Heaven than Gloria.

Re: Shed Matters 3

Post by Stanley »

Image

What's he up to this morning? I'm going round the long way to do something very simple. The bottom lid is only 1/8" thick and grabbing it to machine the top face means less than that to give clearance. So it's important that I mount it accurately and securely. The best way to do that is to turn up a slug I can put inside the jaws with two parallel faces so that I can mount the base lid accurately and securely. As I say, the long way round but in the end the most efficient.

Image

I parted it off and incidentally got it wrong, I had to use a packing piece but it still worked.

Image

Mounted up and cutting. Very careful cuts and it went well.

Image

After a bit of cutting and careful measuring I was here at knocking off time. The base lid is flat and parallel and the register fits the bore. Now I need to sink a recess in it but that's not as easy as it looks and I wanted to listen to Melvyn Bragg and 'In Our Time'! No rush.....
Stanley Challenger Graham
Stanley's View
scg1936 at talktalk.net

"Beware of certitude" (Jimmy Reid)
The floggings will continue until morale improves!
User avatar
Stanley
Global Moderator
Global Moderator
Posts: 90301
Joined: 23 Jan 2012, 12:01
Location: Barnoldswick. Nearer to Heaven than Gloria.

Re: Shed Matters 3

Post by Stanley »

Image

Stuarts have delivered, the column and a replacement for the defective cylinder. Good service.
Stanley Challenger Graham
Stanley's View
scg1936 at talktalk.net

"Beware of certitude" (Jimmy Reid)
The floggings will continue until morale improves!
User avatar
Whyperion
Senior Member
Posts: 3073
Joined: 23 Jan 2012, 22:13
Location: Stockport, after some time in Burnley , After leaving Barnoldswick , except when I am in London

Re: Shed Matters 3

Post by Whyperion »

Most of this is beyond my time level and skill, but I wonder, there is (well there are many, ) CAD programs, cheap like Sketch-Up, it might be of interest to design castings and get a local? casting company to do them, it would be cheaper presumably to the businesses that would put a mark up on their suppliers.
User avatar
Stanley
Global Moderator
Global Moderator
Posts: 90301
Joined: 23 Jan 2012, 12:01
Location: Barnoldswick. Nearer to Heaven than Gloria.

Re: Shed Matters 3

Post by Stanley »

Not worth the effort and no cheaper. It's the patterns that cost the money.

Image

Other matters got in the way but I managed to find time to get in the shed and finish the base casting off including boring a 5/16" recess in the centre of the base.

Image

It sits nicely on its base and we know the register is just right. Next job is to convert this rough casting into a functioning top lid. This one of course does need a gland for the Piston rod. So I know what I am doing tomorrow.
Stanley Challenger Graham
Stanley's View
scg1936 at talktalk.net

"Beware of certitude" (Jimmy Reid)
The floggings will continue until morale improves!
User avatar
Stanley
Global Moderator
Global Moderator
Posts: 90301
Joined: 23 Jan 2012, 12:01
Location: Barnoldswick. Nearer to Heaven than Gloria.

Re: Shed Matters 3

Post by Stanley »

Image

Today is top lid day. Remember castings aren't straight or even concentric so grab it however you can and straighten the face you are working on with the push tool. It works like magic at very low speed.

Image

As usual, do any boring after this first cut, you will never have it more concentric.

Image

Ready to come out of the chuck, I've opened up the 3/16" bore to 5/16" for the gland and notice I have marked the PCD (Pitch Circle Diameter) for the gland and lid bolts. Last touch. just break the top edge of the lid.

Image

Ready to cut off the cast in boss that I used to grab it in the first place. I've straightened it with the push tool, note that I only have hold of about 1/16" of the periphery of the lid so some careful light cuts are indicated!

Image

A bit later, it has an accurate register and I have cleaned up the as cast section round the gland which can't be turned. I shan't do anything else to it, it's a casting!

Image

Next thing is the steam chest and the first task was to get it in the vice and clear the flash off before we do any measuring. So into the vice and out with the files!

Image

This was knocking off time. The steam chest casting looks a bit better and is ready for machining.
Nice morning and all went well. Lovely!
Stanley Challenger Graham
Stanley's View
scg1936 at talktalk.net

"Beware of certitude" (Jimmy Reid)
The floggings will continue until morale improves!
User avatar
Stanley
Global Moderator
Global Moderator
Posts: 90301
Joined: 23 Jan 2012, 12:01
Location: Barnoldswick. Nearer to Heaven than Gloria.

Re: Shed Matters 3

Post by Stanley »

Image

Steam chest day. First job was to get the drawings out and do a fag packet drawing.

Image

First thing was to get two true faces and get the thickness right, 7/16".

Image

There is very little meat on this casting and so the next job was to get it in the vise and start filing!

Image

Quite a long time later! I have all the surfaces clean including the internal dimensions.

Image

Now we have the steam chest to size, the next job is to get the lid ready for fitting, first job was to grind the flash off one side which had a big gate on it.

Image

Image

Once I had two parallel sides to the right dimension, I could go looking for a flat face.

Image

Milling rough castings is hard on HS cutters (and even carbide ones!) so I decided before I went any further I wanted to sharpen the cutter.

Image

This is knocking off time, I have a sharp cutter and a face to work on. That'll be a good start for tomorrow. A nice productive two hours.....
Stanley Challenger Graham
Stanley's View
scg1936 at talktalk.net

"Beware of certitude" (Jimmy Reid)
The floggings will continue until morale improves!
User avatar
Stanley
Global Moderator
Global Moderator
Posts: 90301
Joined: 23 Jan 2012, 12:01
Location: Barnoldswick. Nearer to Heaven than Gloria.

Re: Shed Matters 3

Post by Stanley »

Image

Sharpening the cutter was a good idea. (I don't know how anyone manages a mill without a tool and cutter grinder.) I think you can see the difference in the first cut this morning and the last yesterday.

Image

I have two faces and two edges. The easiest way to square the ends is like this. At the same time I brought them to the right size to fit the steam chest.

Image

Here we are, a lid, steam chest and cylinder valve face all matched to each other. Polishing edges and surfaces will come later.

Image

I got the remaining 'to-do' castings out of the box. The outrigger for the crankshaft, the beam and the column. I decided to do the column next.

Image

The first thing to do was grind the gate off the end then get the drawing out and do a fag packet guide.

Image

Nothing is square or accurate so the first thing to do is get some properly sized and oriented reference surfaces. I decided on the sides of the base. Here we are set up as accurately as possible with a rough casting. Accuracy can start when we have proper references. The only thing I did here was to make sure the base finished up at the finished dimensions with an allowance for final polishing. In fact it doesn't matter much, the positioning of the holding down bolts is far more important.

Image

A bit of careful work and measuring and we have a base that is slightly undersize because the casting had no meat to spare but as I said, that's OK.

Image

Because I have a perfectly square reference, I can mark a centre on this end. I have to mount it in the lathe to do the next lot of machining. Incidentally I have watched others doing these columns and they all attempted to turn the surface of the column itself and ran into problems because the casting wasn't perfectly concentric. I am going to leave it as cast but cleaned up superficially by other means. It doesn't matter if it's slightly out of centre, it's the machining of the base and the top of the standard that counts.
It was knocking off time, I shall attack the other end tomorrow... Good morning, I've enjoyed myself again!
Stanley Challenger Graham
Stanley's View
scg1936 at talktalk.net

"Beware of certitude" (Jimmy Reid)
The floggings will continue until morale improves!
User avatar
Stanley
Global Moderator
Global Moderator
Posts: 90301
Joined: 23 Jan 2012, 12:01
Location: Barnoldswick. Nearer to Heaven than Gloria.

Re: Shed Matters 3

Post by Stanley »

Image

First job was to do the same job as yesterday, get the other end, the capital of the pillar, square and the correct size. Minimal cuts because there is no spare metal at all.

Image

Once I had both ends square and the right size I could locate a centre on both.

Image

I can get the pillar in the lathe now with both ends centred. As I forecast, the cast pillar is not concentric in the casting but that doesn't matter, it's the ends that matter and as it never moves, the fact it's not centred won't be obtrusive.

Image

I faced both inside faces without accentuating the eccentricity of the pillar, hand work will clean any discrepancies up.

Image

On the same setting I took a light cut across the base. I had to use the parting tool to get in and got a bit of chatter but nothing serious.

Image

Image

I couldn't quite get to the centre on either end so I took that off with a big smooth file to clean them up. By the way I had reversed the pillar in the lathe and cut the capital back to the correct overall size, 6" long. Then I put the lathe up to its highest speed and gave the pillar itself a good going over with emery. Not to make it smooth and polished, just to improve it to the point where it's clean and will still look like cast finish when painted.

Image

Knocking off time. Another casting ready for other operations and finishing. nice morning, I enjoyed that!
Stanley Challenger Graham
Stanley's View
scg1936 at talktalk.net

"Beware of certitude" (Jimmy Reid)
The floggings will continue until morale improves!
User avatar
Stanley
Global Moderator
Global Moderator
Posts: 90301
Joined: 23 Jan 2012, 12:01
Location: Barnoldswick. Nearer to Heaven than Gloria.

Re: Shed Matters 3

Post by Stanley »

Image

Today I operate on the outrigger for the flywheel shaft. PUBLIC HEALTH WARNING! For two reasons, no measuring was done and all the operations are by guess and by God. The reasons are: There are no straight surfaces to start from and second, the drawing is minimal, doesn't show a cross section and there no measurements at all.

Image

Image

I just grabbed it the best I could and started cutting surfaces.

Image

Last job was to put a surface on top of each mounting point.

Image

Here we are at knocking off time. I have worked on the assumption that like all the other castings there is no spare metal so all the cuts are the bare minimum to get a finish where I needed it. I shall spend some time on it with a file tomorrow to blend in the ribs that aren't square. The flat surfaces will be left as cast. The old engine builders only machined where they had to!
No disasters (very possible this morning!) and a clean result. Nice!
Stanley Challenger Graham
Stanley's View
scg1936 at talktalk.net

"Beware of certitude" (Jimmy Reid)
The floggings will continue until morale improves!
User avatar
Tizer
Global Moderator
Global Moderator
Posts: 18862
Joined: 23 Jan 2012, 19:46
Location: Somerset, UK

Re: Shed Matters 3

Post by Tizer »

I've put a link here to an OG page where I mention Perma-Grit Tools Ltd. Readers of this forum might be interested in their products. LINK
Nullius in verba: On the word of no one (Motto of the Royal Society)
User avatar
Stanley
Global Moderator
Global Moderator
Posts: 90301
Joined: 23 Jan 2012, 12:01
Location: Barnoldswick. Nearer to Heaven than Gloria.

Re: Shed Matters 3

Post by Stanley »

Never come across them until you mentioned them Tiz. Looks like good stuff and tempting but I have spent too much on books!
Stanley Challenger Graham
Stanley's View
scg1936 at talktalk.net

"Beware of certitude" (Jimmy Reid)
The floggings will continue until morale improves!
User avatar
Stanley
Global Moderator
Global Moderator
Posts: 90301
Joined: 23 Jan 2012, 12:01
Location: Barnoldswick. Nearer to Heaven than Gloria.

Re: Shed Matters 3

Post by Stanley »

Image

First job was to sharpen the two milling cutters I used, casting skin is very hard on a fine edge. I don't know how people manage without a T&C grinder!

Image

Then on to the main task, cleaning up the outrigger using a big flat file. Not as quick and easy as it looks but at knocking off time it's in good shape and all the edges are broken.

Image
Stanley Challenger Graham
Stanley's View
scg1936 at talktalk.net

"Beware of certitude" (Jimmy Reid)
The floggings will continue until morale improves!
User avatar
Stanley
Global Moderator
Global Moderator
Posts: 90301
Joined: 23 Jan 2012, 12:01
Location: Barnoldswick. Nearer to Heaven than Gloria.

Re: Shed Matters 3

Post by Stanley »

Image

Today I address the beam. It's the wrong shape to be easily cleaned up in the mill so the first thing was a bit of handwork to clean the casting up, break all the edges and polish the pads where it has to be drilled.

Image

Blacked up ready for marking. There was immediately a bit of a problem as the pads don't agree accurately with the centres of the drillings. The result was a compromise but it will be OK.

Image

Here we are starting drilling. As I say, it was a compromise.

Image

Here we are at knocking off time. Note I have also drilled the oilway for the trunnion bearing. Not sure where I go next, I shall take a view tomorrow....
Stanley Challenger Graham
Stanley's View
scg1936 at talktalk.net

"Beware of certitude" (Jimmy Reid)
The floggings will continue until morale improves!
User avatar
Stanley
Global Moderator
Global Moderator
Posts: 90301
Joined: 23 Jan 2012, 12:01
Location: Barnoldswick. Nearer to Heaven than Gloria.

Re: Shed Matters 3

Post by Stanley »

Image

The head of the column needs a slot down either side of it, 3/8" wide and 1/16" deep. I set it up in the mill vise and found the centre.

Image

Then I used the Verdict indicator to tram the vise in accurately. I have to get this slot parallel!

Image

Then I mounted a pointer and set the mill head on the centre. Lock the table and fit a 3/8" slot drill.

Image

Then small cuts until I had achieved my depth. Reverse the column and do exactly the same to the other side.

Image

Knocking off time, I have my two slots and they are not bad at all. All this took nearly two hours largely because of my eyes, everything has to be checked and re-checked! Then measured again.... But we are there, one more small step.
Stanley Challenger Graham
Stanley's View
scg1936 at talktalk.net

"Beware of certitude" (Jimmy Reid)
The floggings will continue until morale improves!
User avatar
Stanley
Global Moderator
Global Moderator
Posts: 90301
Joined: 23 Jan 2012, 12:01
Location: Barnoldswick. Nearer to Heaven than Gloria.

Re: Shed Matters 3

Post by Stanley »

Image

I did some more work on the column. Time for some drilling and tapping. It was easier because of the height to do the marking and drilling by hand in the vice. What I have in my head is to get the holes in first and do whatever connects to match my drilling because doing it by hand is never 100% accurate.

Image

The first holes drilled in the base, 2BA clearance. The other end was tackled in the same way but for tapping 2BA.

Image

It's a while since I had to get all the threading tackle out.

Image

Same process but this time 4mm tapping size for 2BA taps. In my search for 2BA taps I remembered that I need to buy a new set. I shall address that when I have finished this post.

Image

Tapping and fitting 2BA set screws as a check. One tap was cutting better than the other so I swapped after the first one.

Image

Knocking off time. Not a bad hour and a half. Quite enough for one day.
Stanley Challenger Graham
Stanley's View
scg1936 at talktalk.net

"Beware of certitude" (Jimmy Reid)
The floggings will continue until morale improves!
User avatar
Stanley
Global Moderator
Global Moderator
Posts: 90301
Joined: 23 Jan 2012, 12:01
Location: Barnoldswick. Nearer to Heaven than Gloria.

Re: Shed Matters 3

Post by Stanley »

Image

Today I want to make holes in the bottom lid. The first thing I had to do was some laying out and marking. Not made any easier by the fact the drawing doesn't tell you a lot, just indicates what's needed and leaves you to work out the method. There's about 45 minutes of work and checking here but I have my points marked with the centre punch.

Image

I'm not going to bore you with pics of the Progress drilling machine.... Here's an unusual sight though. I had to drill six holes clearance for 7BA. I did a lot of checking and re-checking and settled on a drill slightly bigger than .0985" and the nearest5 I have to that is a No. 39 drill. You don't hear much about number series drills, they are seen as old fashioned but it's useful to have a set about your person, you can drill odd sizes that aren't possible accurately any other way. (There are larger ones that are Letter series and those are handy as well)

Image

Here we are at knocking off time. The small holes are supposed to be countersunk but I'll leave that until I am into the packet of fastenings supplied and can do the job properly.

Image

You can always tell when I have been exercised, lots of tackle appears on the bench. Only a small job but it needed a lot of concentration and skills I haven't exercised for a while. On the whole I think I have done a good job. Nice morning in the shed.
Stanley Challenger Graham
Stanley's View
scg1936 at talktalk.net

"Beware of certitude" (Jimmy Reid)
The floggings will continue until morale improves!
User avatar
Stanley
Global Moderator
Global Moderator
Posts: 90301
Joined: 23 Jan 2012, 12:01
Location: Barnoldswick. Nearer to Heaven than Gloria.

Re: Shed Matters 3

Post by Stanley »

Image

The logical extension to drilling the bottom lid was to transfer those drillings to the bottom of the cylinder.

Image

So I positioned the lid correctly and clamped it in place. Then I mounted the whole lot in the vice and spotted the locations on the bottom of the cylinder using the same clearance drill I drilled the lid with, a No. 39.

Image

Then I got the fasteners out and found the 7BA countersunk screw that was going to be used to make the joint. I then calculated what depth the tapping holes needed to be drilled.

Image

The tapping drill was 2.05mm and the nearest drill I have for that is a No. 45. I set the depth stop to give me a 3/16" deep hole and picked up all the locations and drilled them. Everything going well....

Image

I replaced the drill with the tap because of course the drill is perfectly aligned and tapped the hole using only my hand to turn the chuck. Then disaster, it was a blind hole and I made the elementary mistake with small taps of not feeling I had reached the bottom. Here's the result, the worst thing possible. A tap broken in a blind hole. I was just a bit disappointed....
I spent 20 minutes trying to get lucky and shift it but failed. Luckily I ordered a new set of 7BA taps yesterday. I shall have a think tomorrow but I fear my lid is going to have to make do with only 5 screws holding it, if I'm lucky!
A good morning until the tap broke. I shall try not to let it ruin my life.
Stanley Challenger Graham
Stanley's View
scg1936 at talktalk.net

"Beware of certitude" (Jimmy Reid)
The floggings will continue until morale improves!
User avatar
Whyperion
Senior Member
Posts: 3073
Joined: 23 Jan 2012, 22:13
Location: Stockport, after some time in Burnley , After leaving Barnoldswick , except when I am in London

Re: Shed Matters 3

Post by Whyperion »

Bottom checking trick.
Use either a depth collar on the tap as you would on a drill.
Put a smaller drill (either end up) in the hole , big enough so it wont wobble, put a bit of masking tape flush with top of the workpiece. this gives the actual depth, match up this depth with the tap and tape off on that to same distance.
User avatar
chinatyke
Donor
Posts: 3831
Joined: 21 Apr 2012, 13:14
Location: Pingguo, Guangxi, China

Re: Shed Matters 3

Post by chinatyke »

Would I be right saying drill it out and fit a helicoil? Can you obtain them so small?
Magnu420
Newbie
Posts: 41
Joined: 15 Feb 2016, 20:49
Location: in a house in lancashire

Re: Shed Matters 3

Post by Magnu420 »

the only offer of options i can give you is

spark eroder thats if you know somewhere that will do it
weld a nut onto the broken tap and screw it out
drill the tap out ( if you can ) to summat like 5ba or 4ba make a bush to fit in the hole loctite it and thread the bush 7ba
or put a false bolt in ie drill the tap best you can, cut a 7ba bolt a bit smaller in length and loctite that in
User avatar
Stanley
Global Moderator
Global Moderator
Posts: 90301
Joined: 23 Jan 2012, 12:01
Location: Barnoldswick. Nearer to Heaven than Gloria.

Re: Shed Matters 3

Post by Stanley »

None of the above, they are all impracticable or will result in a mess. The design committee have come up with a plan. All will be revealed later!
Stanley Challenger Graham
Stanley's View
scg1936 at talktalk.net

"Beware of certitude" (Jimmy Reid)
The floggings will continue until morale improves!
User avatar
Stanley
Global Moderator
Global Moderator
Posts: 90301
Joined: 23 Jan 2012, 12:01
Location: Barnoldswick. Nearer to Heaven than Gloria.

Re: Shed Matters 3

Post by Stanley »

Image

The game plan is to ditch the hole with the broken tap in it and drill another alongside but, to make sure I have it properly lined up I shall not mark and drill it until I have all the other screws in place. That way I am sure it will be aligned properly. First job was to drill and countersink the holes. I have sorted my drills out and decided I can go a bit larger than recommended tapping size to ease the strain on the tap. I've gone for a No 34, 2.15mm, a tenth bigger.

Image

Image

The next job was to set the cylinder up and re-drill the tapping holes to the slightly larger size.

Image

The next job was to see if I had a viable 7 BA tap. I needed the tweezers to pick them up! I found two HSS taps, a starting tap and a bottoming tap. By the way, at this point the gloves came off, literally! I needed a more sensitive grip to handle these small objects.

Image

Next job was to sort out a tap wrench.

Image

Then some careful tapping and adjusting with both taps.

Image

With all the five good screws fitted I centre popped for the new hole, drilled both base and cylinder tapping size, Opened out the base to clearance and tapped the hole. I wasn't satisfied with my hold so I went into the treasure chest to find a 6BA Countersink head screw and a 6BA tap. Ran the tap through and fitted the screw, much better!

Image

Knocking off time. Success! The base is now properly attached to the cylinder.... Nice morning, I like solving problems!
Stanley Challenger Graham
Stanley's View
scg1936 at talktalk.net

"Beware of certitude" (Jimmy Reid)
The floggings will continue until morale improves!
Post Reply

Return to “Crafts”