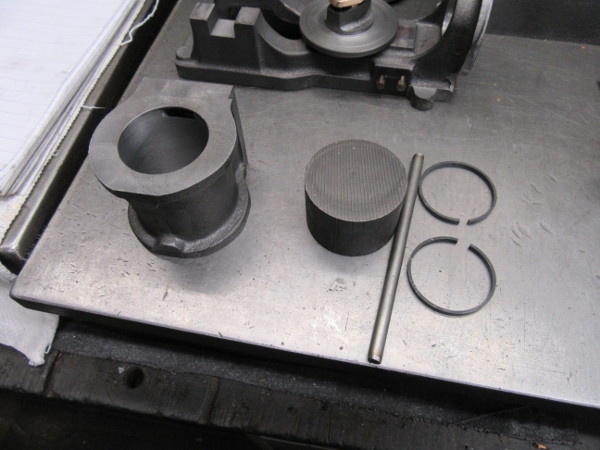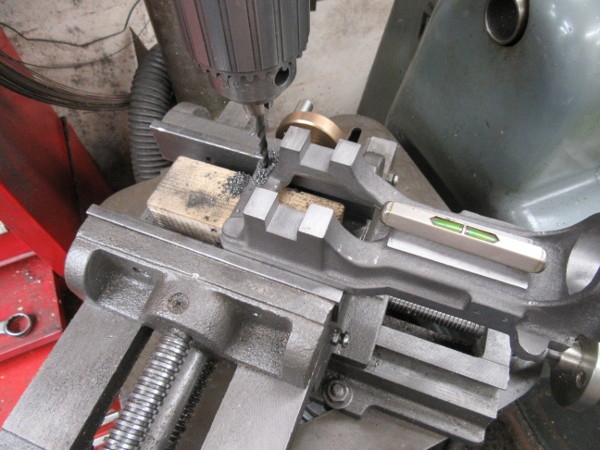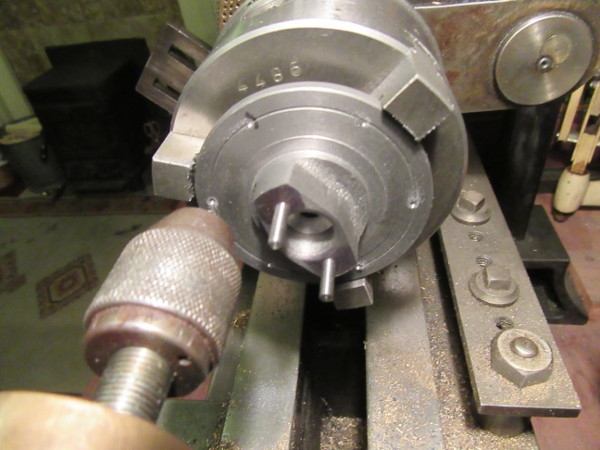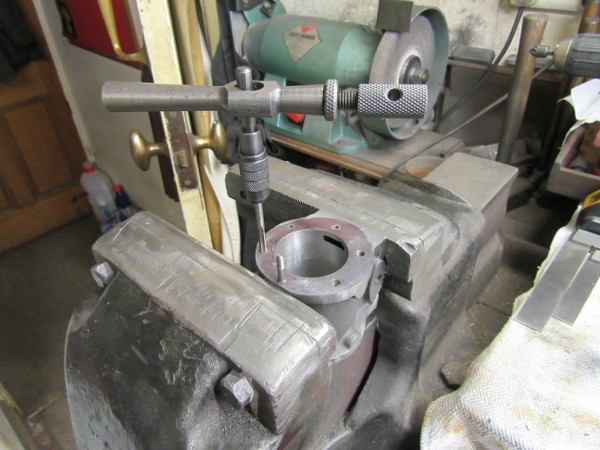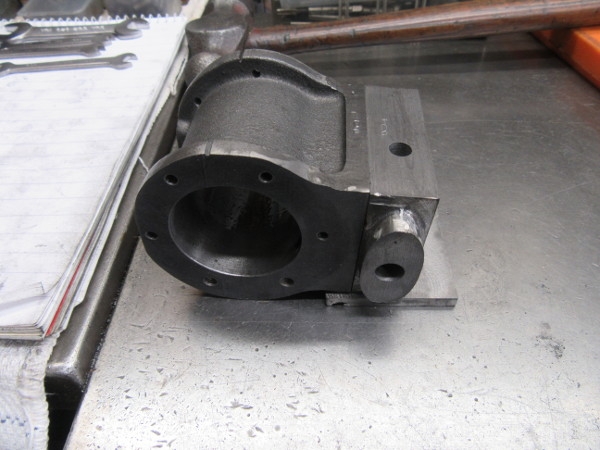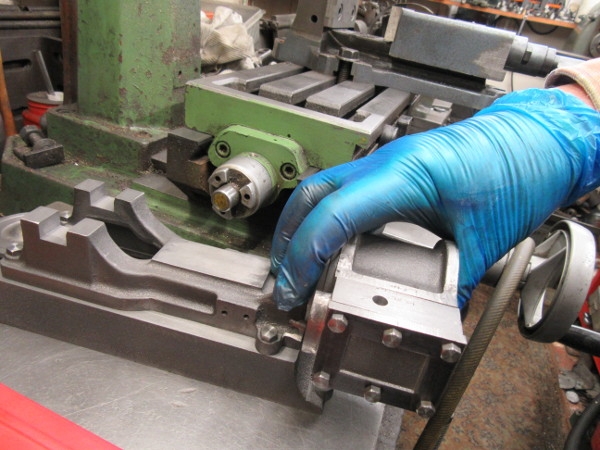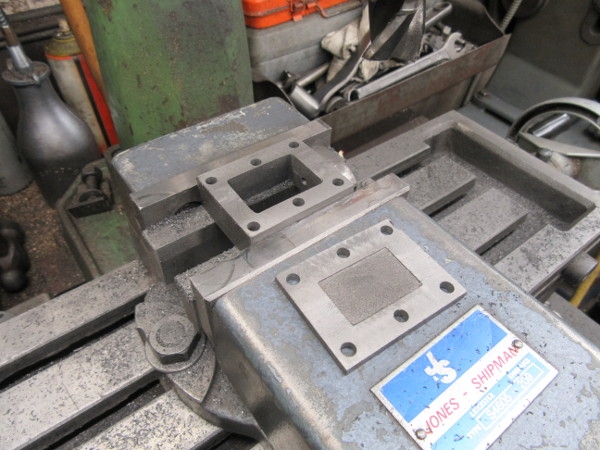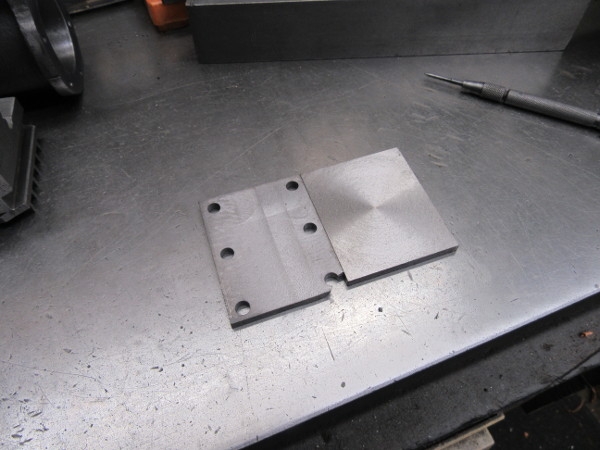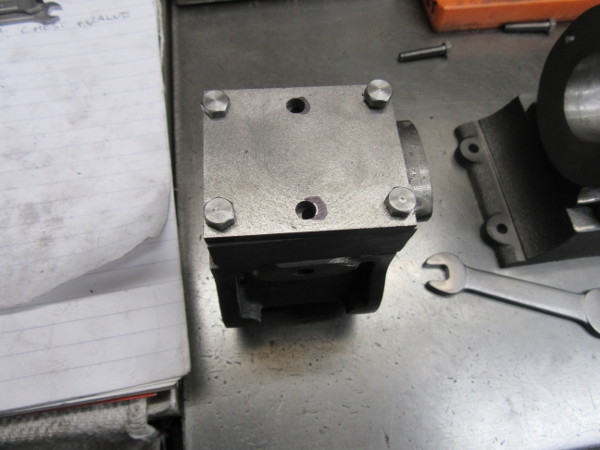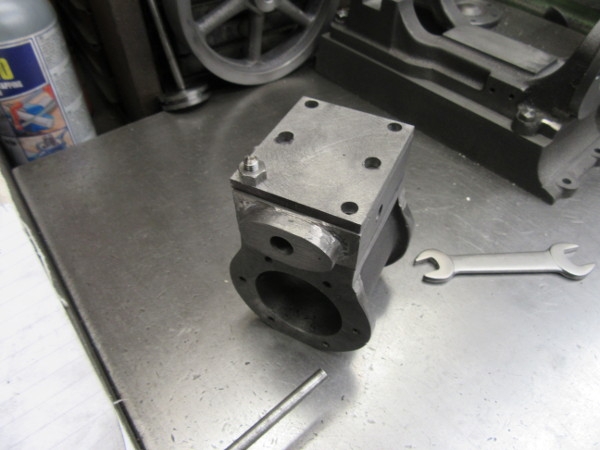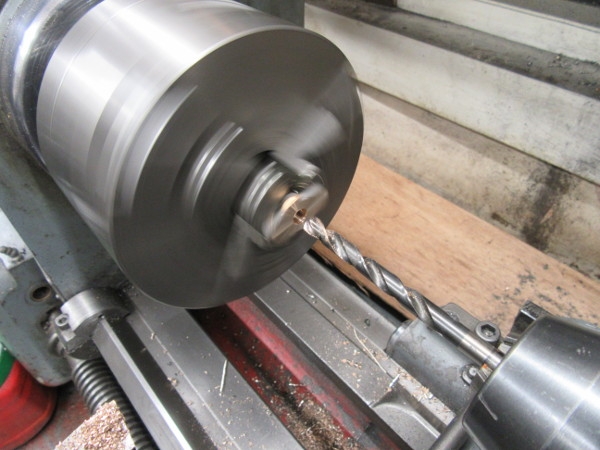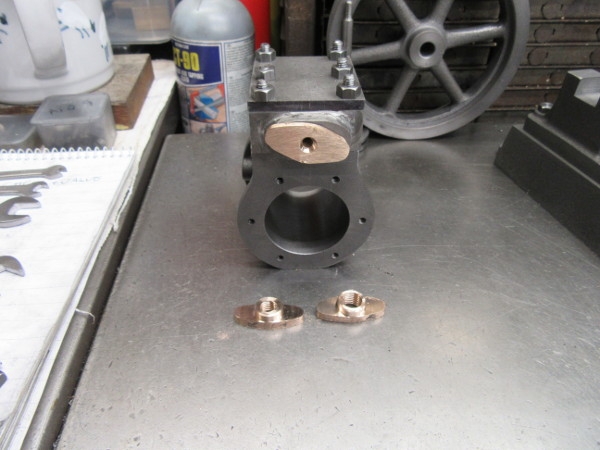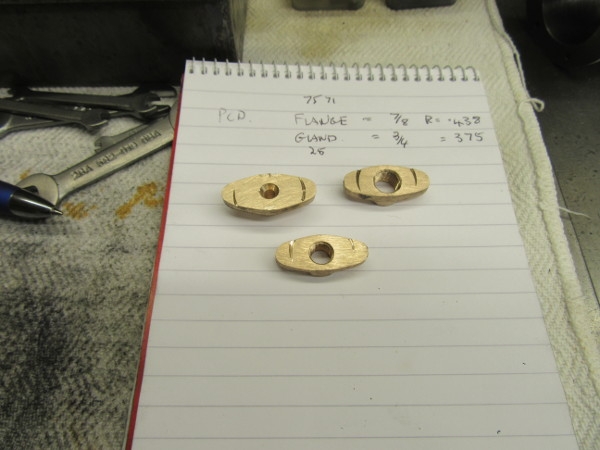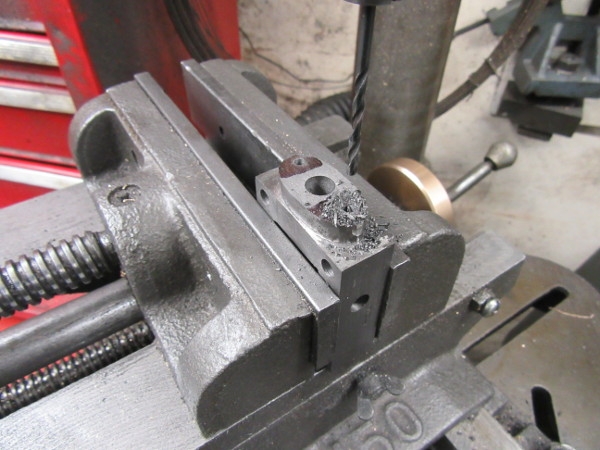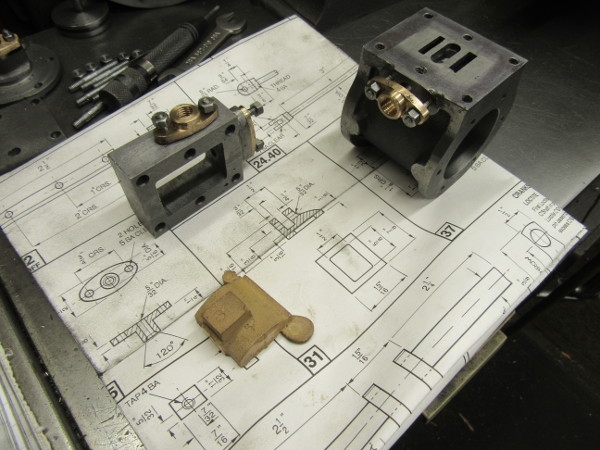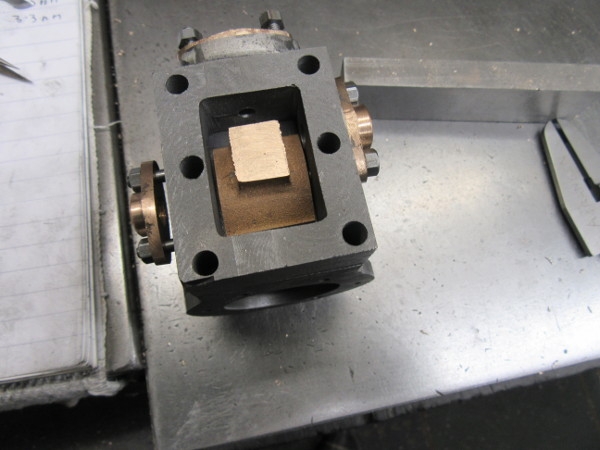
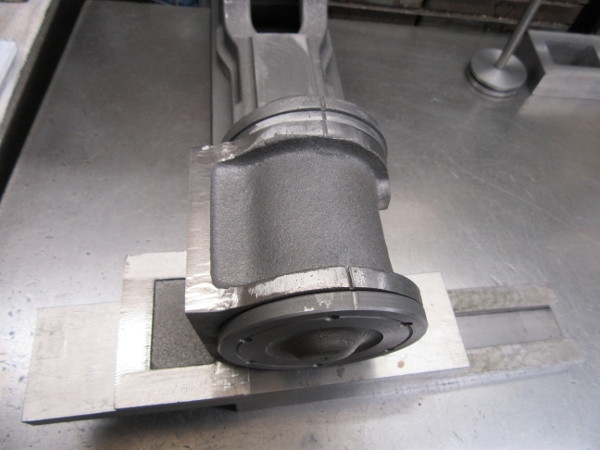
So many ways to go but I decided that I needed to do the drilling and tapping on the cylinder. The first thing to do is to line up the cylinder and lids and mark them so that the relationship can be maintained. I have slipped up so many times with this that I am very careful.
After about half an hour I had everything sorted and marked.
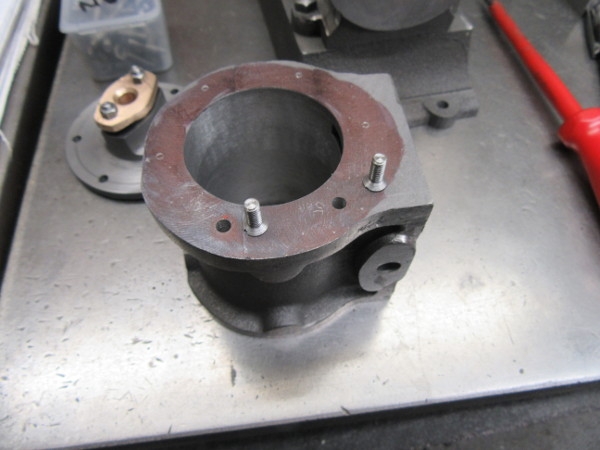
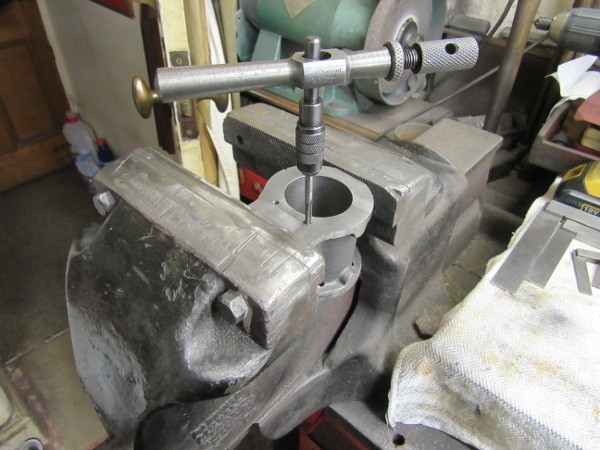
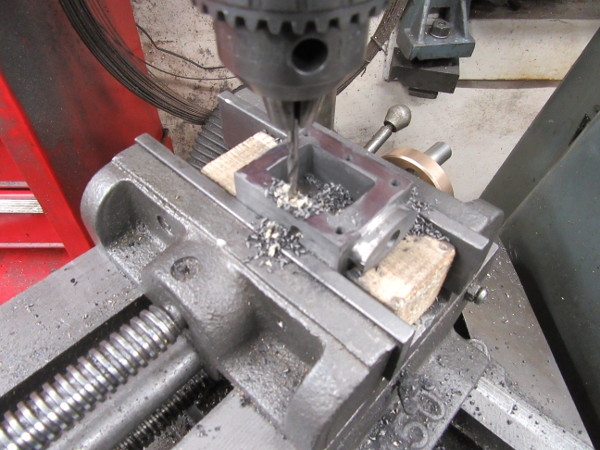
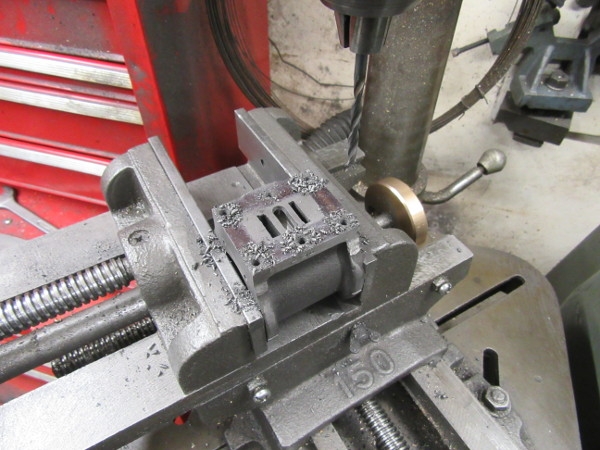
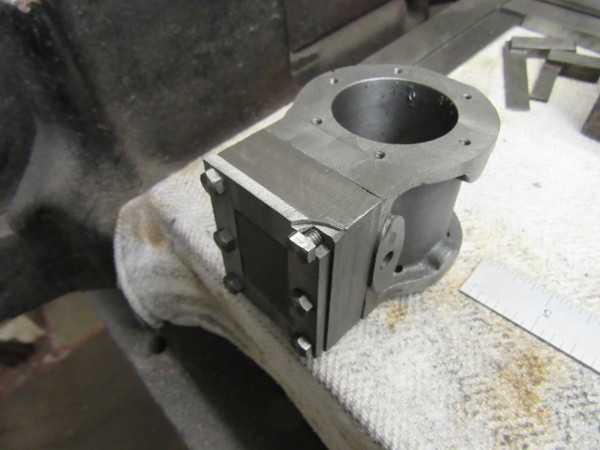
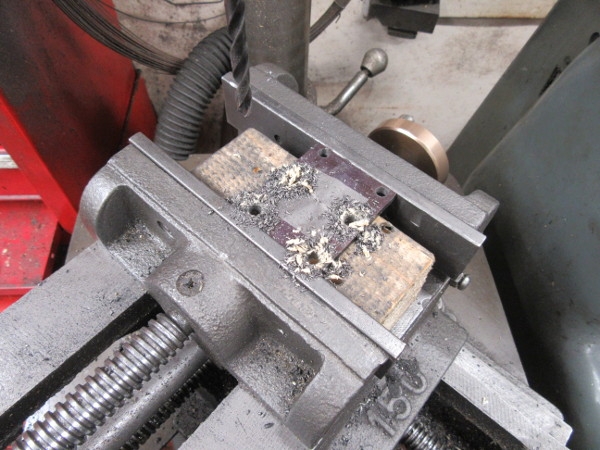
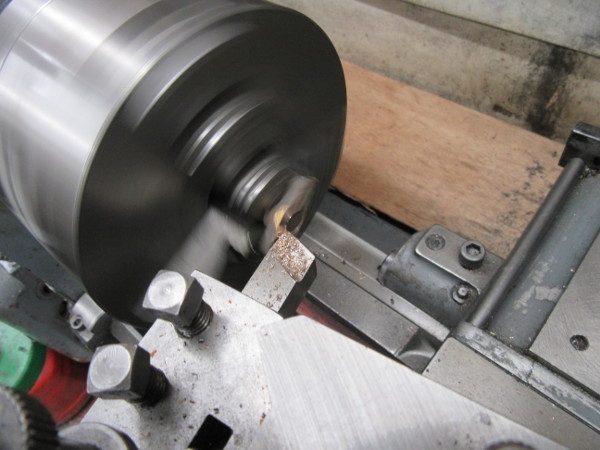
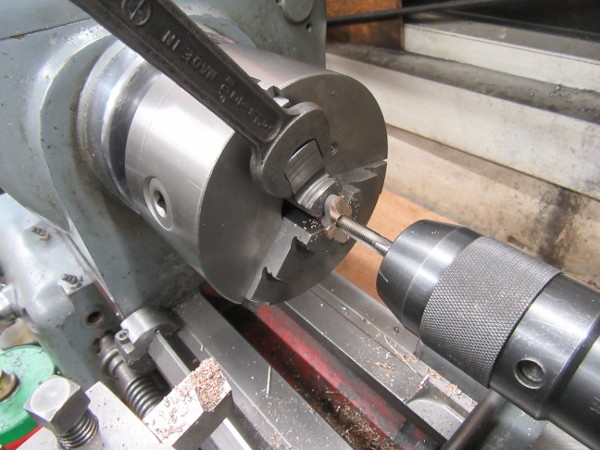
Two of the holes in the cylinder have to be tapped 5BA for countersunk screws as studs can't be fitted due to the design of the bed. Nowt to it, I drilled with a No. 38 drill and tapped them and found I had gone wrong somewhere and I had stripped the threads out. (Nice one Stanley.....)
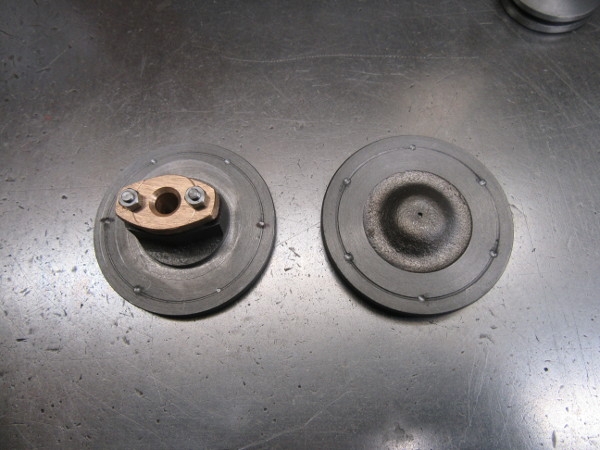
I then spent half an hour digging through the treasure chests for a solution, in this case through my collection of BA fastenings. I found two 2BA countersunk screws that will do and drilled and tapped for them, this time getting it right!
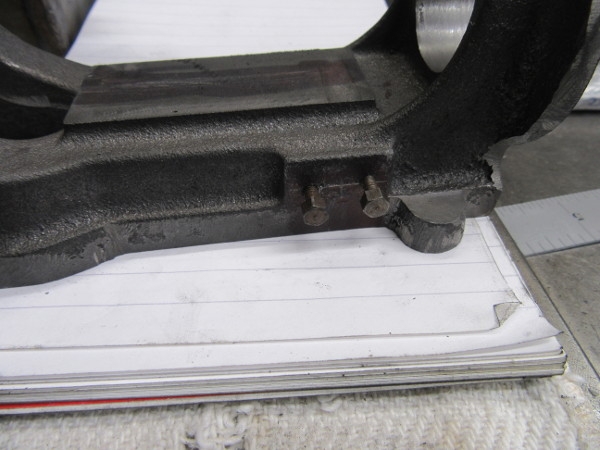
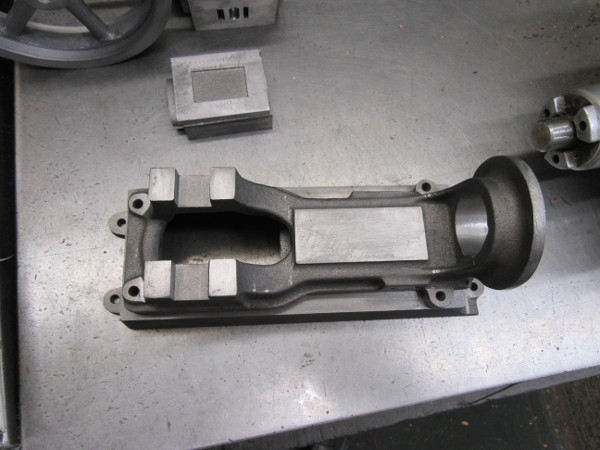
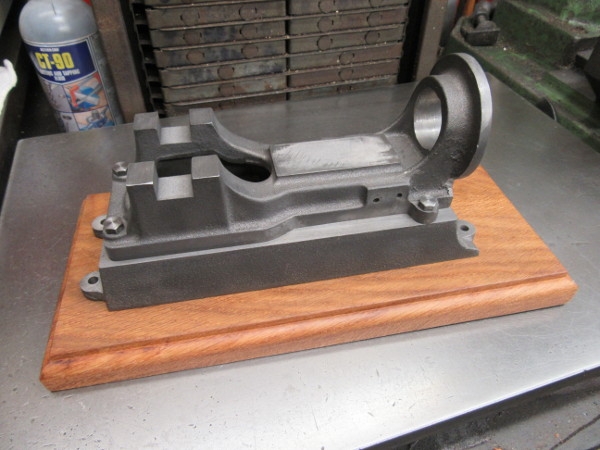
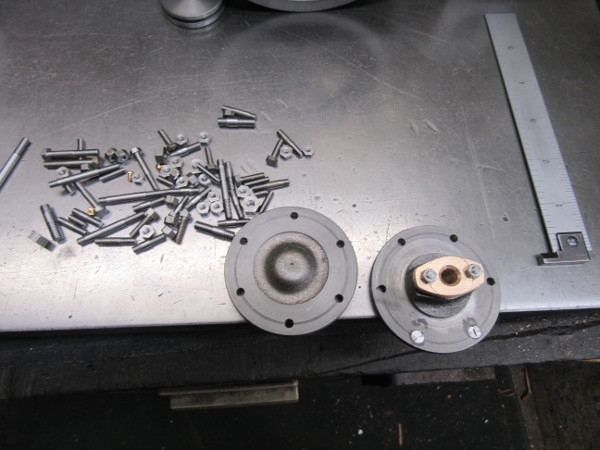
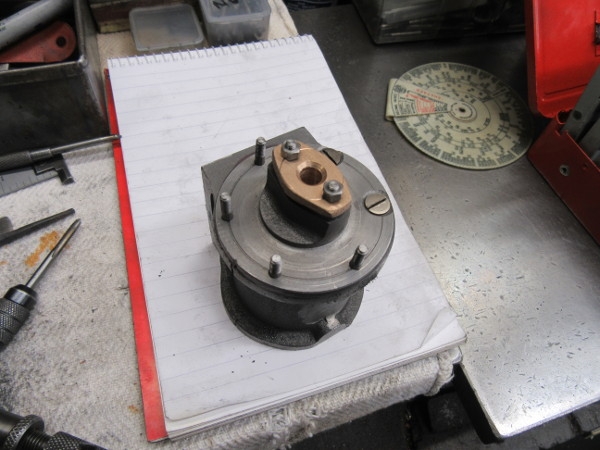
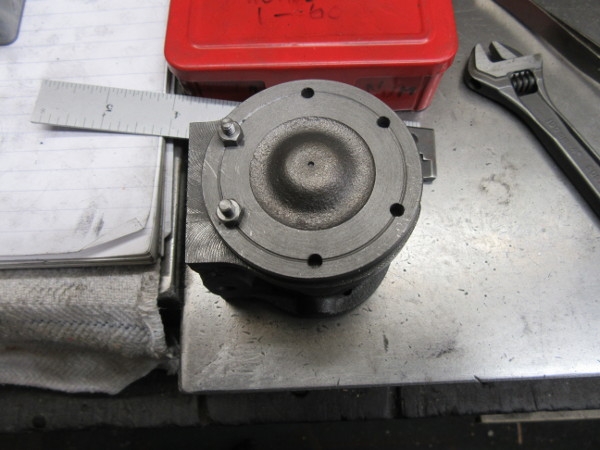
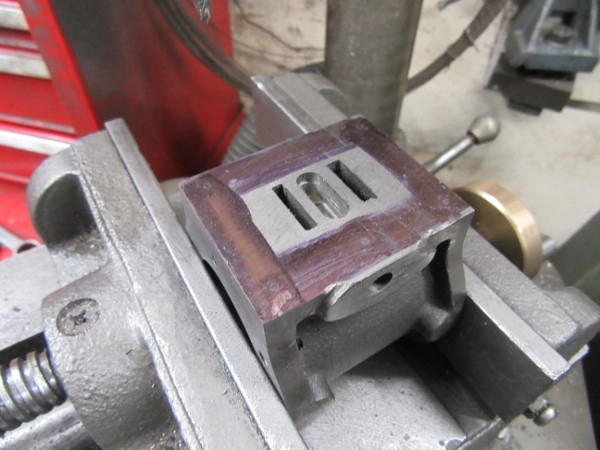
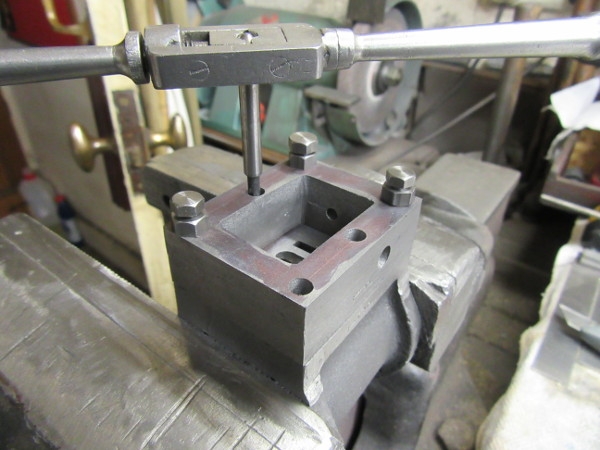
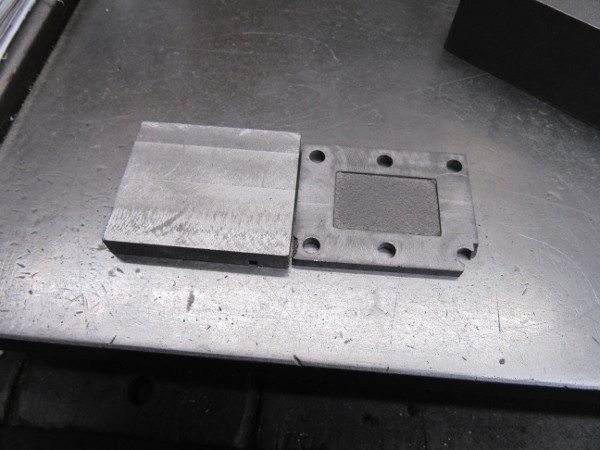
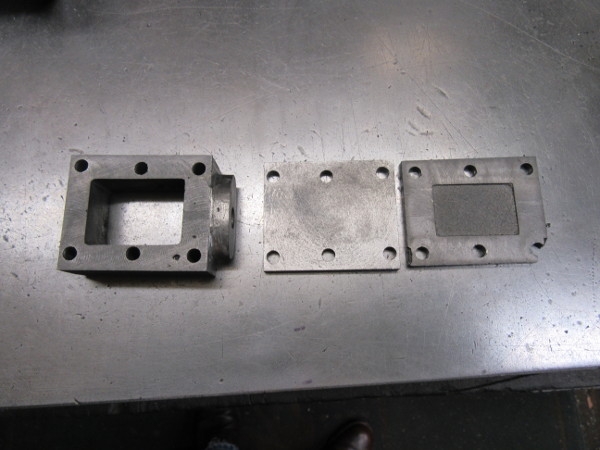
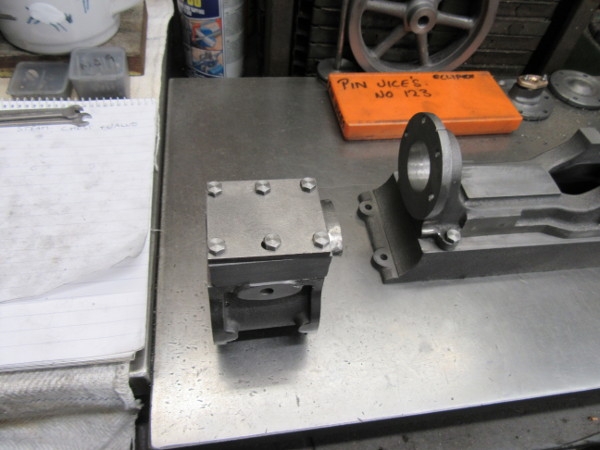
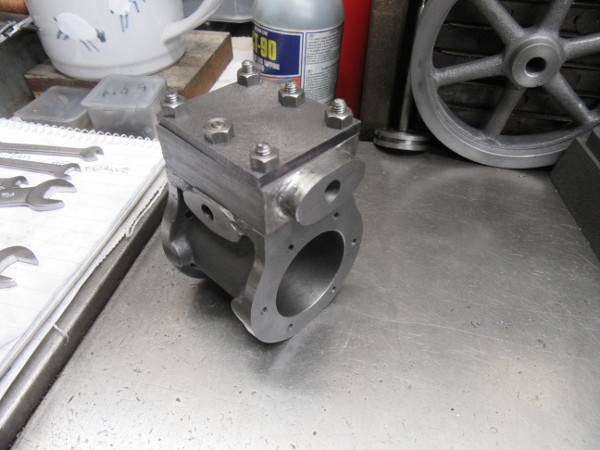
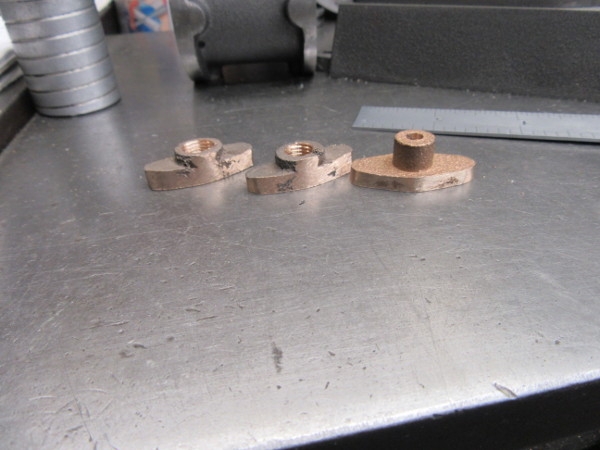
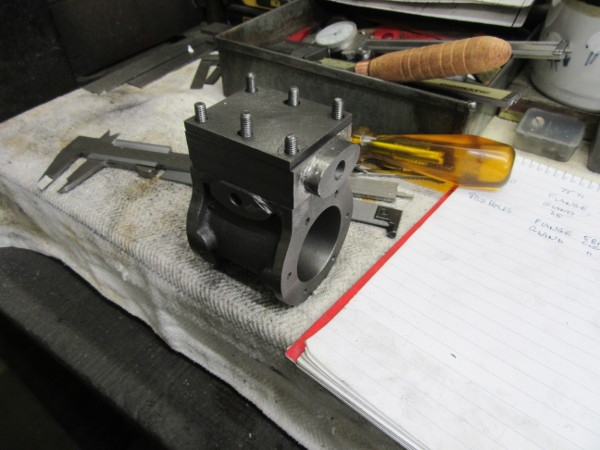
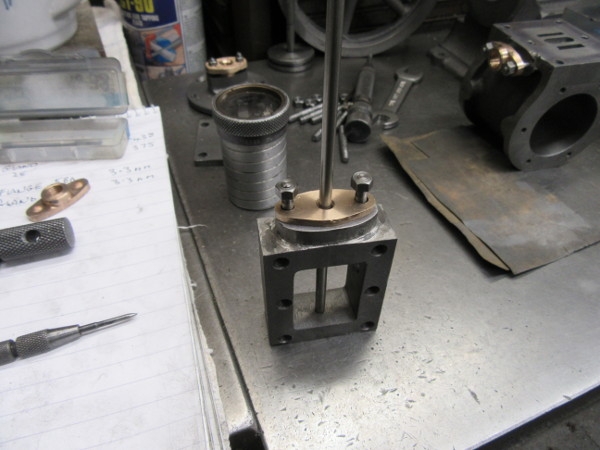
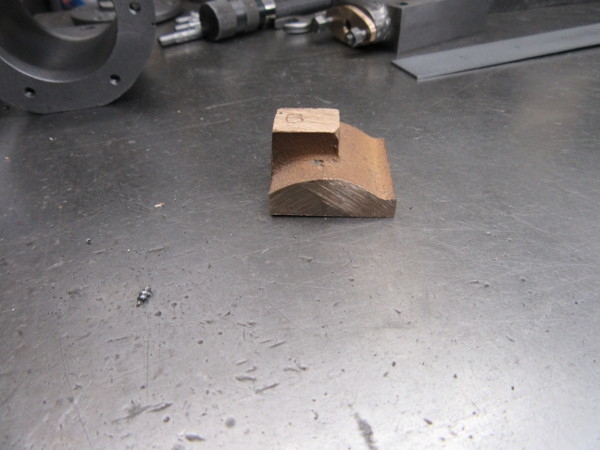
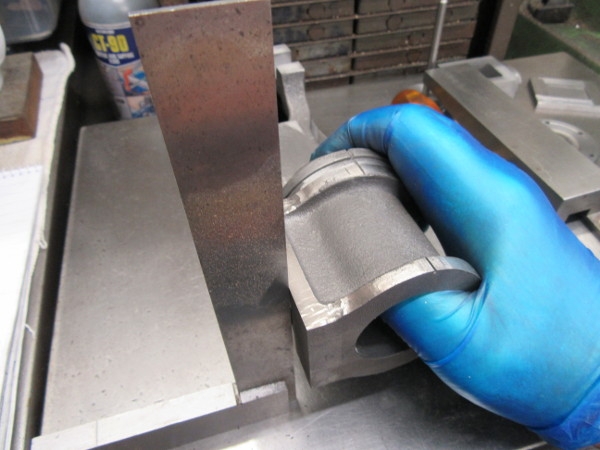
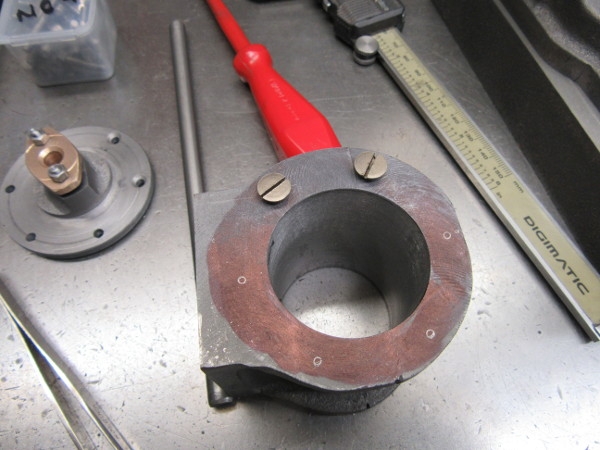
I drilled the lid for clearance and countersunk deep enough to get the heads of the screws below the surface of the Lid. Nobody will see these of course because they will be hidden in the joint between the cylinder and the bed. Here's the lid as it will be installed. Now for the rest of the holes which are all 4BA.
There is actually and advantage to this mistake. I can tighten the 2BA screws up far harder then the 4BA.... So more chance of a steam tight joint.

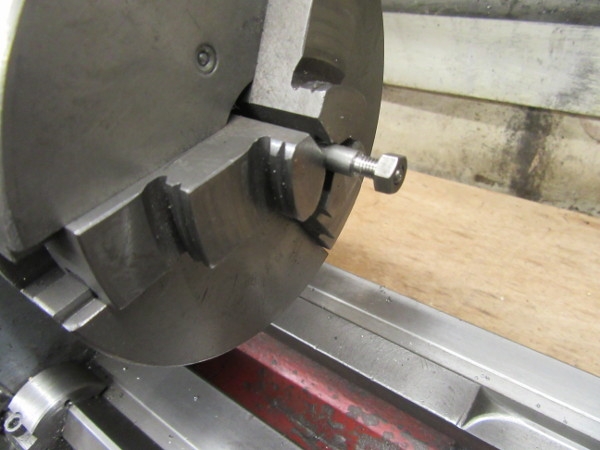
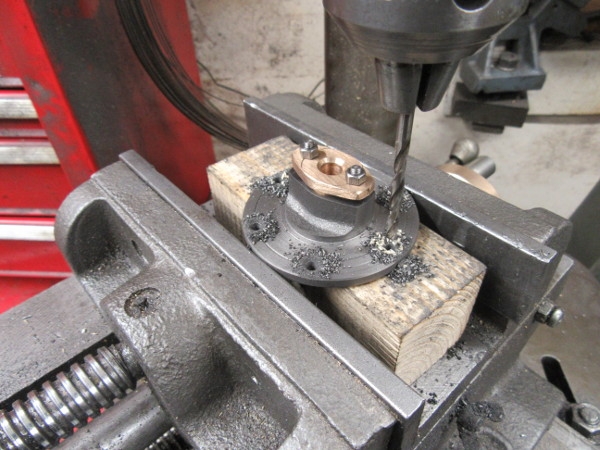
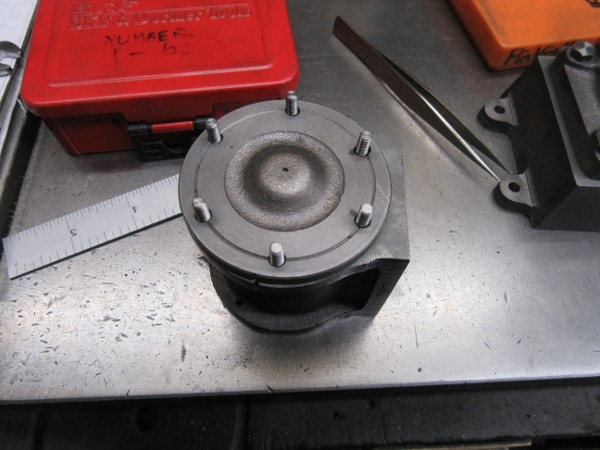
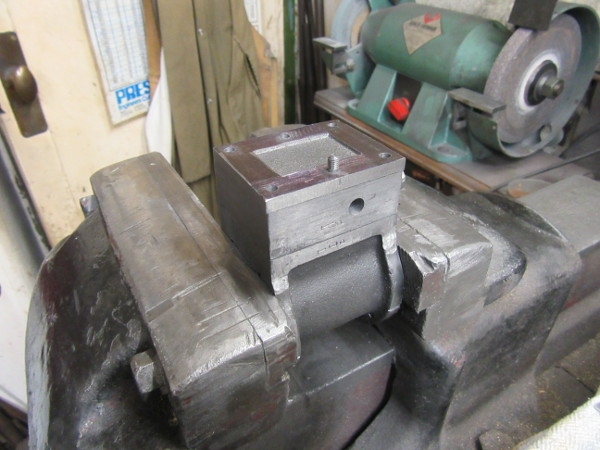
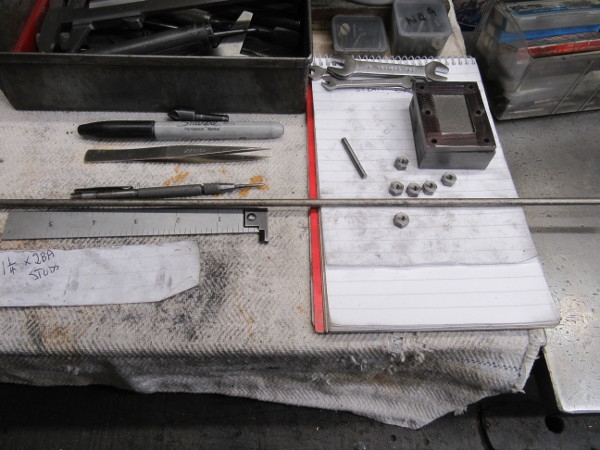
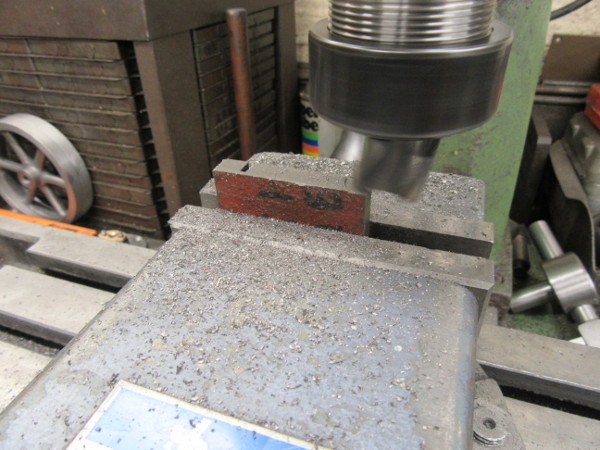
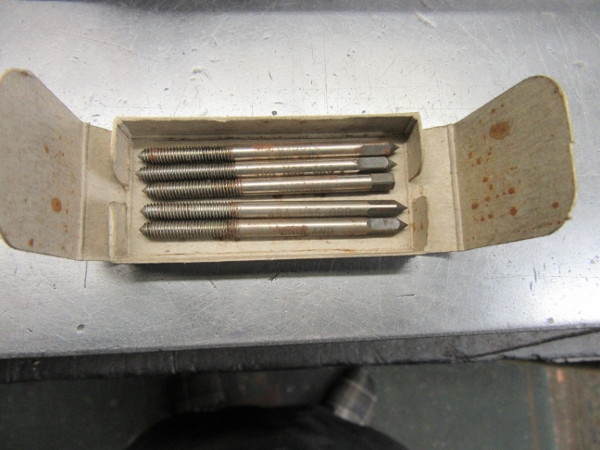
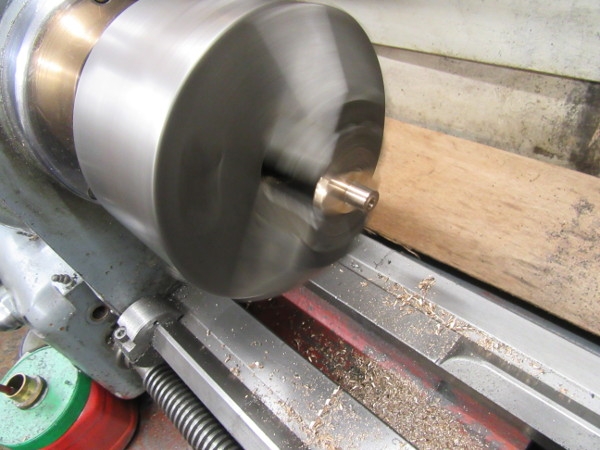
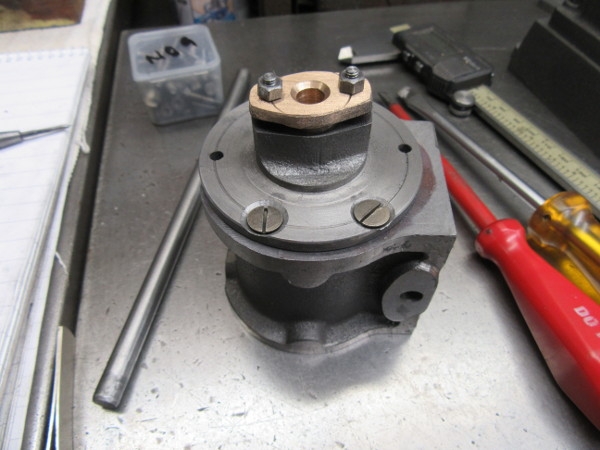
4BA isn't a thread I have used lately so I had to find a drill and tap and the 4 studs that make up the fastenings for the front lid. Not everything is marked clearly so you have to double check everything, that's why there is a 4BA nut there on the bench. It all takes time and so by the time I was sorted it was closing time. I shall come back to drilling and tapping fresh tomorrow morning. I don't want any more stripped holes!