Page 64 of 125
Re: Shed Matters 3
Posted: 02 Mar 2022, 08:19
by Stanley
Re: Shed Matters 3
Posted: 03 Mar 2022, 08:08
by Stanley
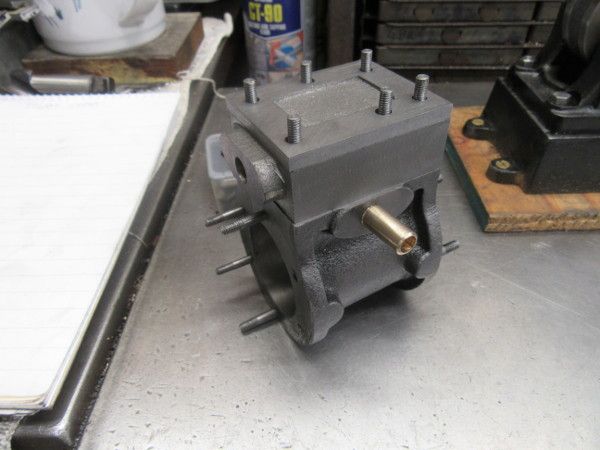
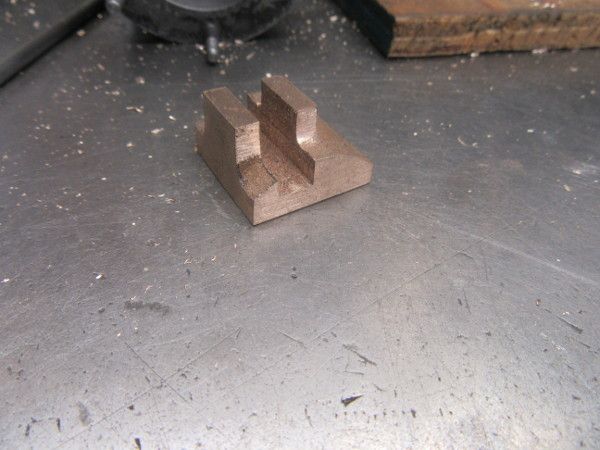
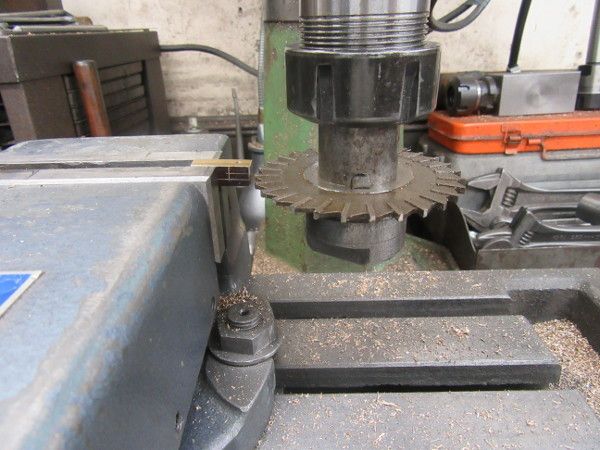
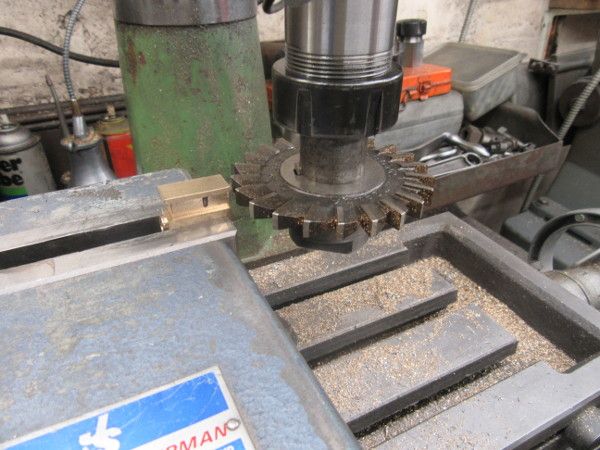
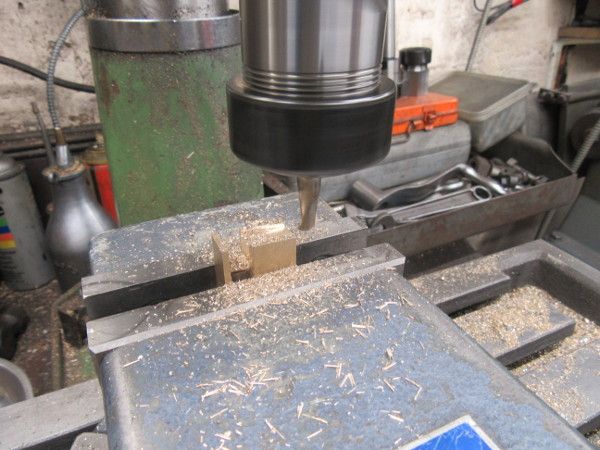
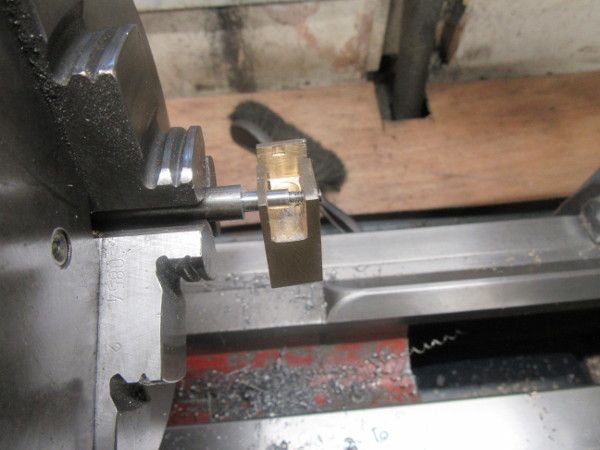
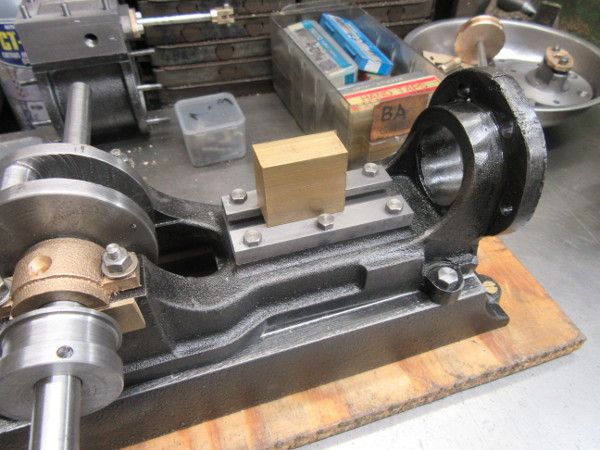
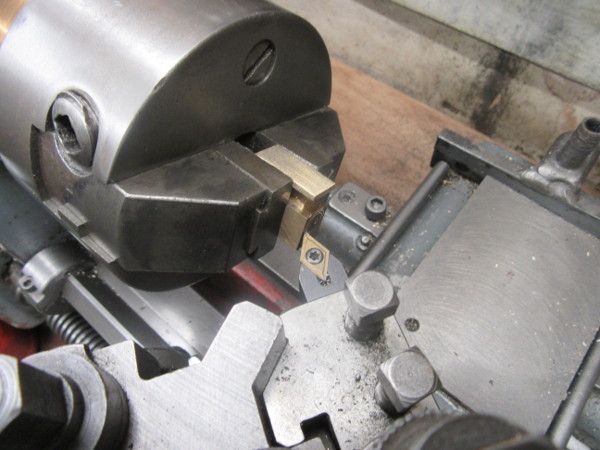
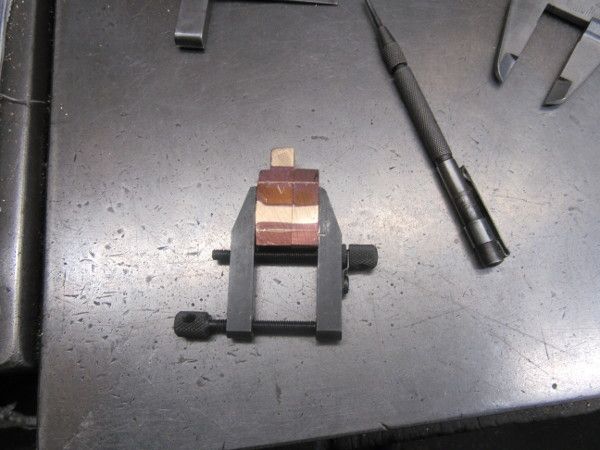
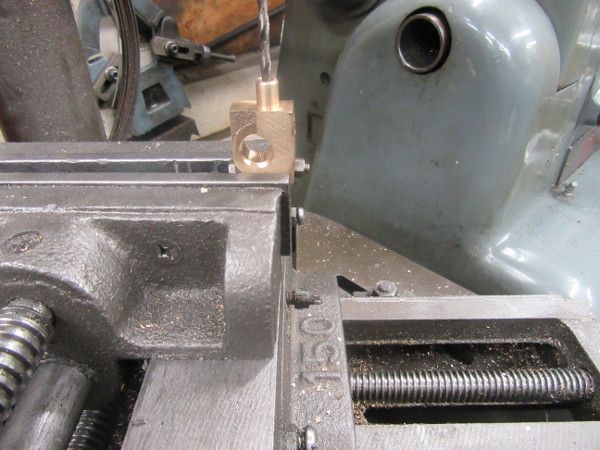
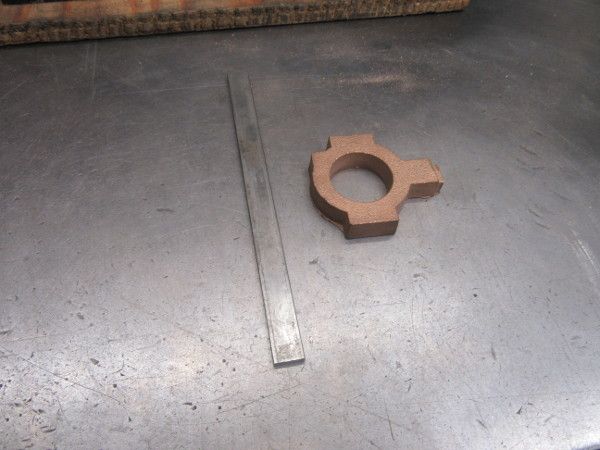
This morning's job is to start to turn the rough brass casting you see here into a quite complicated steam valve which has to be accurate in order for the engine to function.
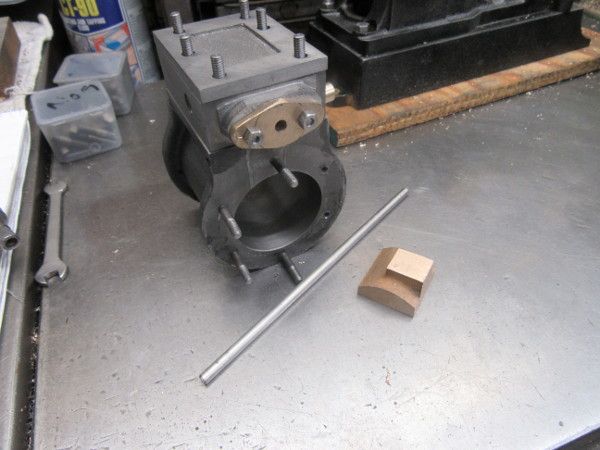
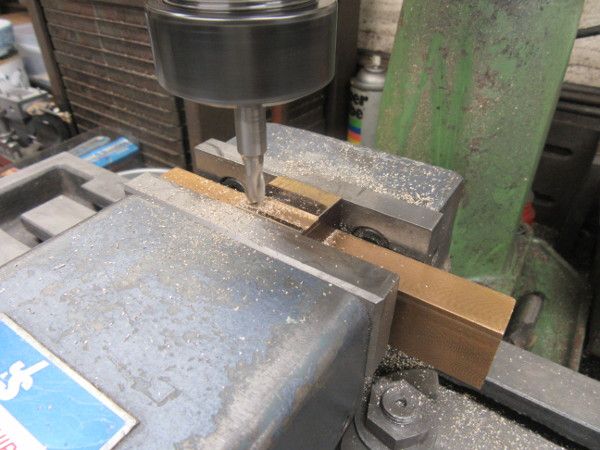
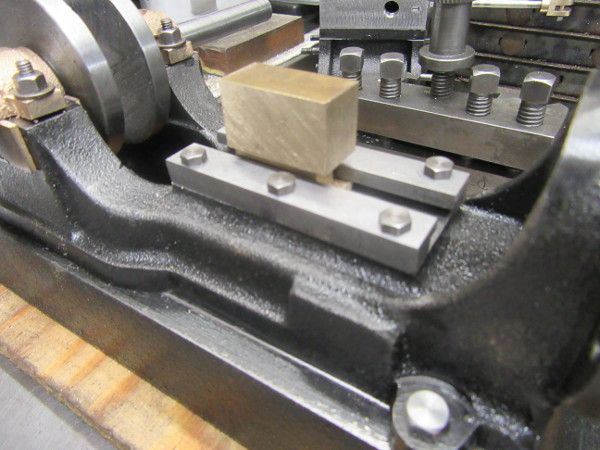
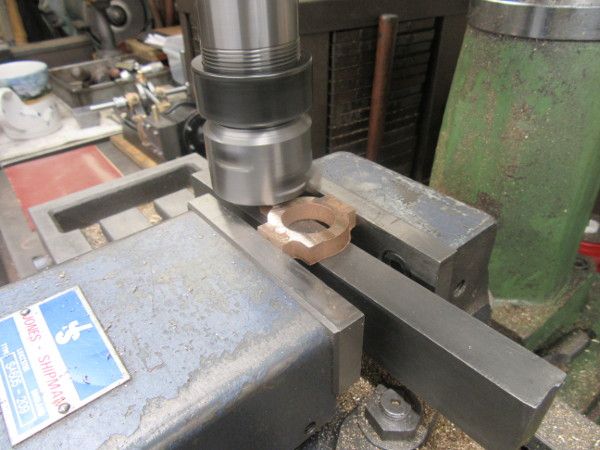
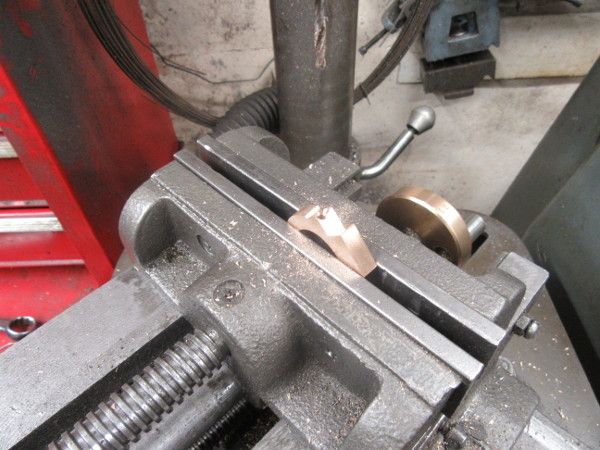
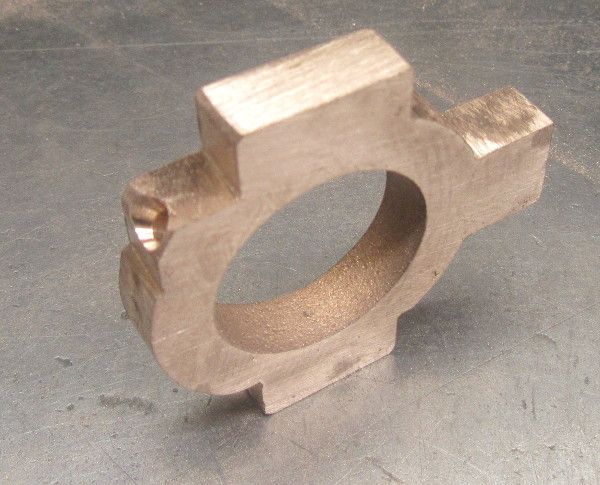
After two hours careful milling we are getting there but there is still a lot to do. I have been slow and careful, sharpening my mill cutter and doing a lot of measuring, marking and checking. All is well so far so it's a nice morning.

Re: Shed Matters 3
Posted: 04 Mar 2022, 08:45
by Stanley
Re: Shed Matters 3
Posted: 05 Mar 2022, 08:00
by Stanley
Re: Shed Matters 3
Posted: 06 Mar 2022, 07:34
by Stanley
Re: Shed Matters 3
Posted: 07 Mar 2022, 08:10
by Stanley
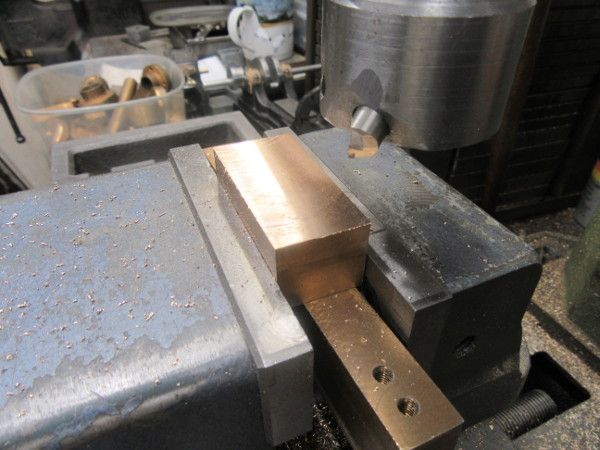
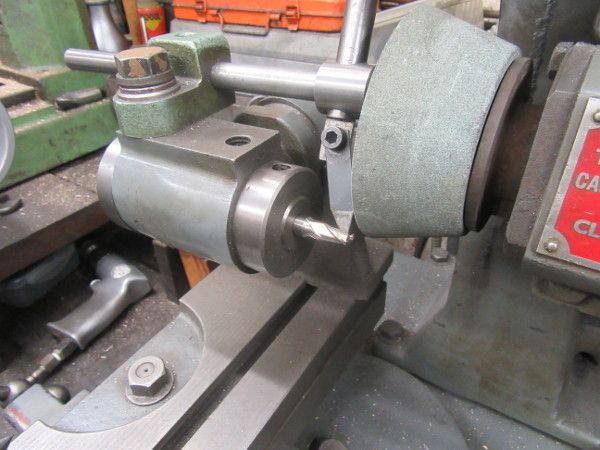
I allowed myself to have a diversion this morning. For a couple of weeks one of my fly cutters was sitting on the bench waiting to have its cutter remodelled and sharpened. This morning I did it and here we have a test cut on a piece of bronze that needed cleaning up. Such a good finish.....
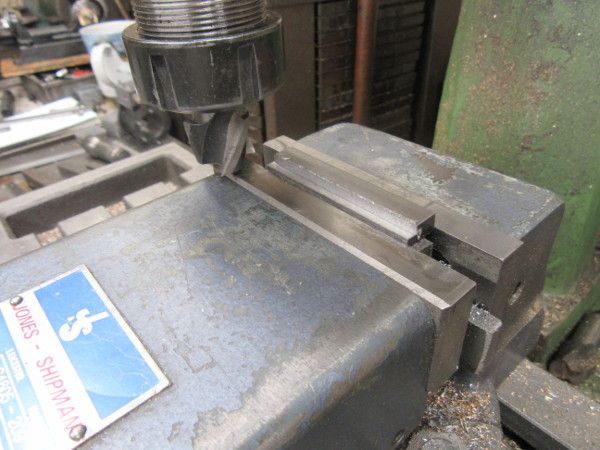
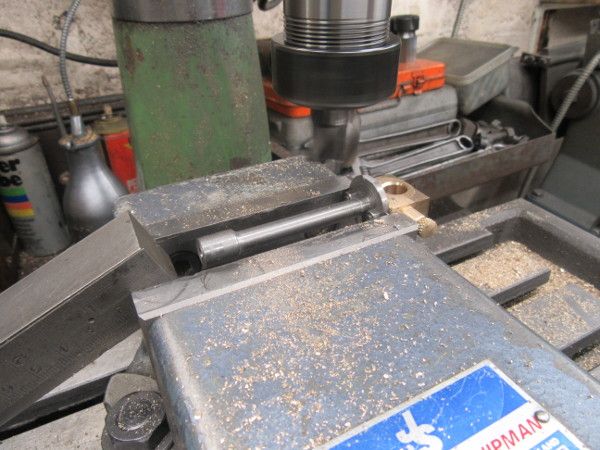
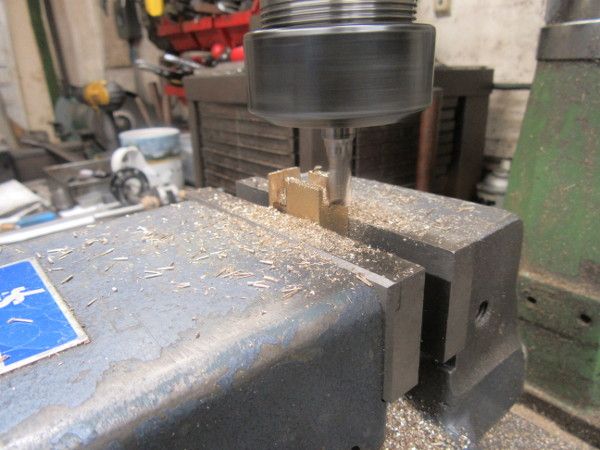
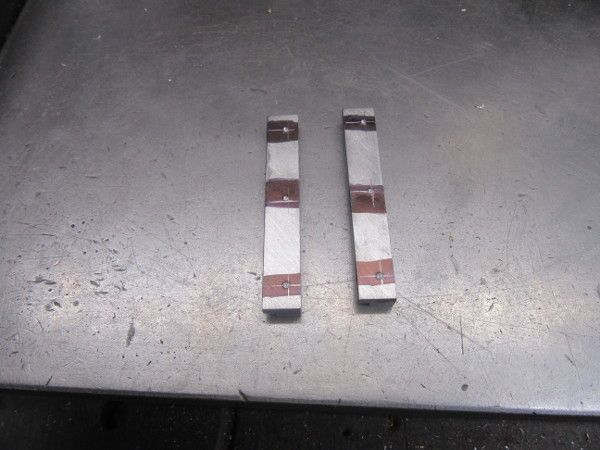
Then I got down to business. I decided to make the crosshead guides and after cutting them to exactly 2.5" long I measured and marked to cut the relief groove for the crosshead. At closing time I had cut one, very light cuts because it was such a dodgy set up! The temptation was to slam the other one in and cut it but I resisted. That will do tomorrow. There is no rush!
Re: Shed Matters 3
Posted: 08 Mar 2022, 07:39
by Stanley
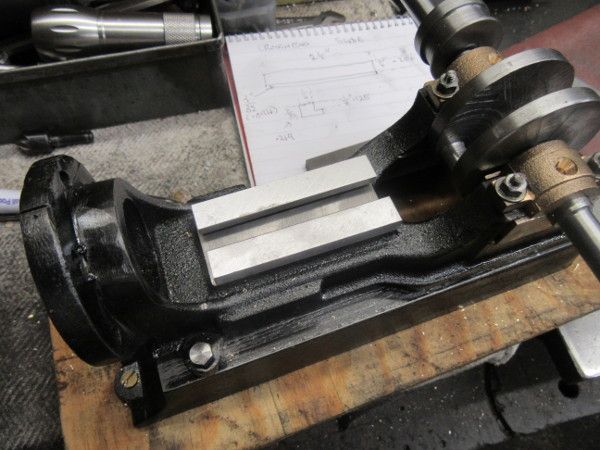
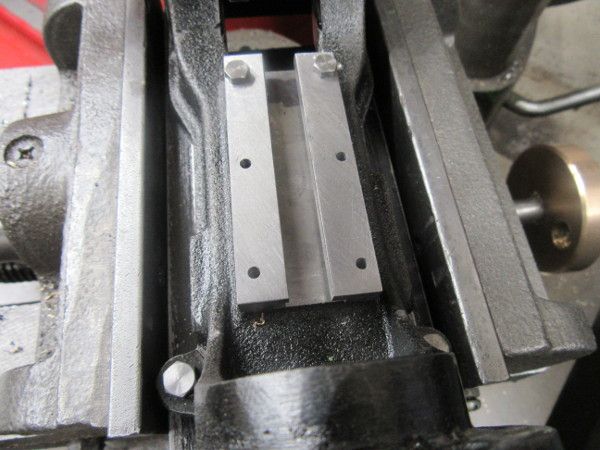
I finished cutting the rebate in the crosshead slide and then went on to finish them to the correct size all round.
This is closing time, I have measured and marked ready for drilling them and fitting to the crosshead slide on the engine bed. I didn't feel like drilling and tapping this morning so I knocked off ten minutes early. I can do.... nobody is standing over me.
Re: Shed Matters 3
Posted: 09 Mar 2022, 08:08
by Stanley

The task is to fit the crosshead guides to the engine bed. I used the guides, drilled tapping size, as guides.
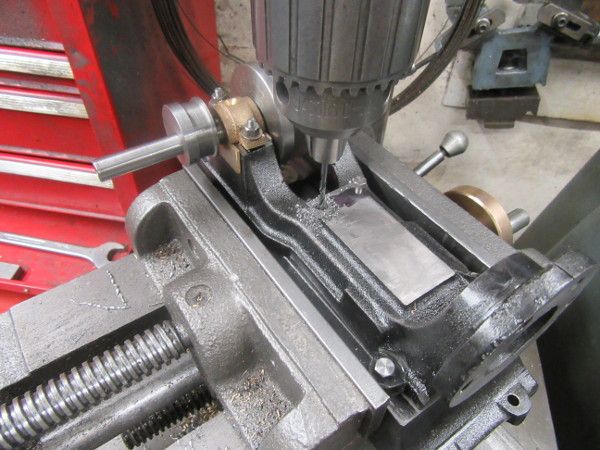
The idea is to drill and tap for one bolt on each side, Fasten the guides to the bed and mark for the other four holes.
Closing time, both guides fitted. We can move on now. Make a crosshead? We'll see tomorrow.
Re: Shed Matters 3
Posted: 10 Mar 2022, 07:56
by Stanley
We have a crosshead slide with guides fitted, we have a piece of bronze stock, we need a crosshead. Simples! we have to start nibbling bits out of it, but first I sharpened a 9/32" slot drill.....
I'll not bore you but there was quite a lot of this.
Knocking off time came a bit early because before I go forward from this stage I need to fit the Cylinder, piston and rod. Quietly away, I shall do that tomorrow..... No rush!
Re: Shed Matters 3
Posted: 11 Mar 2022, 06:55
by Stanley
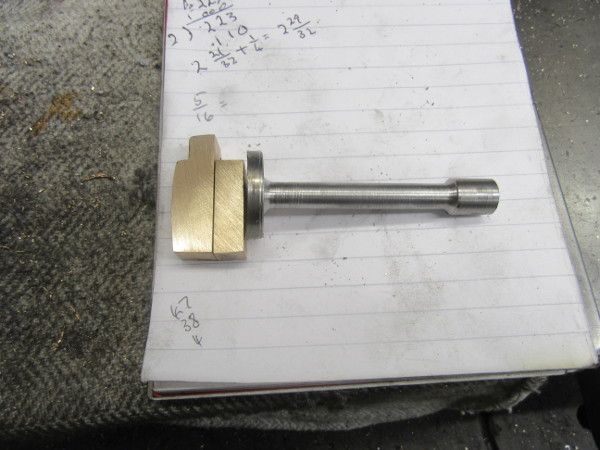
Only an hour in the shed so straight into marking the crosshead for drilling to accept the piston rod.
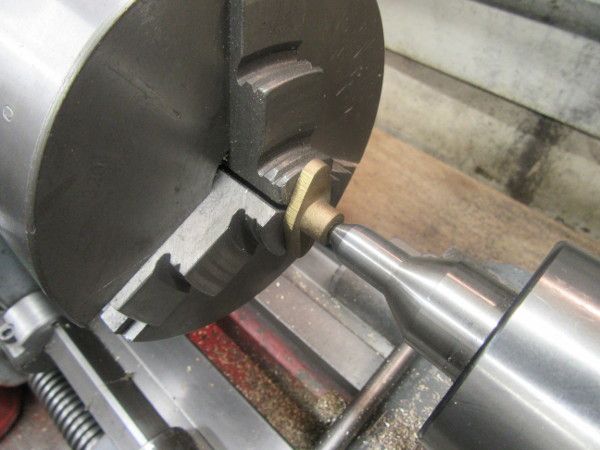
The two jaw brass finisher's chuck made one of its rare appearances. (You can't have too many chucks!). I needed to make the end where the rod goes round so it looks OK. Not as easy as it looks, I had to finish it in the VM.
Closing time. The piston and rod are connected to the crosshead. That's enough for this morning. Tomorrow I'll look at the connection with the con rod.
Re: Shed Matters 3
Posted: 12 Mar 2022, 08:05
by Stanley
Before I shape the other end of the crosshead for the Con rod I decided to make the rod first.
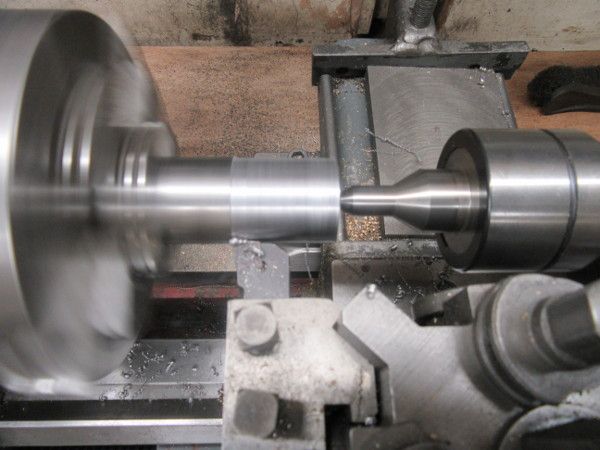
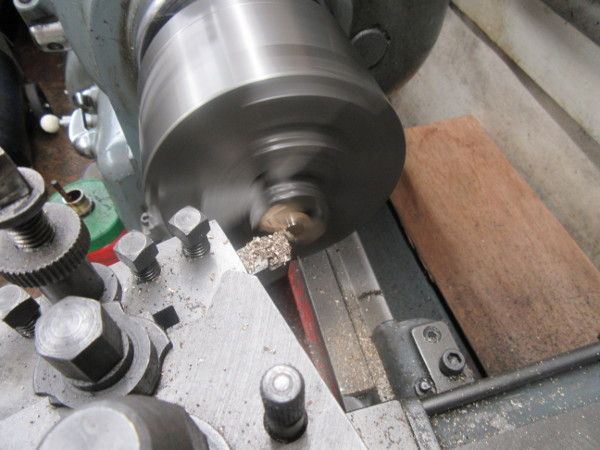
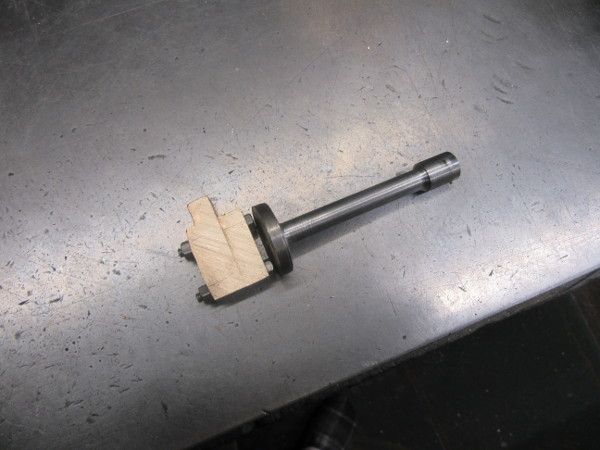
I'm starting here reducing the inch and a quarter piece of stock to the sizes I need for the rod. It's a muck shifting job so no worries about finish, I used one of my tipped tools to rip the main of the meat out.
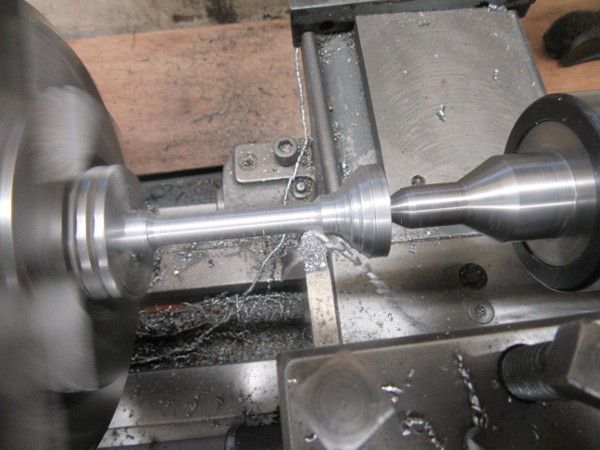
As I got near to the size I swapped to a round nose HSS tool as that means I can put some shape into the ends of the rod.
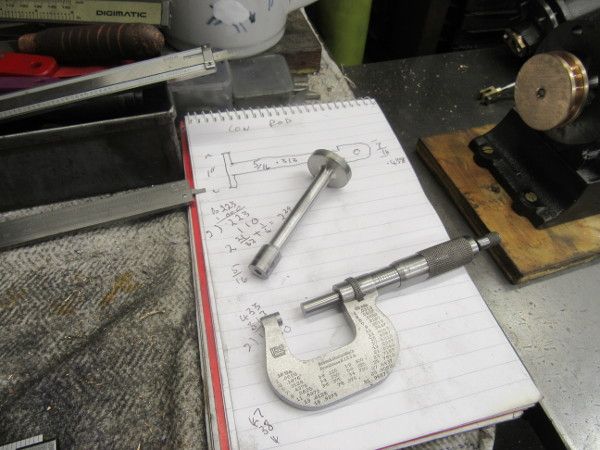
Here we are at closing time, the blank is the right length and the right size and shape at each end so I can move forward tomorrow.
Re: Shed Matters 3
Posted: 13 Mar 2022, 08:03
by Stanley
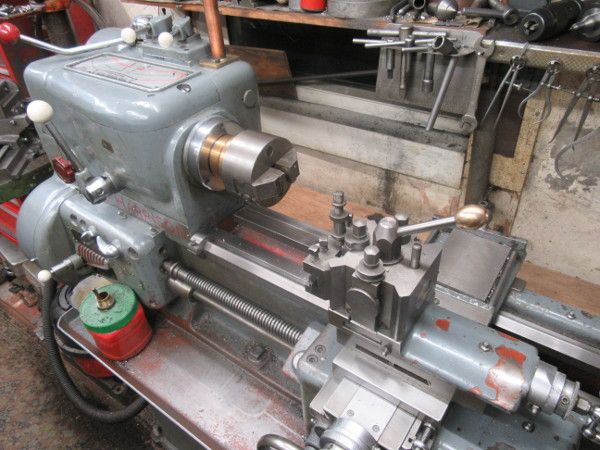
I decided I was going to work on the bronze bearing and I know that I will need the lathe for that and at one point the two jaw brass finisher's chuck. So I did a clean up. took the 4jaw SC chuck off and replaced it with the two jaw.
Here are the castings. I knew that I was going to be in the vertical mill doing careful machining of the blanks so the next job I did was give my favourite cutter a back-off, gullet and sharpening.
This was knocking off time. I am half way there.... Just to finish the morning I gave the flywheel a second coat of paint, I've been meaning to do that for a while.
Re: Shed Matters 3
Posted: 14 Mar 2022, 08:03
by Stanley
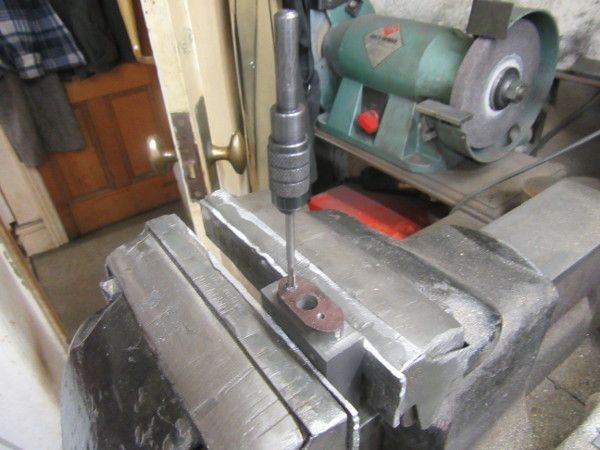
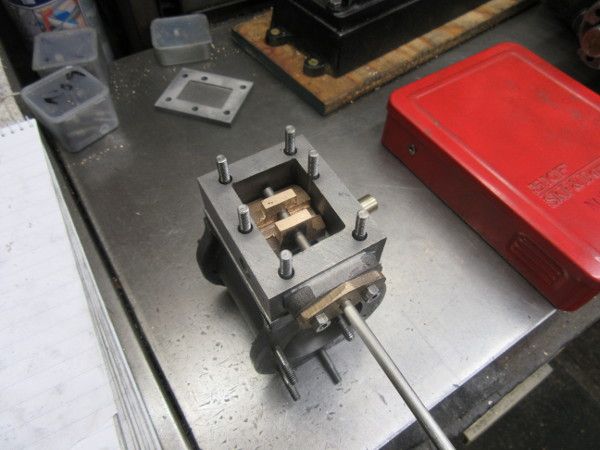
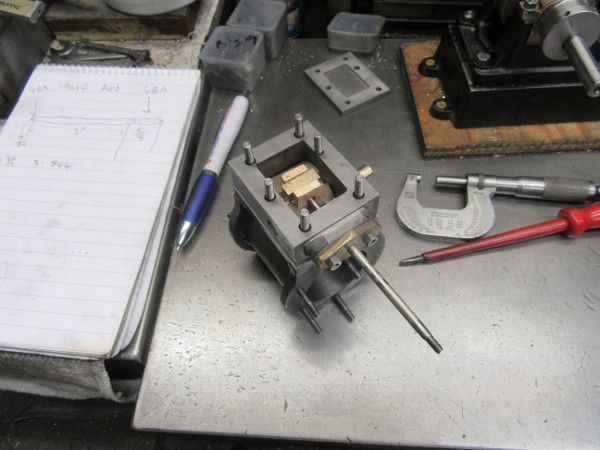
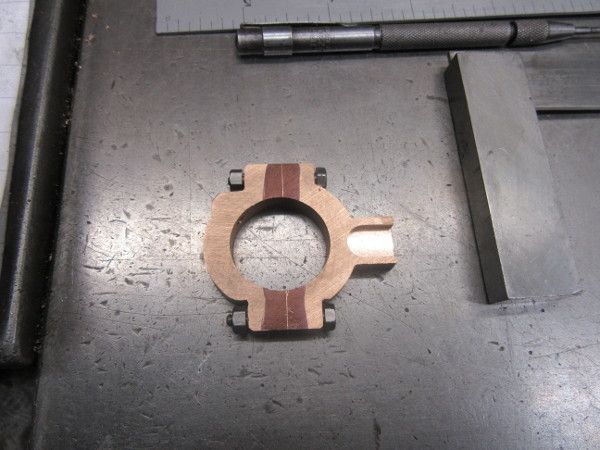
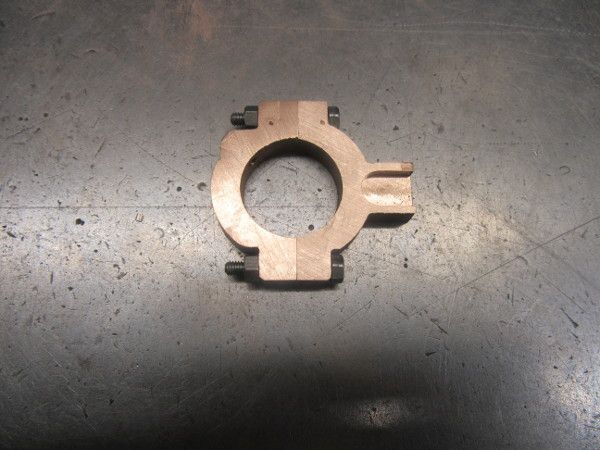
Still working on the crank pin brass. Dead easy, make sure the blank is the right size, measure, mark and drill for the bolts that hold the two halves together.
Nowt to it but....
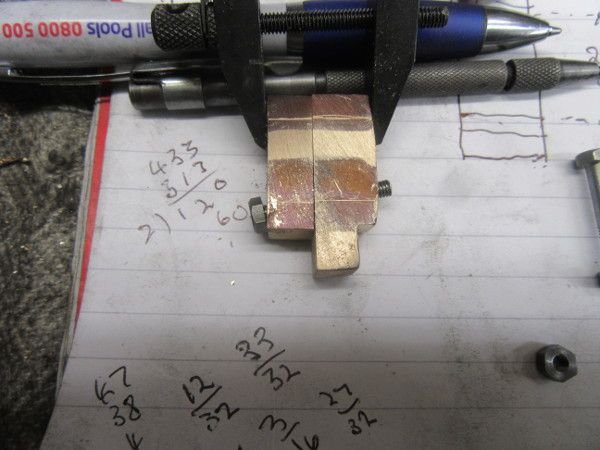
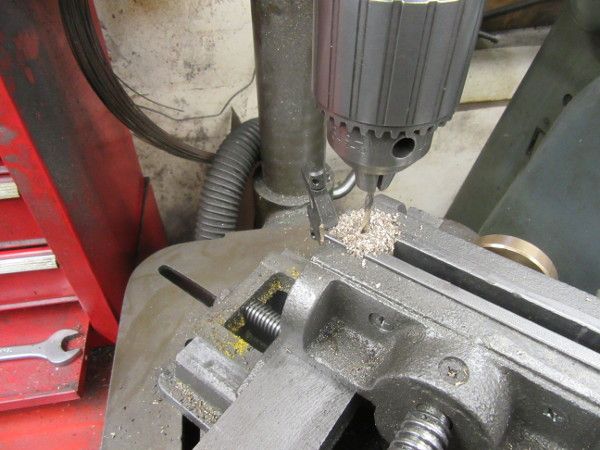
Here's what happened! Don't ask me how it happened, as far as I was aware it was set up square. The only thing I did out of the ordinary was set the quill lock to drag on the drill bit in case it bit in the brass. So the rest of my stint this morning was spent in retrieving this mistake.
Here we are at closing time. I'll leave it up to you to judge whether I have got away with it!
Re: Shed Matters 3
Posted: 15 Mar 2022, 07:52
by Stanley
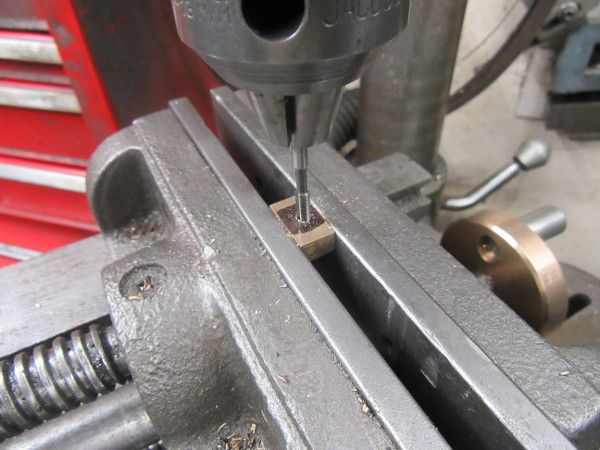
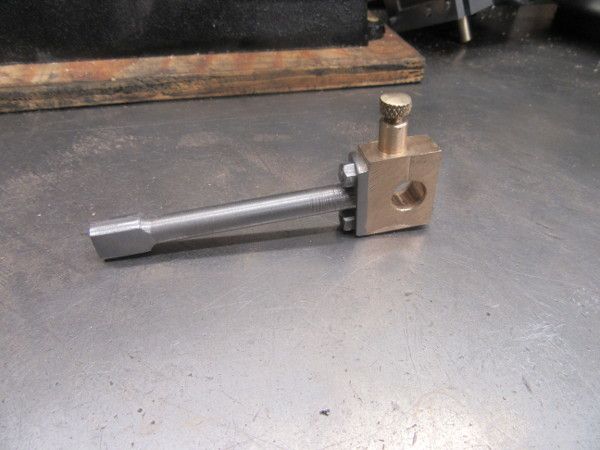
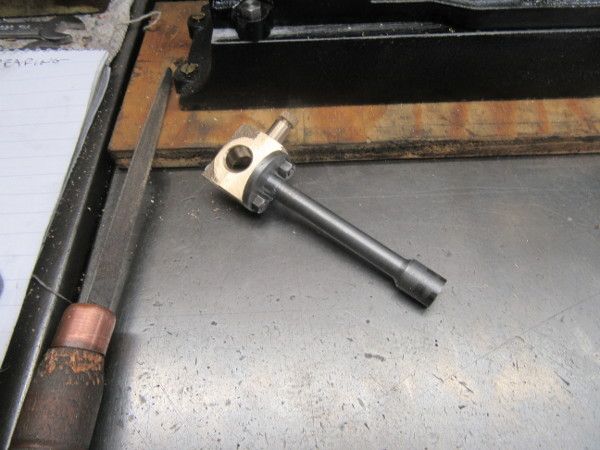
Still on with the crank pin bearing. This morning I want to make and fit the lubricator.....
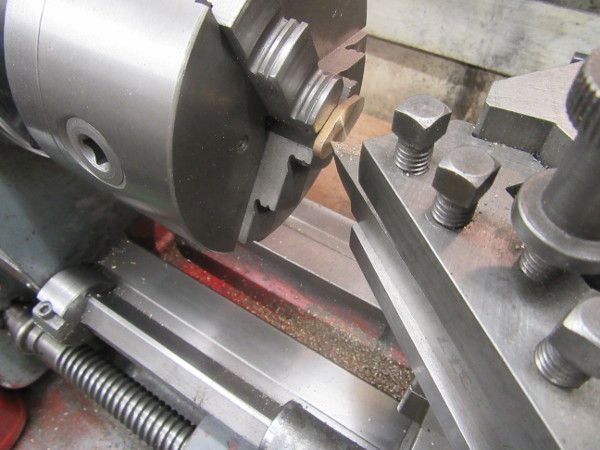
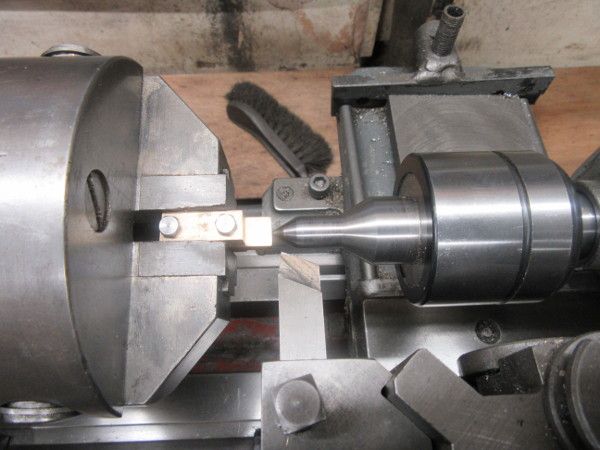
The two jaw chuck made turning the spigot on the bearing possible with care. Then I looked for some brass rod in my scrap box.
It's a good day for David because after putting the thread on the plug I knurled the head....
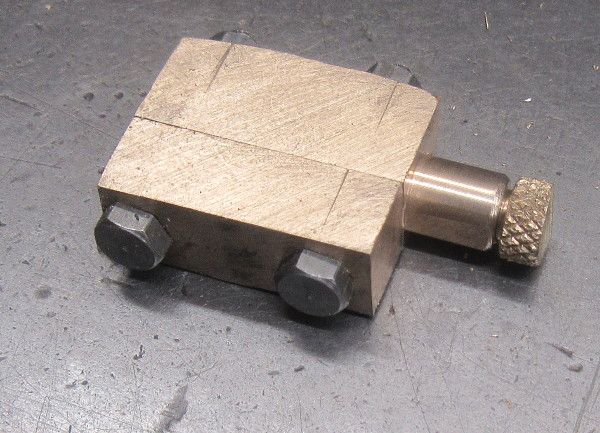
Closing time, we are a stage nearer and this morning, no cock ups!
Re: Shed Matters 3
Posted: 16 Mar 2022, 08:00
by Stanley
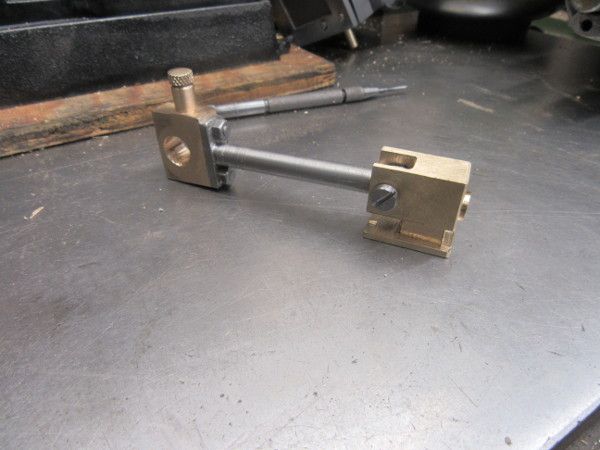
Still working on the con rod and bearing. These three pics tell the story.... First I bored the bearing 3/8" for the crank pin and spot faced the bearing to allow the studs to be fitted. Next I drilled a 1/8" oil passage from the oil reservoir under the knurled knob down to the crank pin. Then I refinished the steel con rod to thin down the foot and put a PCD mark in for the studs. Then drill the con rod for the studs and fit the con rod to the bearing. That's the third picture, we are ready to mill the foot down and make the other end a fit for the crosshead.
So tomorrow will start with a look at the crosshead and the rod together and I shall make up my mind about the next step. More steady progress!
Re: Shed Matters 3
Posted: 17 Mar 2022, 07:42
by Stanley
Re: Shed Matters 3
Posted: 20 Mar 2022, 08:12
by Stanley
Re: Shed Matters 3
Posted: 21 Mar 2022, 07:55
by Stanley
Re: Shed Matters 3
Posted: 22 Mar 2022, 08:10
by Stanley

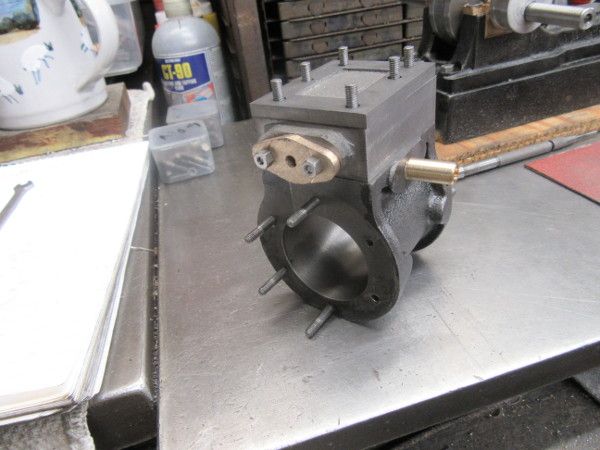
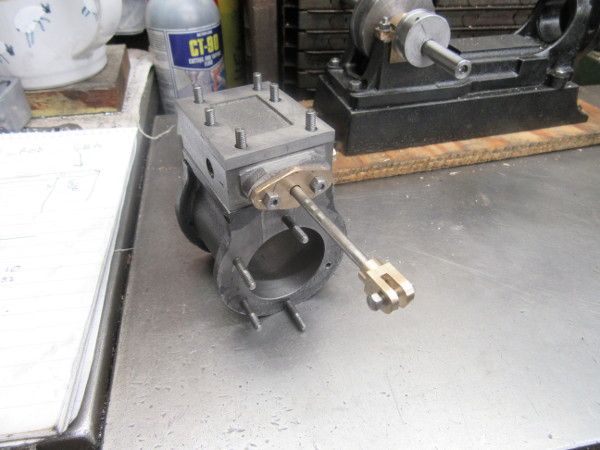
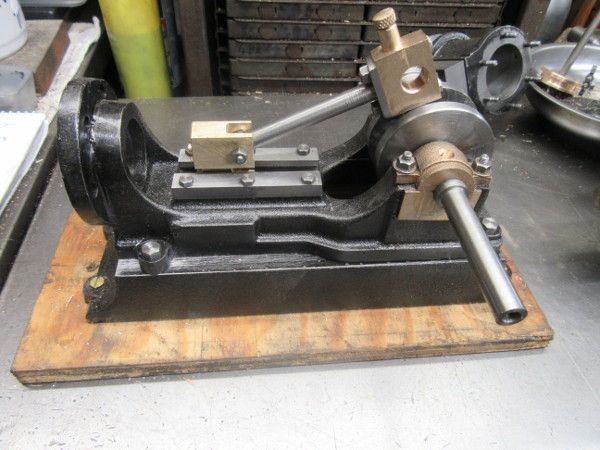
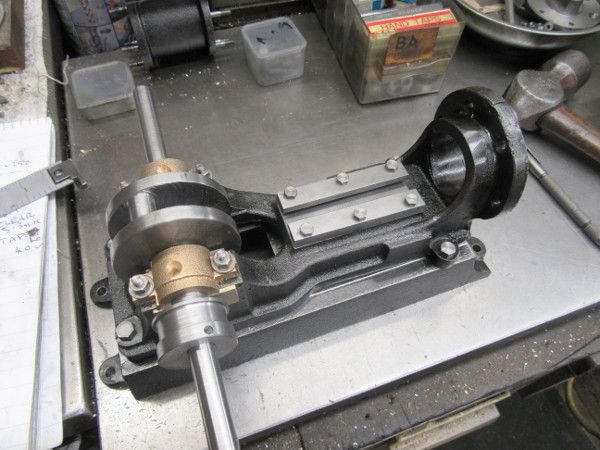
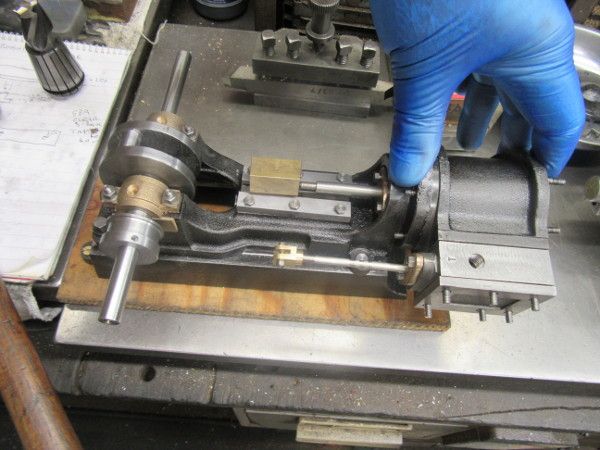
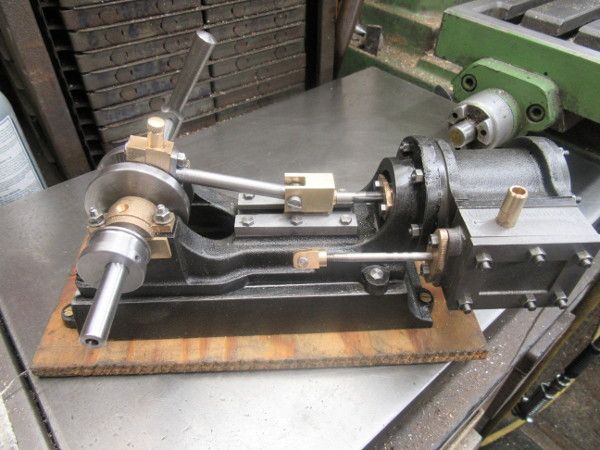
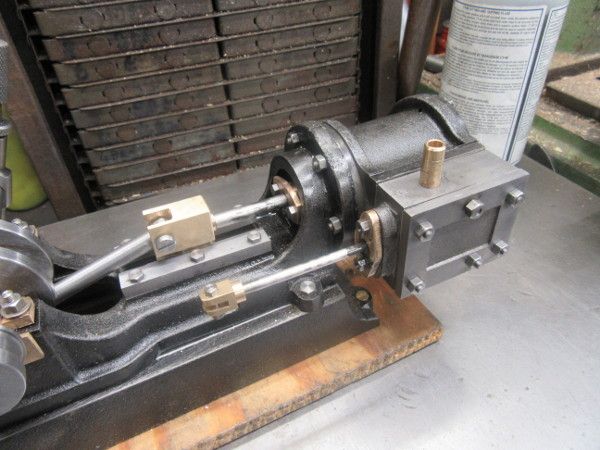
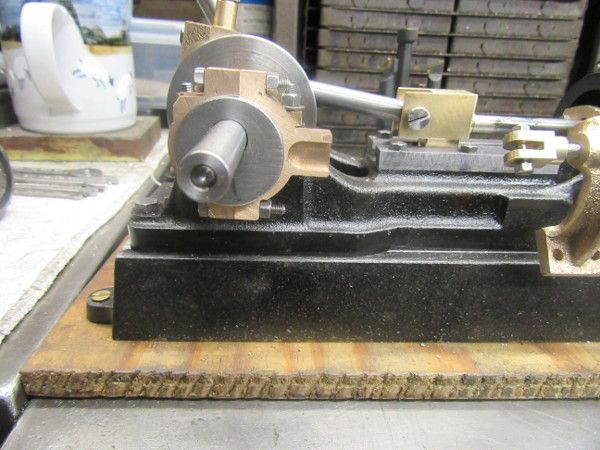
I was right, the next piece of construction will be making the components of the valve train. For this morning, I set to to build the engine. Here I have fitted the piston and rod to the con rod and checked it for throw and clearance. The piston is packed with a soft seal and I have packed the piston rod gland. Then I fitted the back lid, the steam chest and the lid, I am ready to make the valve train now.....
Re: Shed Matters 3
Posted: 23 Mar 2022, 07:30
by Stanley
I'm only spending an hour in the shed this morning and most of it was spent doing a final fit on the steam chest, the lid, the valve and packing the valve rod gland.
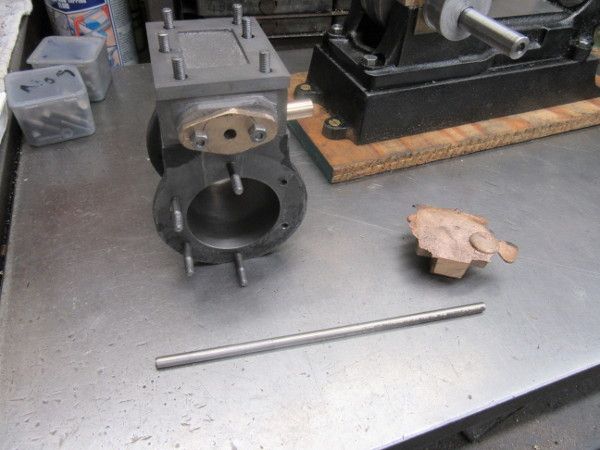
Then a choice, do I start on the eccentric strap or the valve rod and governor support casting. The latter is the worst so I started on that. The last twenty minutes was spent doing rough fettling of that casting. Here's where I finished up.
Re: Shed Matters 3
Posted: 24 Mar 2022, 07:48
by Stanley
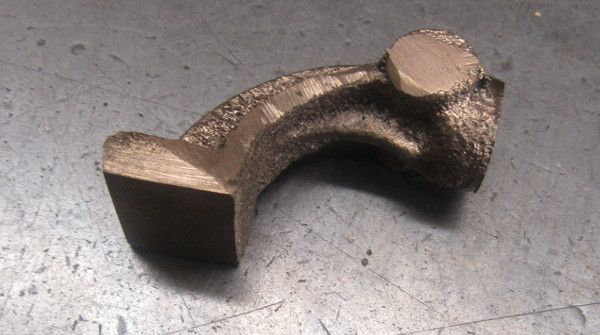
Only one pic but that's all it needs. I have spent an hour and a half, most of it hand work with files but part under the VM or the pillar drill, on the governor support bracket which also supports the con rod. It's an awkward little sod but I have got it to the stage where it looks OK and is ready for fitting to the casting when I get round to it.
Re: Shed Matters 3
Posted: 25 Mar 2022, 08:14
by Stanley
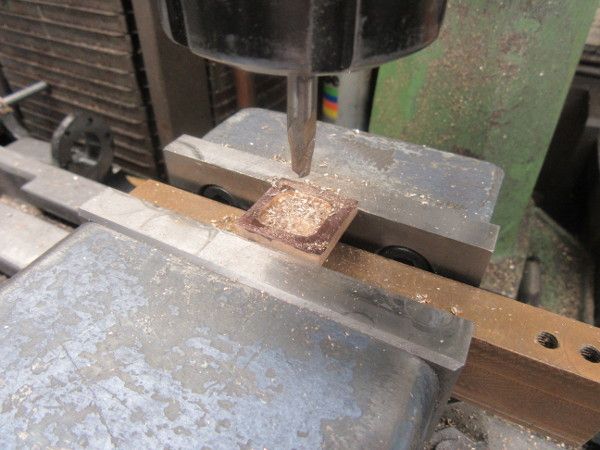
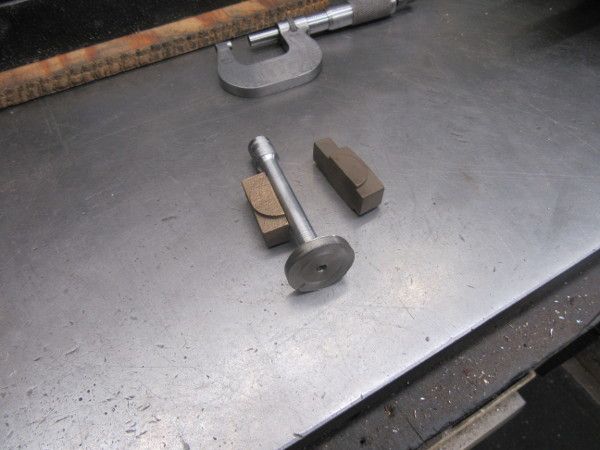
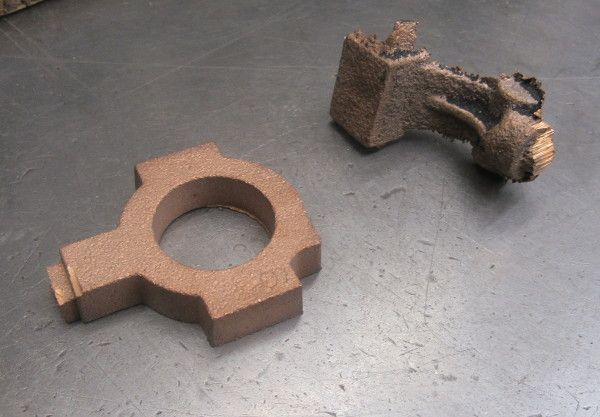
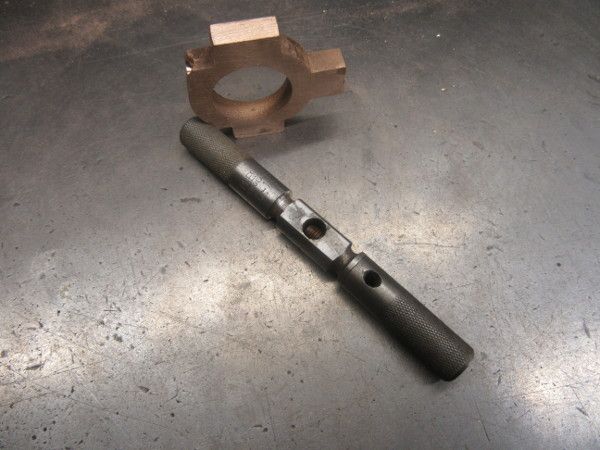
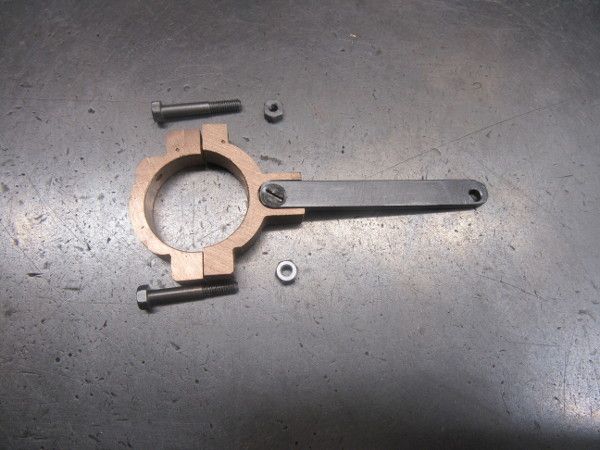
We need to make an eccentric strap and rod out of these two items.
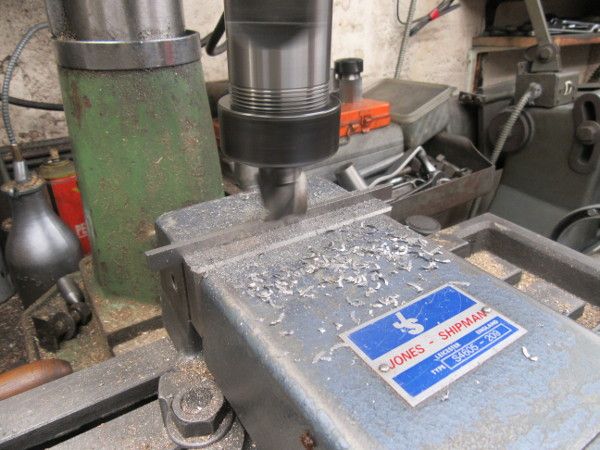
Some careful milling using the fly cutter for the big surfaces and an end mill for the other faces.
Then under the pillar drill and it gets an oil hole.
All my faces have been cleaned up and sized. Now I need to fit the bolts that will hold the two parts together. Split the casting. Bolt it back together and bore it to fit the eccentric. That's for tomorrow.....
Re: Shed Matters 3
Posted: 26 Mar 2022, 07:59
by Stanley
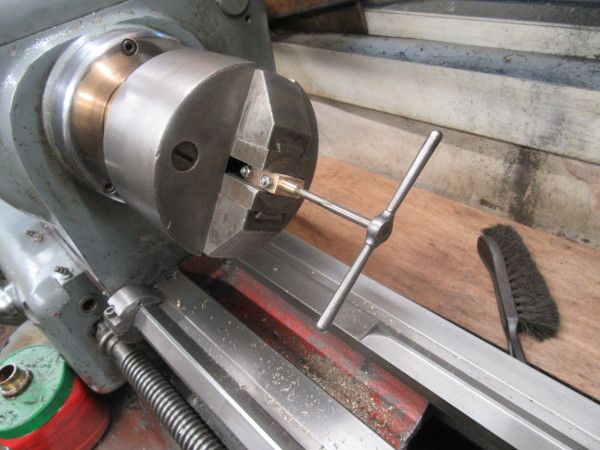
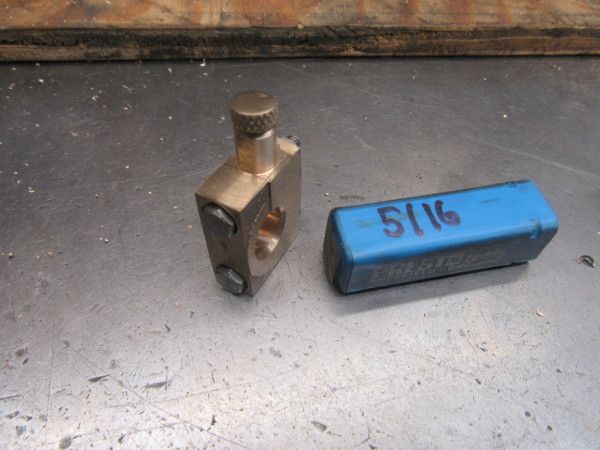
I started with a small distraction. I bought a second hand Presto tap handle from the tool stall in Colne Market hall. I have been short of as small tap handle for a while and £2 bought me this so I started with a good clean up.
Then I started on the eccentric strap and rod. Stuarts don't make it easy, they give you 3/8" flat bar when you need 5/16" so it has to be reduced and then finished and polished.
At closing time I was here, ready to go forward on either the rod or the strap. A nice 2 hours and I think it did my arm good. In fact I feel better for having gone in the shed.
Re: Shed Matters 3
Posted: 27 Mar 2022, 06:46
by Stanley
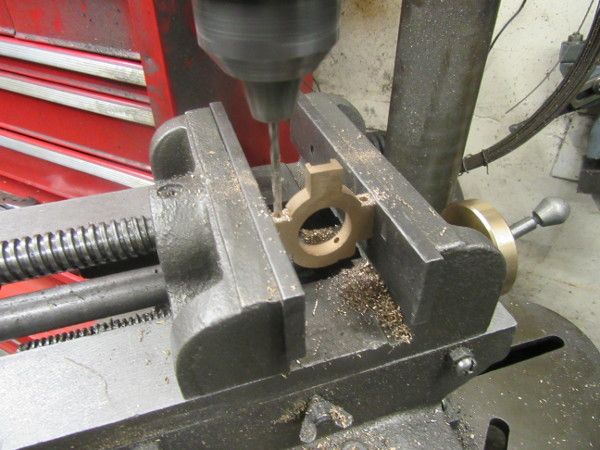
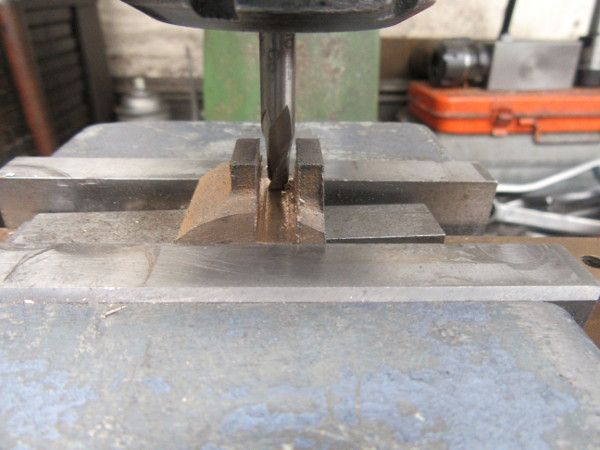
I reset all the clocks first and then into the eccentric strap. First job was to drill for the bolts...... Tip, don't try to hold the strap too tight, so easy to crush it.
Once I had the bolts fitted I marked for the split in the eccentric necessary for fitting it.

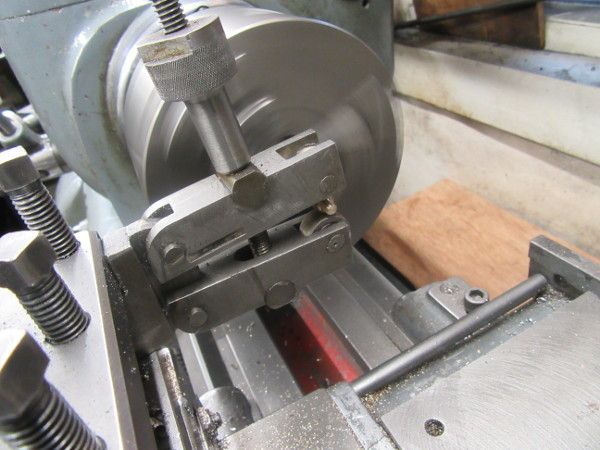
The only way I can get an accurate split is with a 1/16" slitting saw.
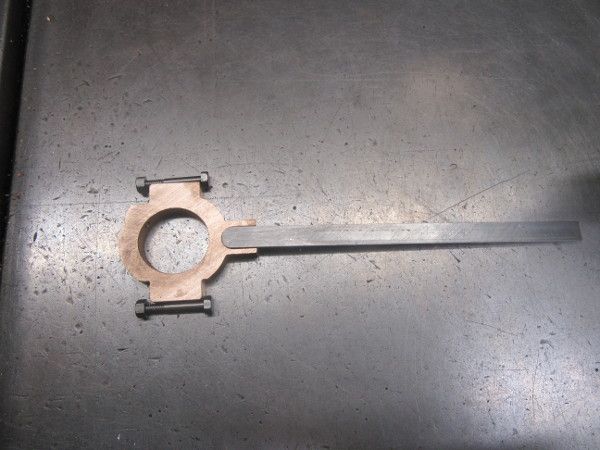
Here we are split, the cut tidied up and witness marks on the two halves to ensure no mistakes when fitting.
Then I got ready for boring to size, I could have done it straight away but would rather have time for a think and a careful boring. There is no rush and it's all too easy to make a mistake.
One small observation.... At one point I couldn't find my 5BA spanner and eventually found it mixed in with the other tools in the ready-use tin on the surface plate. In other words it was in the wrong place. So a bleeding obvious tip.... Get into the habit of putting tools away soon after use making sure they are in the right place. It saves so much time in the long run!
Re: Shed Matters 3
Posted: 28 Mar 2022, 06:50
by Stanley
I was set up for this when I finished yesterday and this morning I got straight into it.
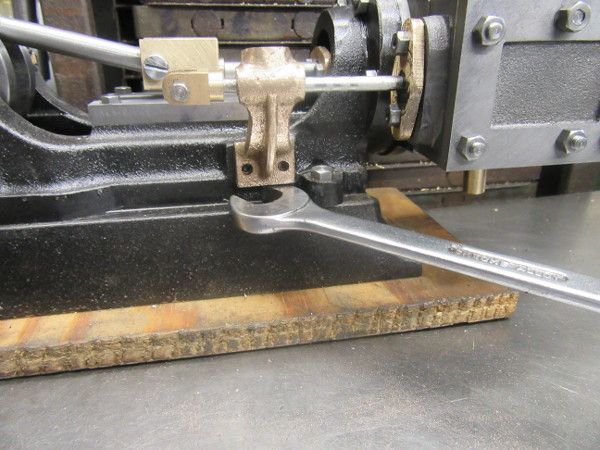
The strap is a lovely fit on the eccentric, even when the bolts are dead tight.
Then I worked on the link between the strap and the valve rod. It's ready for fitting and I will couple it up tomorrow and check the throw of the valve on its face. That could be dead simple or it could lead to a lot of adjustment. We shall see!