Page 96 of 125
Re: Shed Matters 3
Posted: 19 Mar 2024, 07:17
by Stanley
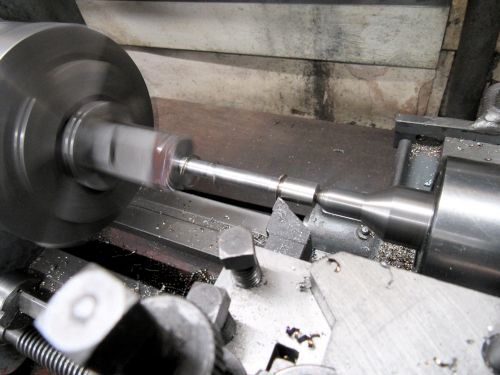
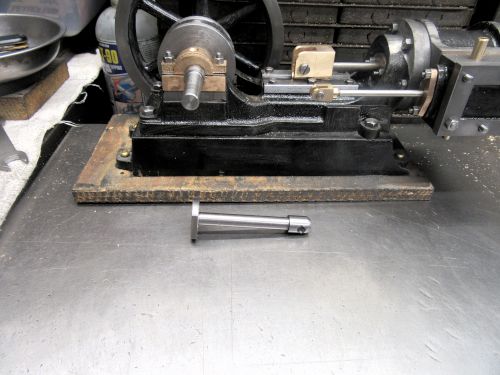
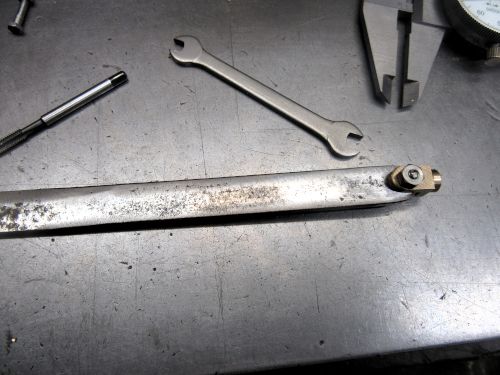
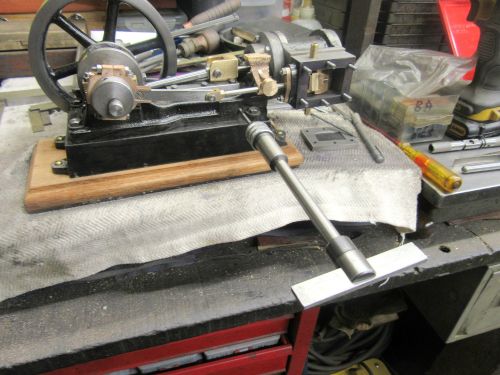
This morning O carried on with making the connecting rod. I cut the stock back to what I needed m put the shape in it, polished it and then parted it off. The image is of the rod ready for fitting accompanied by the remainder of the stock. That took an hour and a quarter but I think I have it right with no mistakes so now I deserve my breakfast!
Re: Shed Matters 3
Posted: 20 Mar 2024, 06:53
by Stanley
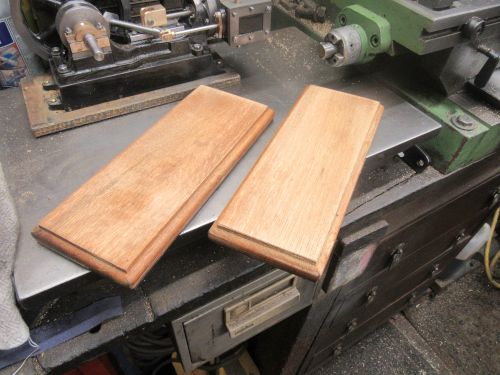
The first thing I did was get my guillotine out of the front room, set it up in the kitchen and cut rubber sheet to glue on the bottom of the two oak plinths I have sat waiting. I've cut it and glued it with impact adhesive and now it's sat to cure for 24 hours....
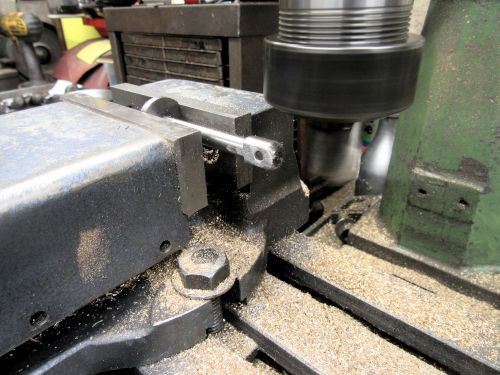
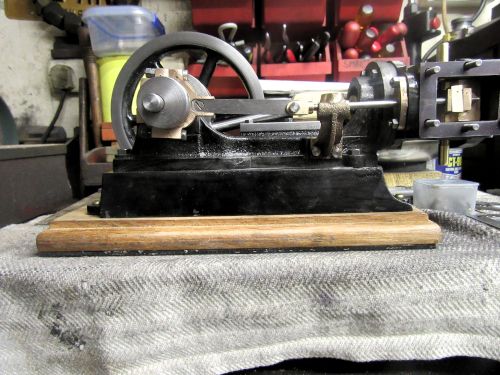
Next I marked the connecting rod and drilled it ready for fitting to the crosshead. My next job is to make the crank pin bearing and fit it but I'm not starting that today. That's tomorrow's agenda! The task now is breakfast!
Re: Shed Matters 3
Posted: 21 Mar 2024, 06:54
by Stanley
Re: Shed Matters 3
Posted: 22 Mar 2024, 07:13
by Stanley
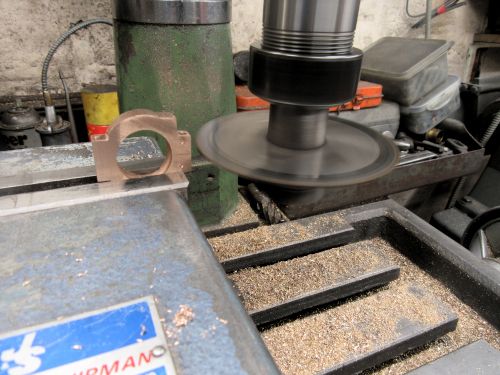
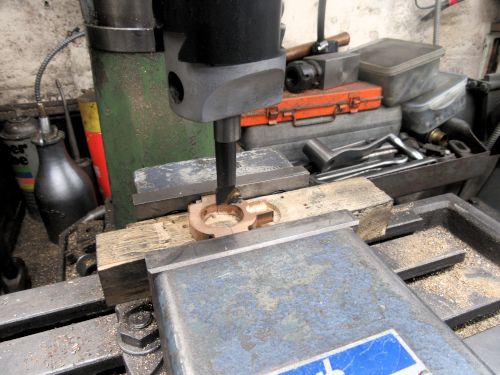
Only one image needed this morning. I think you all know that the reason I get such good results out of my El Cheapo mill/drill and cutters rescued from scrap yards is that I am not afraid of popping the cutters in the Clarkson Tool and Cutter Grinder and making sure they are razor sharp and the right geometry. So that's where I started this morning doing an in depth sharpen of two end mills after backing them both off and gulleting them.
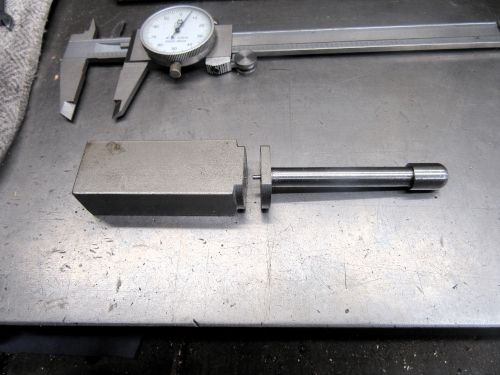
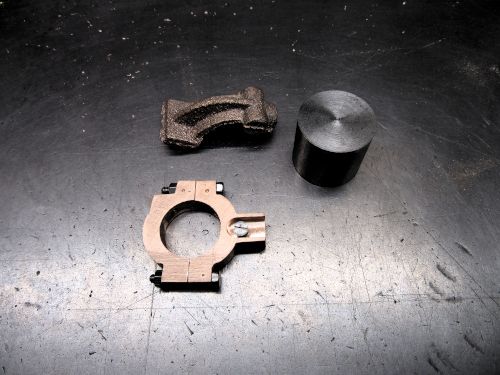
The result was that I could make a good job of milling all the faces of the crank pin bearing castings that needed it and the image is of the bearing brasses cut to size and ready for further work. My business now is breakfast!
Re: Shed Matters 3
Posted: 23 Mar 2024, 07:06
by Stanley
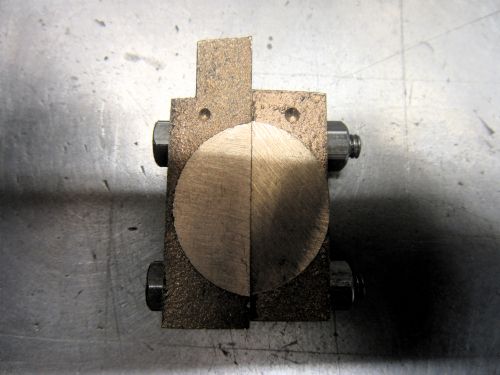
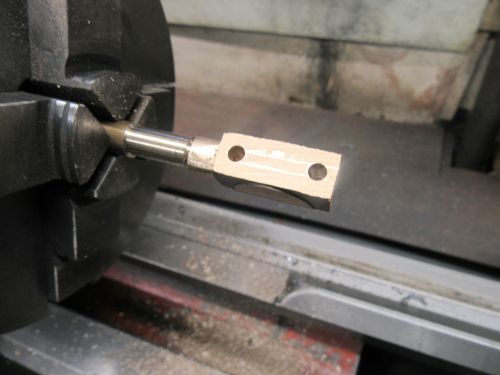
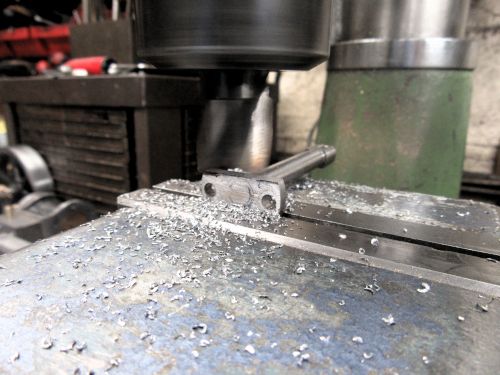
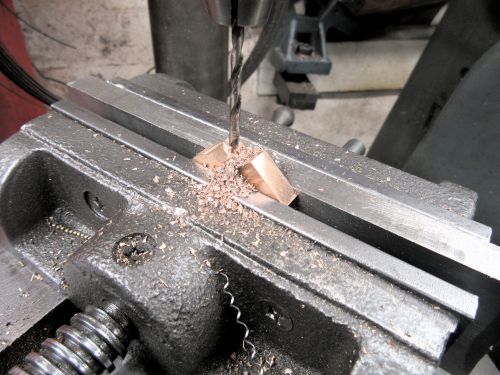
Again, only one image needed. This morning's task was simple but to do it accurately needed a lot of care. It was to put witness marks on the two halves of the bearing do some careful measuring and marking then drill the two halves to accept the 4BA bolts that will hold the bearing on to the end of the con rod. That took me almost an hour, I have to check everything so many times but as you can see it all turned out OK. Now for breakfast!
Re: Shed Matters 3
Posted: 24 Mar 2024, 07:16
by Stanley
Re: Shed Matters 3
Posted: 25 Mar 2024, 07:14
by Stanley

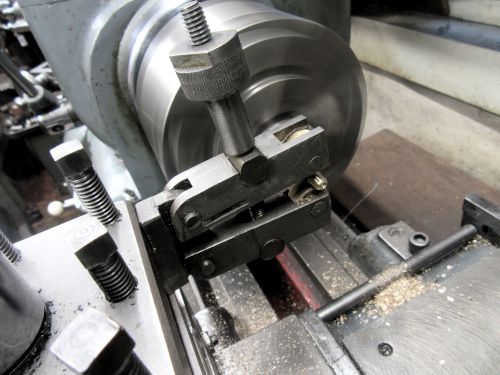
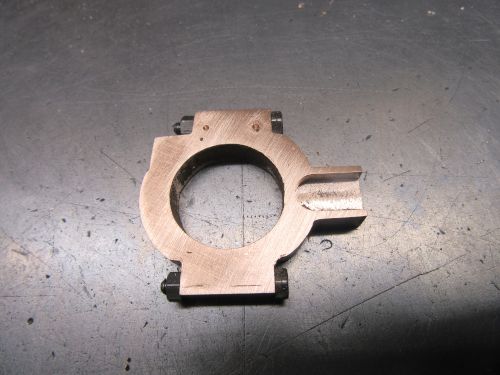
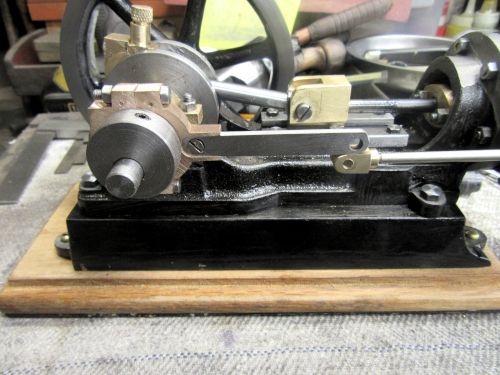
More progress on the crank bearing and con rod. I started by boring the bearing 3'8" to suit the crank pin then countersinking the back brass to allow the heads of the bolts to sink in to give me enough thread for the foot of the con-rod. Then some careful measuring and marking of the con rod and drilling it clearance for the 4BA bolts. That completed I have set the rod and bearing up for the first part of cutting the foot down to fit the bearing and be capable of fitting in the gap between the webs of the crankshaft. That's for tomorrow, now I am going to address breakfast!
Re: Shed Matters 3
Posted: 26 Mar 2024, 07:17
by Stanley
Re: Shed Matters 3
Posted: 27 Mar 2024, 07:25
by Stanley
I started the morning by refining the back lid, reducing the register on it and reducing the thickness a little. Then I shafted attention to the piston rod. It needed shortening 1/8" to make sure it's travel was equidistant from each end in the cylinder. Once that was done I packed the groove in the piston with steam packing and refitted the piston and rod. The rest of the hour and a half I spent in the shed this morning was spent on fitting the studs in the rear of the cylinder, putting the packing on the studs and mounting the back lid. I shall attend to the packing of the piston rod gland tomorrow.
I have one mishap to report. I dropped a grub screw out of a die holder and couldn't find it. I have a replacement and all I can do is hope the small screw turns up! Now for breakfast.
Re: Shed Matters 3
Posted: 28 Mar 2024, 07:11
by Stanley
Re: Shed Matters 3
Posted: 29 Mar 2024, 07:12
by Stanley
Re: Shed Matters 3
Posted: 30 Mar 2024, 07:21
by Stanley
Re: Shed Matters 3
Posted: 31 Mar 2024, 06:06
by Stanley
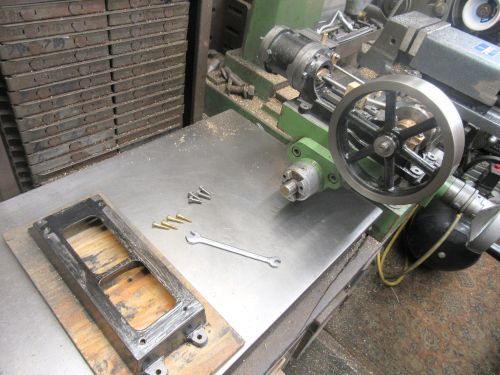
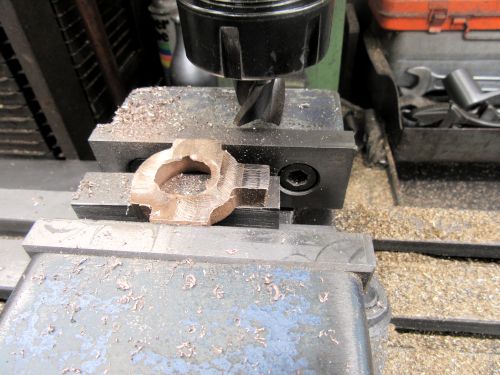
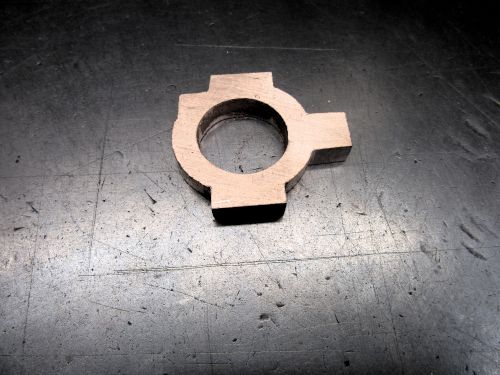
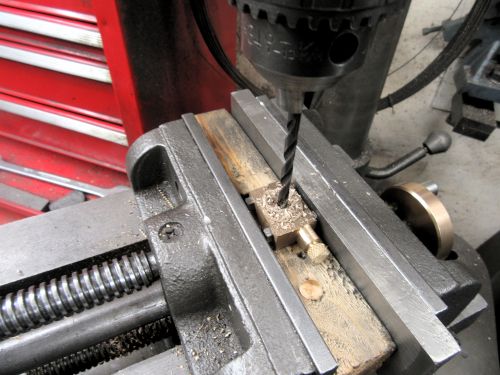
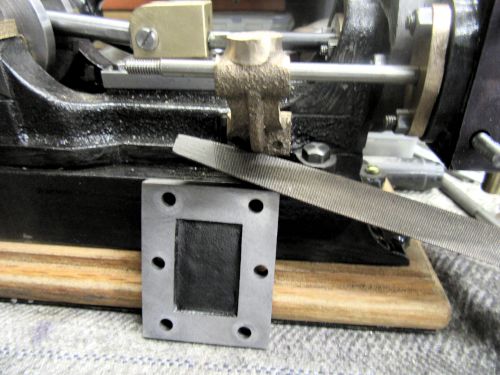
More work on the strap. First some checks on dimensions and then mark up for splitting. Into the VM for splitting with the slitting saw, my only way to guarantee a straight cut! Then clean up the cuts and replace the bolts. Next I popped it under the pillar drill and drilled and tapped for the 5BA CS screw that will fasten the strap to the rod.
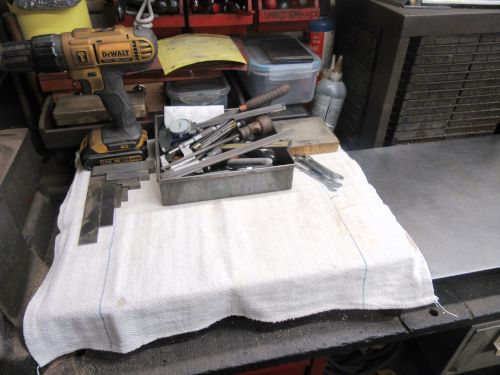
After that I gathered up the candidates for the next lot of machining, the eccentric and the support for the valve rod and the governor. That was a productive hour and now I want my breakfast.
Re: Shed Matters 3
Posted: 01 Apr 2024, 06:11
by Stanley
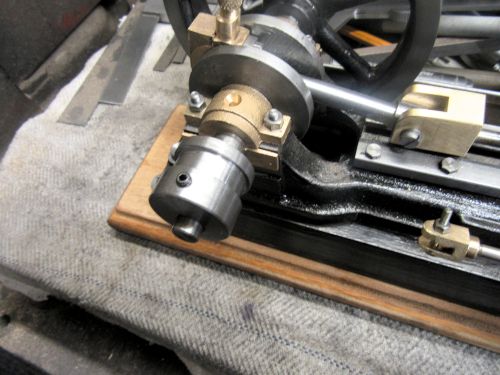
Only one image needed today. This morning I made the eccentric and fitted it, It is ready now to accept the eccentric strap when that is bored but first I will make the eccentric rod and the valve rod support. That's for tomorrow, now for breakfast.
Re: Shed Matters 3
Posted: 02 Apr 2024, 06:16
by Stanley
This morning I took a piece of flat bar that was nowhere near the dimensions needed for the Eccentric rod and started working on it. First I refined the end that connects with the clevis on the end of the valve rod and then I measured and drilled for the 5BA clearance hole that accepts the CS screw on the strap. That included countersinking the hole. Then I cut the rod to length and had to reduce the width of the strap end to 5/16". I had almost reached that at closing time but refuse to be rushed. I shall finish the rod and fit it tomorrow morning. The next job this morning is breakfast!
Re: Shed Matters 3
Posted: 03 Apr 2024, 06:19
by Stanley
I started this morning by spending over 30 minutes getting the shape of the end of the eccentric rod to an exact fit in the strap. This was done using a file and emery paper. Once I was satisfied I had that right I set the VM up for boring the strap out to the size needed to fit the eccentric. That got me to closing time. I was ready to bore but will leave that until tomorrow when there is no pressure on me. Now for breakfast!
Re: Shed Matters 3
Posted: 04 Apr 2024, 06:12
by Stanley
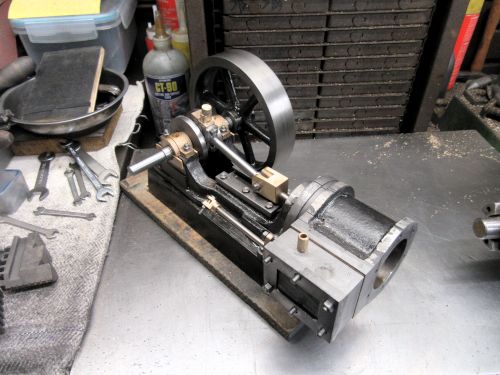
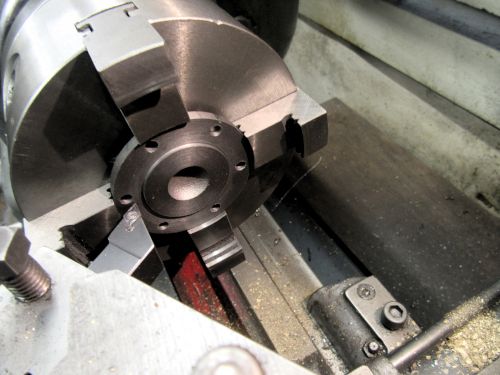
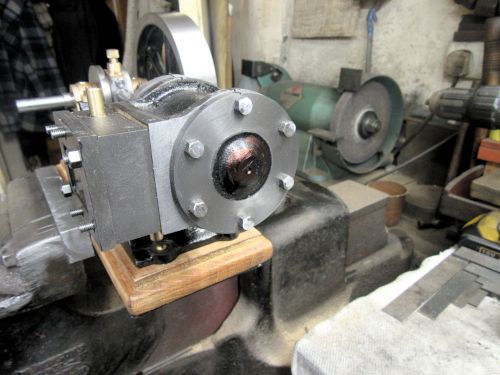
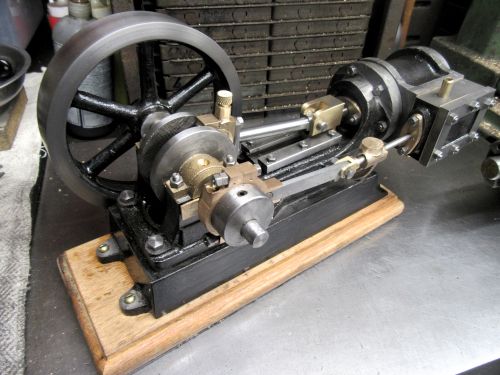
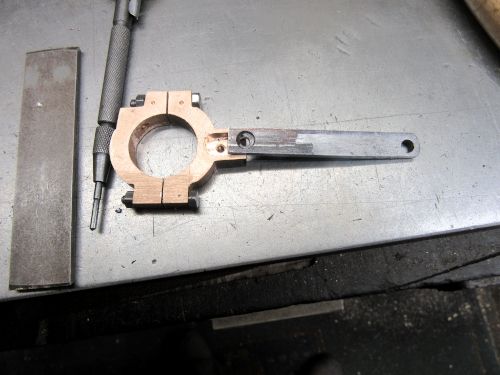
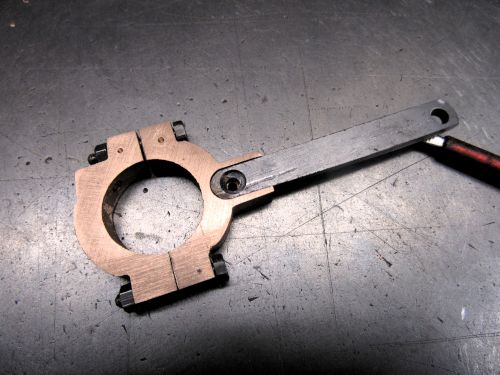
Only one image needed this morning. I bored the eccentric strap and fitted it to the eccentric to check the fit. It's perfect. So I fitted the rod and mounted the eccentric on the engine. I am ready now to fettle and fit the governor stand. Finally I took the boring head off the VM and replaced it with the normal cutter. Now for breakfast!
Re: Shed Matters 3
Posted: 05 Apr 2024, 06:07
by Stanley
I started by rough fettling the support casting and doing my best to cut the faces square and in the right plane. Then I drilled it for the valve rod and followed that by marking and drilling it 5BA clearance for the bolts that will fasten it to the bed. I am ready now to mark, drill and tap the bed 5BA for those bolts but that's for tomorrow. Now for breakfast!
Re: Shed Matters 3
Posted: 06 Apr 2024, 06:29
by Stanley
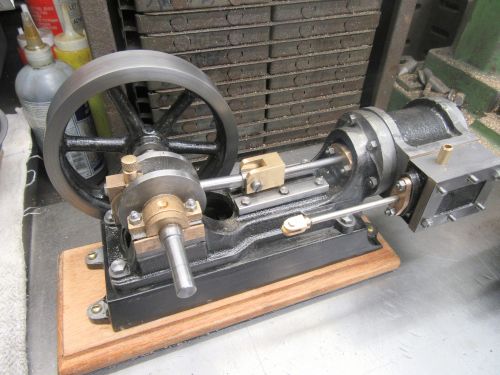
This morning I started by adjusting the length of the valve rod and the amount of thread on the clevis end until I was satisfied I had the right dimensions for a runner. Then I built the valve train with the support installed and when I had that secure I could mark and drill for the first of the 4BA bolts. (That's right, just as in the previous engine I decided 4BA was a better size for that fastening.) I fitted that bolt and tightened it up then checked the stroke and running of the valve rod again before drilling and tapping for the second bolt through the support. That made sure it was in the right place. Next I set the valve for running and then put the valve chest lid on with its gasket. That tightened the action of the valve slightly but this only made it a better fit on the face of the valve. That leaves me with finishing touched tomorrow and then god bless us we have another engine! Now for breakfast.....
Re: Shed Matters 3
Posted: 07 Apr 2024, 06:12
by Stanley
Re: Shed Matters 3
Posted: 08 Apr 2024, 06:17
by Stanley
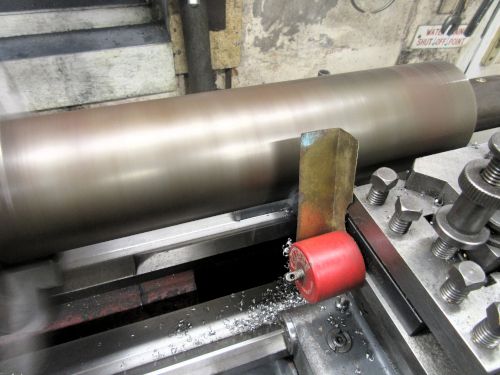
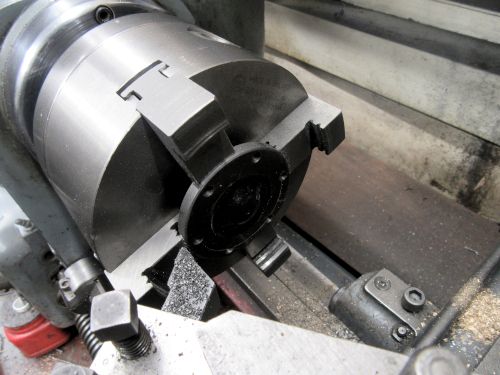
I started the morning by vacuuming the floor in the shed, cleaning the bench and oiling both CI surface plates before fitting a clean tablecloth. Then I changed the chuck on Mrs Harrison taking the 4 jaw SC off and installing the big original 3 jaw SC. I found the rough centre of the 12" X 3" bar that is going to give stock for two crankshafts and installed it in the lathe with a little shield to contain the chips on the bed of the lathe. I made one pass but then it was knocking off time. I have decided to make the stock for two more crankshafts and this will keep me busy until I order and take delivery of a new set of castings. Time for breakfast.
Re: Shed Matters 3
Posted: 09 Apr 2024, 06:23
by Stanley
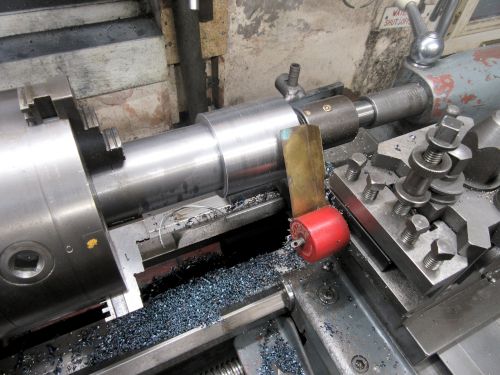
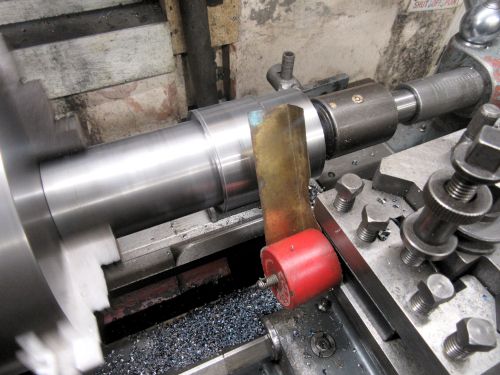
Just one pic needed. This morning was dead simple. Reduce the 3 1/4" stock to 2 3/16". This is done and it took an hour and a quarter of solid turning to do it. The bar is hot at the moment as is the swarf. Tomorrow I shall cut the bar in two, clean the lathe and start turning the remaining piece down to the same diameter. I deserve my breakfast!
Re: Shed Matters 3
Posted: 10 Apr 2024, 06:30
by Stanley

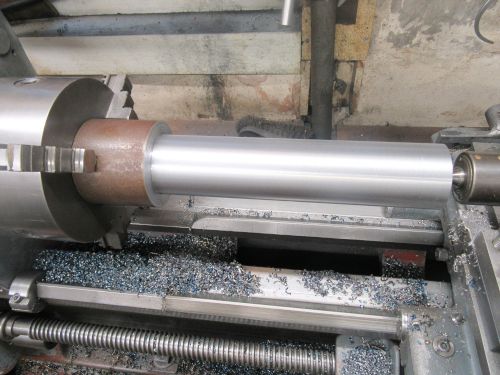
On with the reduction of the stock. I started by cutting off the 6" that is turned down and then shovelling all the chips into the bin. Then I reversed the remaining 6" in the chuck, got set up and started turning that down to size. That took over an hour and is where I left it. Now for breakfast!
Re: Shed Matters 3
Posted: 11 Apr 2024, 06:17
by Stanley
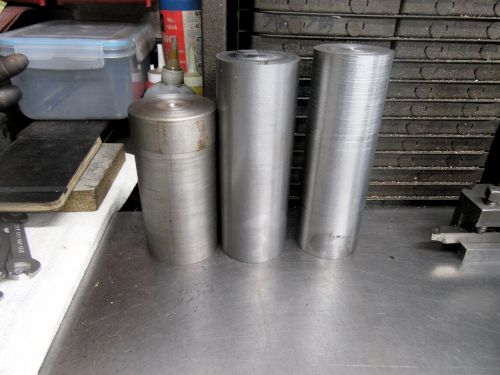
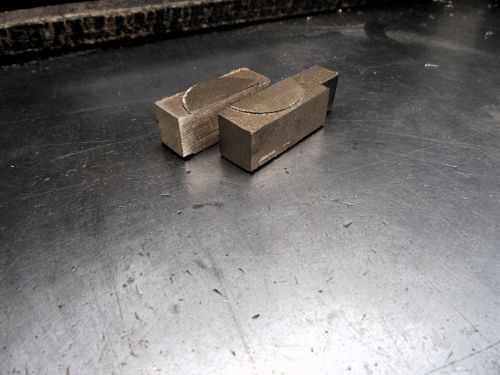
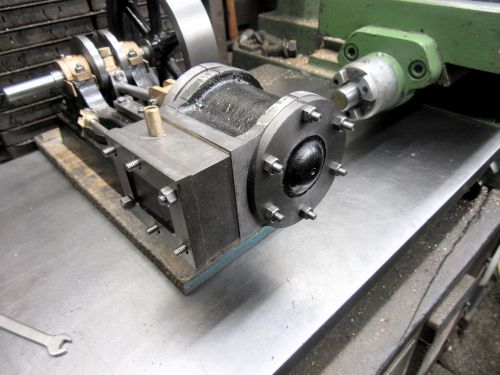
Final stages of reduction of stock for the crankshafts. I roughed out the stock I have set up and then reduced it to the final diameter of the crank webs, 2", but I gave it and extra 20 thou because it was hot. The second pic is the three slugs, the two on the left need to be reduced to web diameter, I shall do that tomorrow. I finished up by installing a new tip as the one that has done all the work broke on the final pass. Then I cleaned up the chips on the lathe so I have a clean start tomorrow. Now for breakfast!
Re: Shed Matters 3
Posted: 11 Apr 2024, 12:12
by Stanley
The next set of castings et arrivee.