Page 115 of 125
Re: Shed Matters 3
Posted: 04 Jul 2025, 05:28
by Stanley
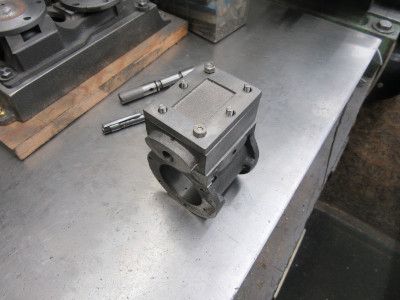
This morning I drilled and tapped the cylinder for the six long studs that attach the steam chest and lid to the cylinder. Then I bored the steam chest walls clearance and offered the chest up to the studs. It slipped on all six studs with no adjustments needed. Perfect. I deserve my breakfast!
Re: Shed Matters 3
Posted: 05 Jul 2025, 05:11
by Stanley
This morning was the equivalent of pausing and taking a deep breath. I hadn't one particular task in mind but the general one of looking at these castings and refining the finish of all of them. I spent 45 minutes and I'm satisfied they are a better finish and fit than when I started. That will do me. I shall go and look for breakfast now.
Re: Shed Matters 3
Posted: 06 Jul 2025, 05:49
by Stanley
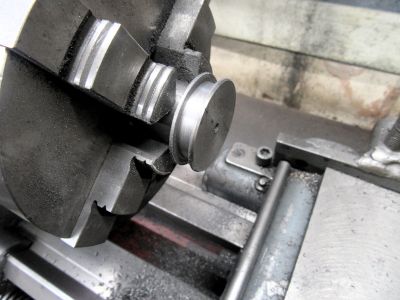
This morning I turned my attention to the piston and rod. I hadn't an immediately available piece of bronze and rather than cut a blank out of a bronze rod I decided to play out and make a steel piston with rings. I might regret this later but I can always scrap it and make a bronze one. My picture is of the piston cut to size and with a groove cut for the piston rings. I'll finish it tomorrow and see what I think. Right now I am focussed on breakfast.
Re: Shed Matters 3
Posted: 07 Jul 2025, 05:22
by Stanley
This morning I tapped the piston 2BA and parted it off. Then I made the 1/4" piston rod and fitted it and finally I fitted the rod and piston to the cylinder and fitted the two CI piston rings. It is a good fit and I shall press on and see how it turns out. If I don't like it I can always either install a soft packing seal or make an entirely new bronze piston. Now I am after my breakfast.
Re: Shed Matters 3
Posted: 08 Jul 2025, 05:34
by Stanley
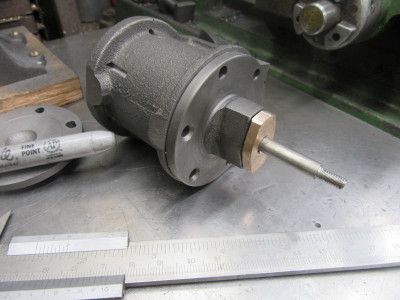
Small steps. This morning I started by cleaning Mrs Harrison so I could harvest my non ferocious chips. Then I made the piston rod gland from the rough casting and fitted it to the front lid, making sure it passes through the target end on the bed. Now for breakfast.....
Re: Shed Matters 3
Posted: 09 Jul 2025, 05:40
by Stanley
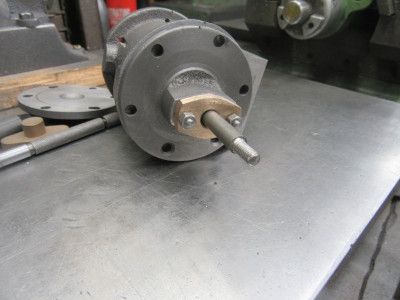
Another small but accurate step. Marking measuring and drilling the clearance holes for the 5BA studs in the piston rod gland transferring those hole locations to the lid and drilling and tapping for the studs. I didn't forget the witness mark to ensure correct orientation. Then I installed the studs and the clearance holes were a perfect fit. I deserve my breakfast.
Re: Shed Matters 3
Posted: 10 Jul 2025, 05:38
by Stanley
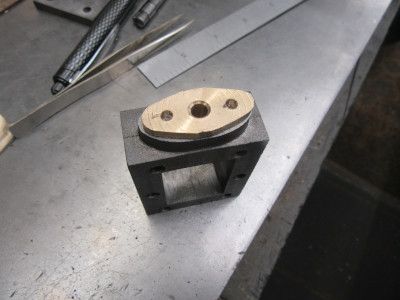
One simple task, make the gland for the valve rod out of the rough casting supplied. Decide on the orientation and give it a witness mark. Then measure and mark for clearance holes for 5BA studs. (3.3mm) Tomorrow I'll mark drill and tap the valve chest and fit the studs. The next goal this morning is breakfast.
Re: Shed Matters 3
Posted: 11 Jul 2025, 05:05
by Stanley
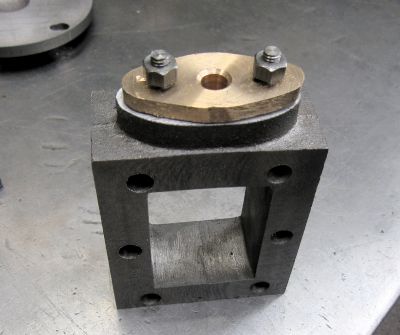
Another small step forwards but completed in half an hour and accurately. I marked drilled and tapped the valve chest for the valve rod gland, fitted the studs and installed the gland. Then I harvested the non ferocious chips off the lathe. Next job was to go and find my breakfast.
Re: Shed Matters 3
Posted: 12 Jul 2025, 05:23
by Stanley

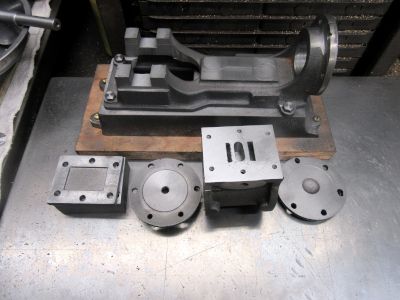
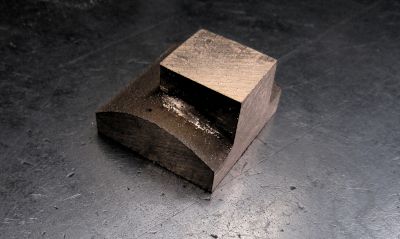
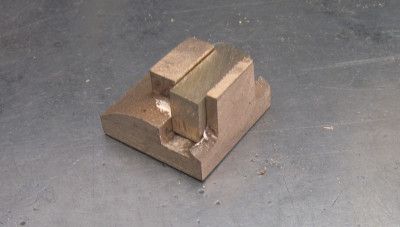
This morning I spent 45 minutes on doing the initial clean up of the remaining non-ferocious castings, stripping the castings back to individual parts, refining those castings ready for painting, especially the engine bed and generally preparing the ground for the next move forwards... Now I want my breakfast.
Re: Shed Matters 3
Posted: 13 Jul 2025, 05:17
by Stanley
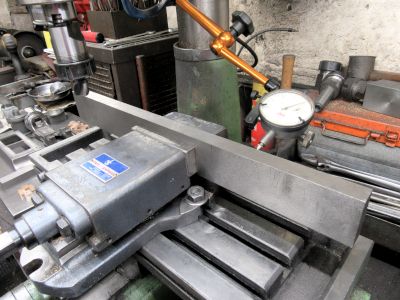
Before I started serious work on the castings I had to reinstall the vise on the VM and tram it in using a piece of flat ground HSS stock and a dial indicator. Then I had to make sure my cutter was in good order. Remember that all my cutters are worn-out discards and don't hold their edge long..... Then I got a few cuts in on the steam valve but there is a lot more to do to it. I deserve my breakfast.
Re: Shed Matters 3
Posted: 14 Jul 2025, 04:38
by Stanley
No shed this morning, it's too warm in there especially as it is also humid. There's no need for me to punish myself. I shall have an early breakfast and go back to bed for second sleep.... Se you all tomorrow!
Re: Shed Matters 3
Posted: 15 Jul 2025, 05:07
by Stanley
More cutting to size of the steam valve. I have stopped at this point after just over 30 minutes work because now I have to swap my cutter to 1/4" for the two final cuts. I am looking for my breakfast!
Re: Shed Matters 3
Posted: 16 Jul 2025, 05:20
by Stanley
Another small step forwards.... The driver bar for the steam valve is fitted in the slot cut for it. I shall measure and mark for the exhaust port in the bottom of the valve tomorrow and cut it. Right now I am fixed on my breakfast.
Re: Shed Matters 3
Posted: 17 Jul 2025, 05:22
by Stanley
Another small step. I measured and marked the cut out in the base of the steam valve which is the passage for the exhaust steam. Then I cut it, high risk because I don't see straight as you know. Then I set the valve up in the valve chest and drilled the clearance hole right through for the valve rod. Next I gave the driver bar a witness mark to ensure correct orientation. Then marked it and drilled and tapped it 4BA for the valve rod. I am now ready to make the valve rod but that's for tomorrow. There is no rush! I want my breakfast.
Re: Shed Matters 3
Posted: 18 Jul 2025, 05:33
by Stanley
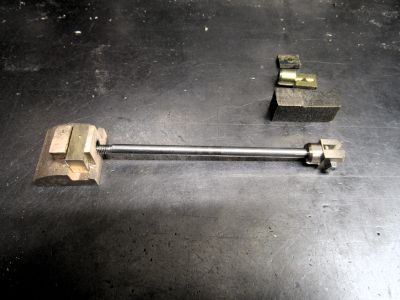
Another small step forwards. I have made the valve rod, threaded it at each end and started on making the clevis which will join the rod to the eccentric rod. I shall finish it tomorrow. Right now I want my breakfast.
Re: Shed Matters 3
Posted: 19 Jul 2025, 05:20
by Stanley
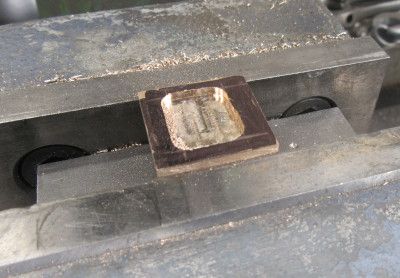
Another small step. Measure and mark the clevis for the small bolt that will attach it to the eccentric rod and then mark the clevis for cutting the slot in it for the rod. I set it up in the VM and cut the slot. If you look carefully you will see the result of my defective vision, the slot is not quite in the centre of the clevis but that will not mean it can't work. I have to accept these things! Now for breakfast.
Re: Shed Matters 3
Posted: 20 Jul 2025, 05:14
by Stanley
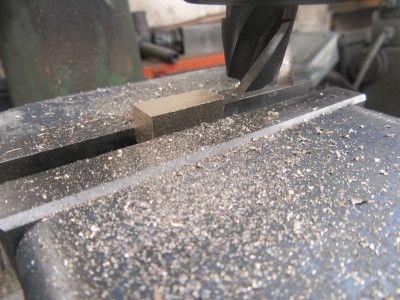
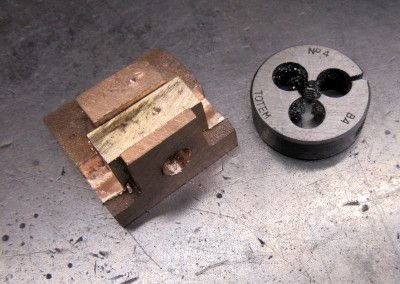
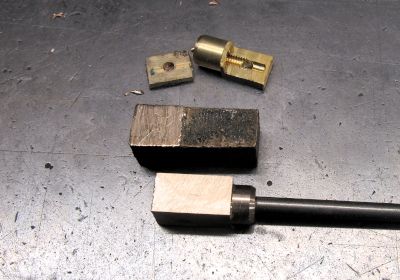
An unexpected problem this morning, a first, never happened to me before. I was working on the clevis to get some shape in the end and the thinnest leg broke off. I had to search my scrap box for a piece of brass that I could get a 5/32" blank out of. That took a while and I had to cut it out of a larger casting. Then I set to to get it to size. That's where I stopped and went looking for breakfast, there is no rush!
Re: Shed Matters 3
Posted: 21 Jul 2025, 05:19
by Stanley
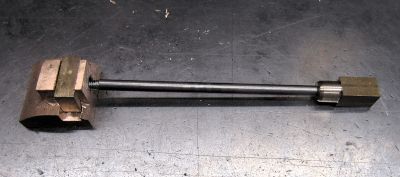
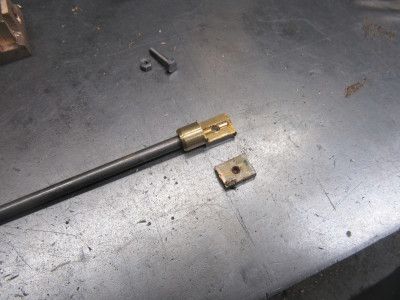
Quietly ahead with cleaning up the cast scrap brass stock then turning the boss on the end, drilling it with a No 32 drill and tapping 4BA for the valve rod. I stopped there because I had done half an hour and the next stage involves fitting the slitting saw to the VM. I want my breakfast.
Re: Shed Matters 3
Posted: 22 Jul 2025, 05:22
by Stanley
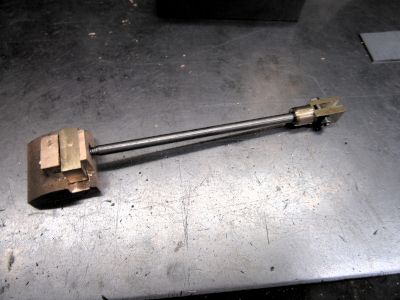
I continued with the clevis and as you can see managed to finish it without a disaster like the last attempt. Now I deserve my breakfast.
Re: Shed Matters 3
Posted: 23 Jul 2025, 05:10
by Stanley
No Image needed this morning. I had a choice this morning, either start on another element of the current build or have a maintenance morning where I cleaned up, had a chip chase and cleaned and oiled Mrs Harrison and my Vertical mill. I chose the latter. Not spectacular progress but good work which will help as I go forward. Now for breakfast.
Re: Shed Matters 3
Posted: 24 Jul 2025, 05:23
by Stanley
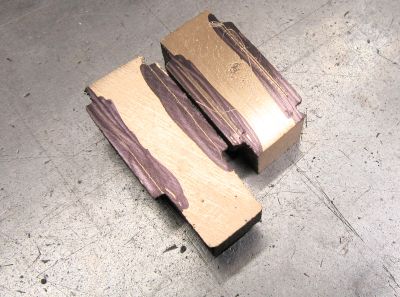
Back to work on my castings.... First I reinstalled the valve rod complete with clevis and valve, in the steam chest casting and that included refitting the gland. Next I moved on to the crank pin brass, milling it square and to the correct dimensions. I am ready now to mill it to width to fit in the crankshaft. That's enough for this morning, I want my breakfast!
Re: Shed Matters 3
Posted: 25 Jul 2025, 05:41
by Stanley
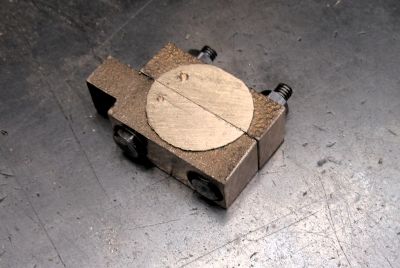
More on the crank brass. I finished getting the dimensions right, this morning it was milling it to width. Then I put the witness marks on for orientation. Next job was to drill 4BA clearance for the the bolts that will hold the crank brass on the connecting rod, this entailed counterboring for the heads of the bolts. Then fitting the bolts. Now for breakfast......
Re: Shed Matters 3
Posted: 27 Jul 2025, 05:38
by Stanley
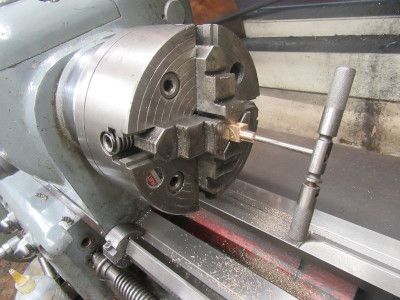
Back to normal this morning and more work on the crank pin brass. This morning on machining the oiler that is built into one half of the bearing. I had to fit the 4 jaw independent chuck in order to get a true centre and then bore the access hole for the oil flow. Next I bored the top 3/8" and tapped it 3/16" X 40tpi for the plug. Then I turned the outside of the oiler down until it was tidy. I finished up by refitting the 4 jaw self centring chuck ready for making the plug for the oiler tomorrow. Now for breakfast.
Re: Shed Matters 3
Posted: 28 Jul 2025, 05:34
by Stanley
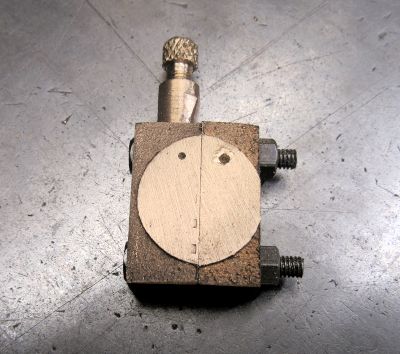
This morning was numerous little adjustments to refine the body of the crank brass and then I made the plug for the oil hole, this included some knurling, David's favourite! Now for breakfast.
Re: Shed Matters 3
Posted: 29 Jul 2025, 05:08
by Stanley
This morning I finished the crank brass, bored it to size and fitted it to the shaft. This is as far as I want to go with the drive train at the moment. There other things I need to do. Make the crankshaft bearings, make the crosshead and fit the guides and painting. All that needs to be done before I think about the Connecting Rod..... Now my goal is breakfast!