Page 92 of 98
Re: Shed Matters 3
Posted: 20 Dec 2023, 07:30
by Stanley
Re: Shed Matters 3
Posted: 21 Dec 2023, 07:10
by Stanley
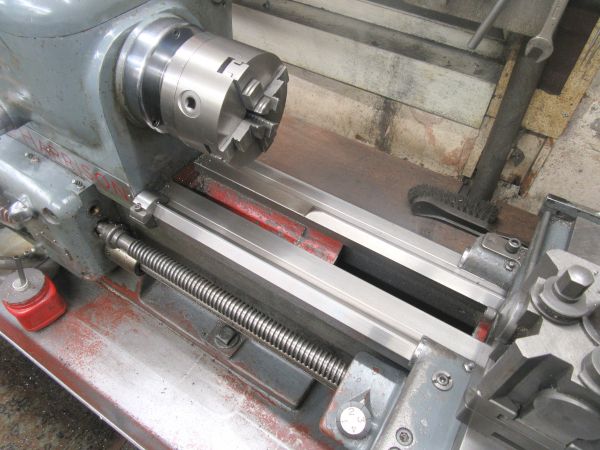
More work on the connecting rod. It's terribly hard and this explains why I have ended up with a slightly more chunky rod than usual, but I can live with that. I'm not going to take the risk of going for more refinement and finishing up with a buggered part! I know my limits and have stopped. I can handle the extra thickness in the fitting process.... Now for breakfast and back to bed!
Re: Shed Matters 3
Posted: 22 Dec 2023, 06:28
by Stanley
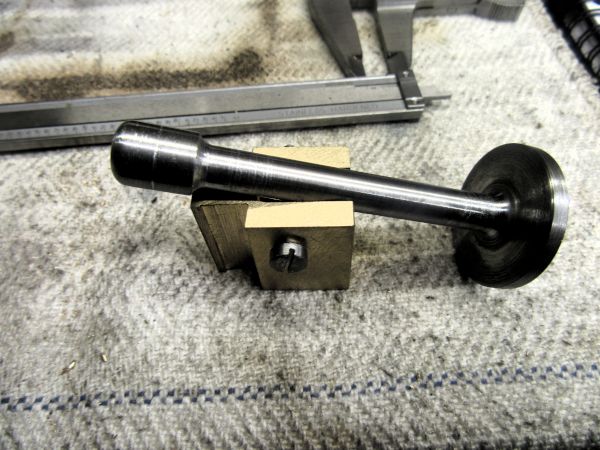
I went in the shed early this morning and I am out early after only spending half an hour in there. I have a very busy day today and I know my limitations. My chicken is in the oven and I am ready for my breakfast and am early return to bed. But I can here you asking what the hell I have done in that half hour.... The answer is you are right, I am doing what I did yesterday but with the difference that I realised I wasn't thinking straight yesterday and could reduce my chunky con-rod to 5/16" which is more like it. My last pic gives a clue, 5/16" is the width of the slot in my crosshead. Once I had rectified this and polished the rod I cleaned Mrs Harrison up and here I am. I am quite satisfied with this morning, my rod is in better nick than it was yesterday. That makes it a good morning!
Re: Shed Matters 3
Posted: 23 Dec 2023, 07:35
by Stanley
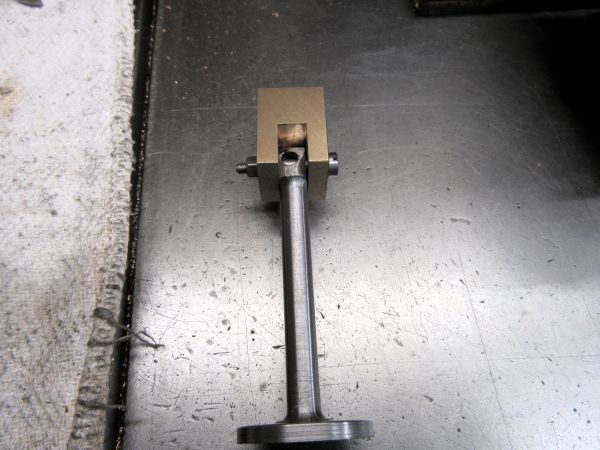
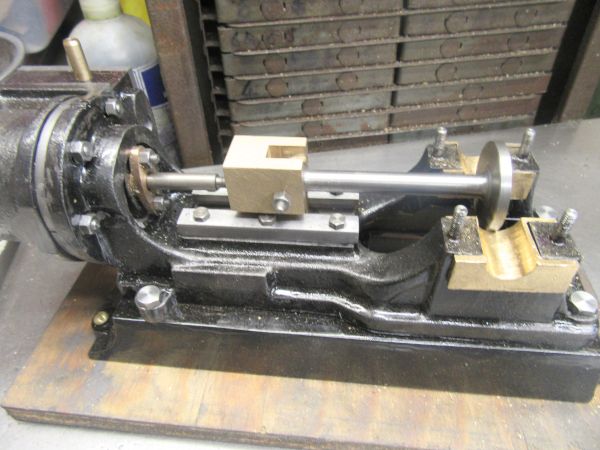
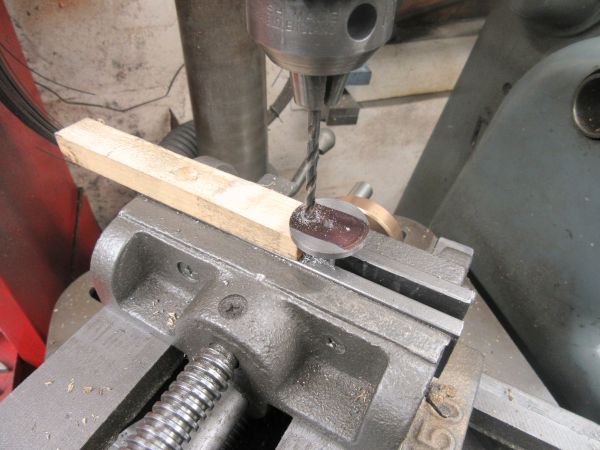
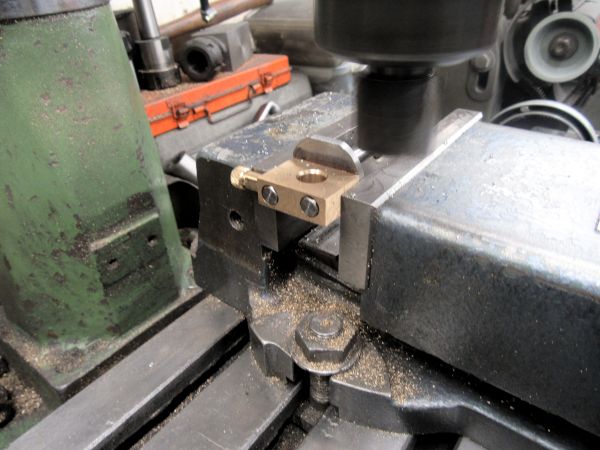
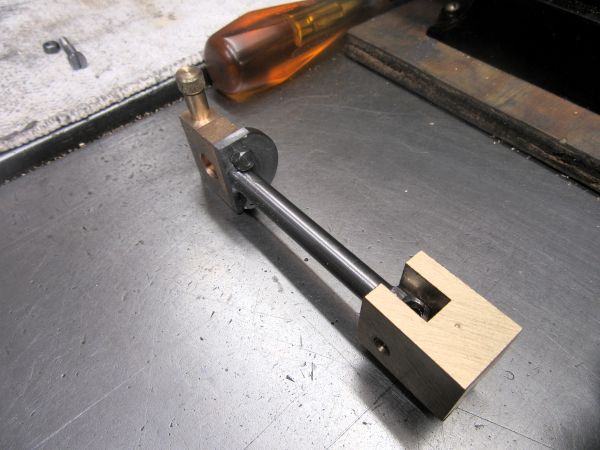
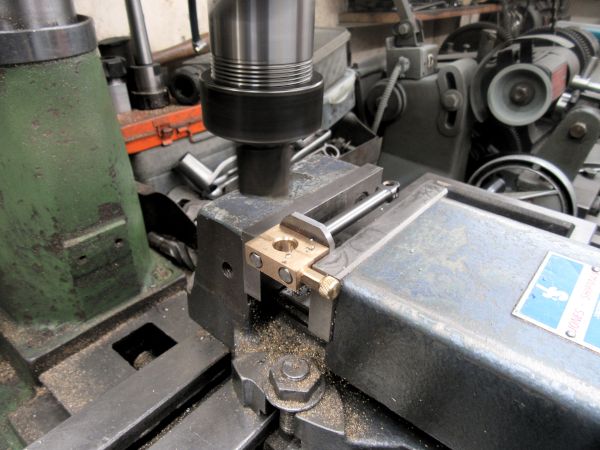
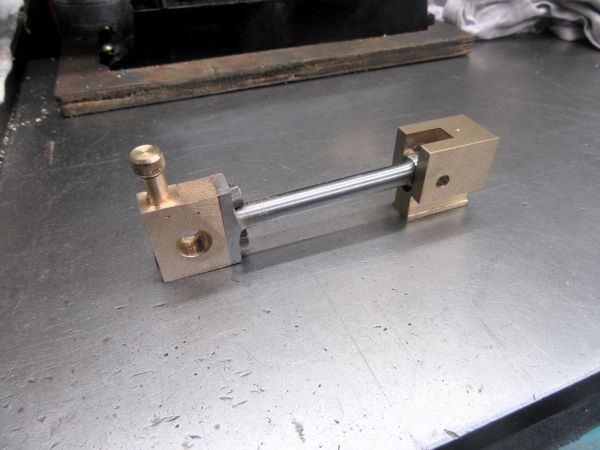
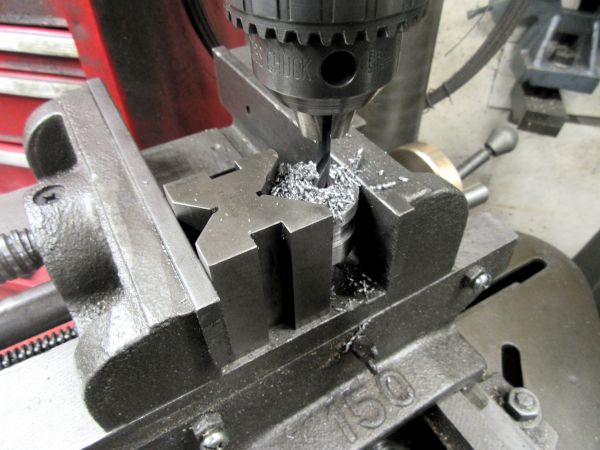
Ticklish little job this morning, drill the end of the con rod to accept the 3/16" crosshead bolt and mill the flats on the end of the con rod that will allow it entry into the slot on the crosshead. The drilling went well, nice and central and then I got into the mill and milled two nice flats on the con rod end. Only problem was I milled them 90 degrees out from what they should be. A keen young engineer would have accepted the mistake and made another con rod but I am not keen and not young! I drilled the hole for the bolt again 90 degrees from the first and then massaged the end of the con rod until it fitted the crosshead. They'll never see it off the Ribble and it makes it easy to oil the joint!
I have been to the Co-op and got my stuffing....
Re: Shed Matters 3
Posted: 23 Dec 2023, 11:14
by Stanley
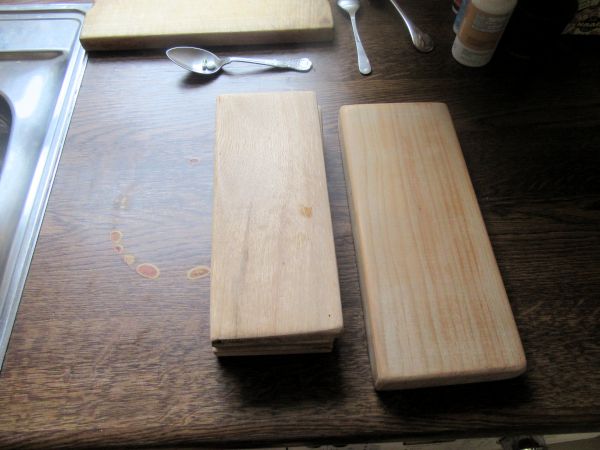
I got up after second sleep and found Santa had been. Oak engine plinths.....

I asked a friend to help and lo and behold.....
Re: Shed Matters 3
Posted: 24 Dec 2023, 07:15
by Stanley
Re: Shed Matters 3
Posted: 25 Dec 2023, 07:07
by Stanley
Re: Shed Matters 3
Posted: 26 Dec 2023, 07:41
by Stanley
Re: Shed Matters 3
Posted: 27 Dec 2023, 07:04
by Stanley
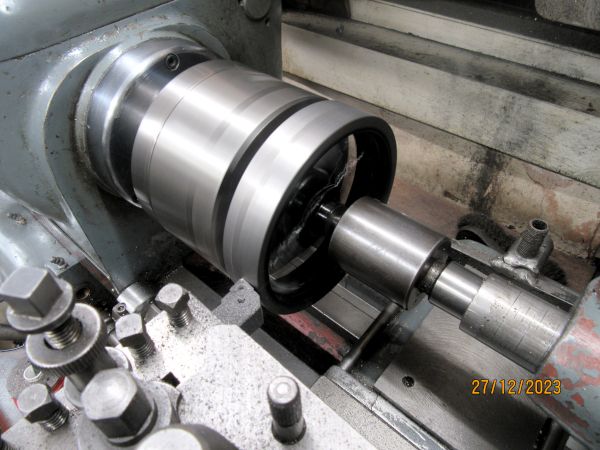
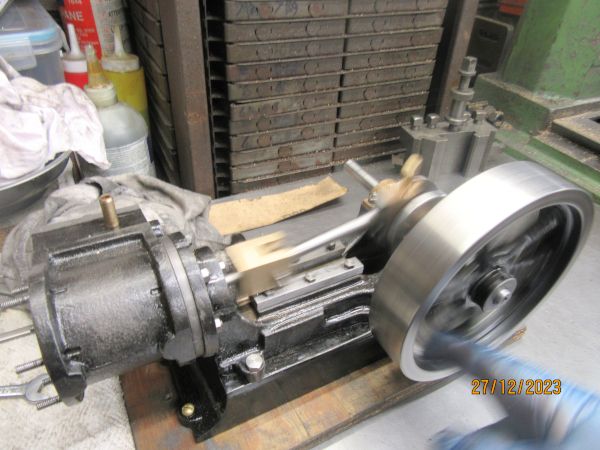
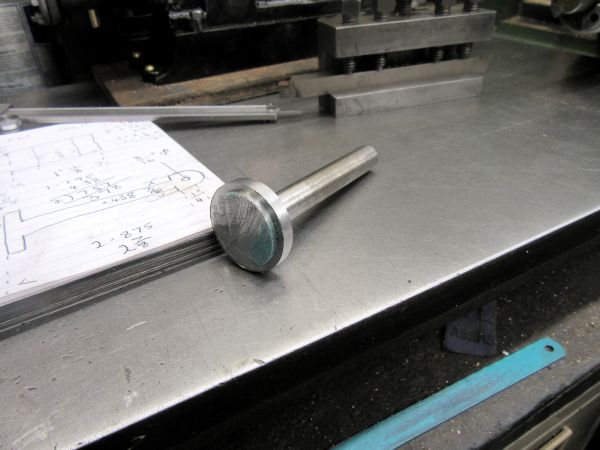
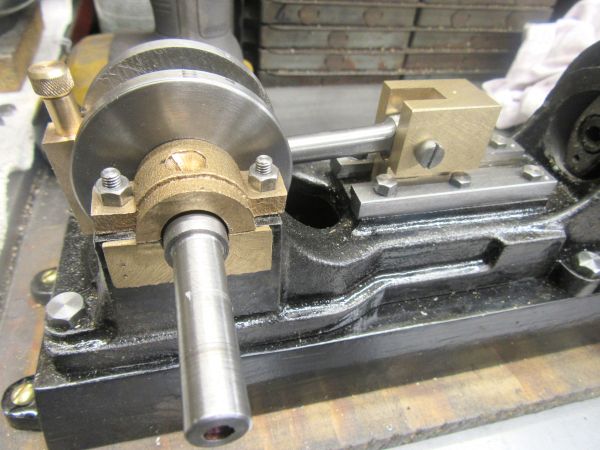
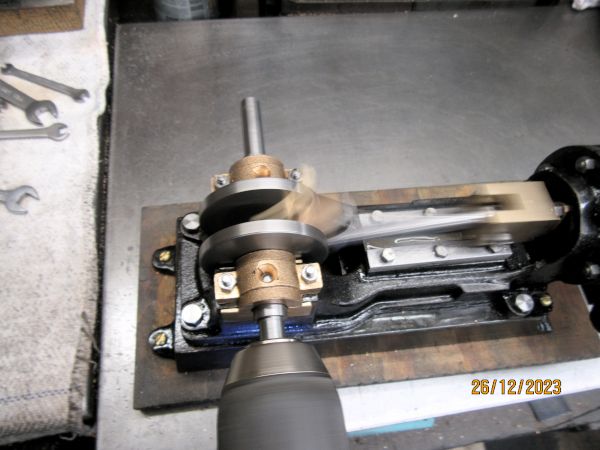
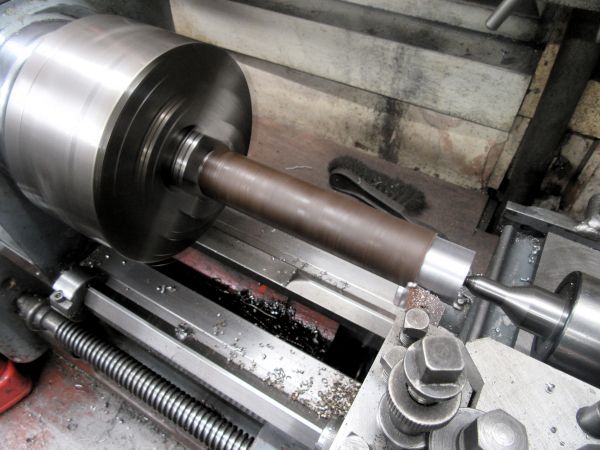
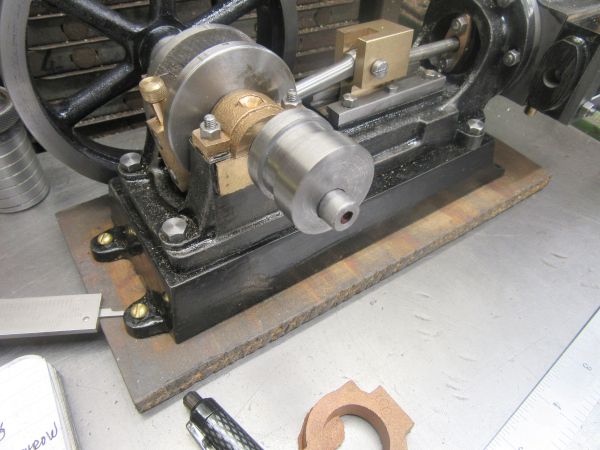
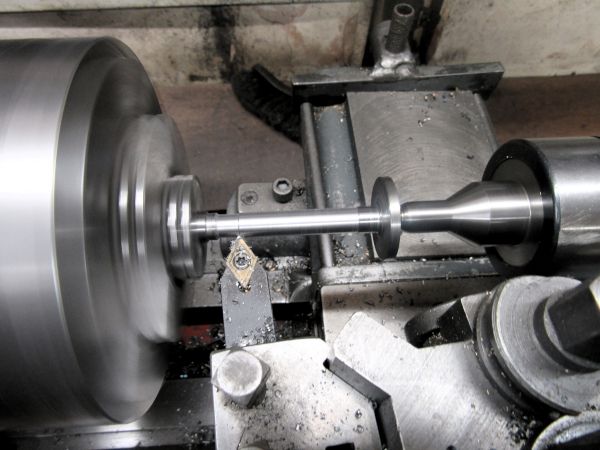
After a good look and a think I decided that as all subsequent operations on the engine depend largely on rotating the crankshaft, it would be a good Idea to clean up, polish and fit the flywheel. That will make it a lot easier. So that's what I have done this morning and it is firmly fixed on the shaft with Loctite.
(Oh, by the way. I have found the setting on the camera that was giving me those unwanted date stamps and have zapped it.)
Re: Shed Matters 3
Posted: 28 Dec 2023, 07:23
by Stanley
Re: Shed Matters 3
Posted: 29 Dec 2023, 07:14
by Stanley
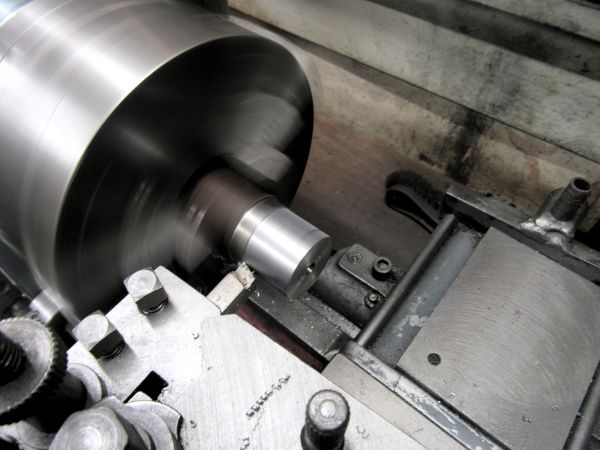
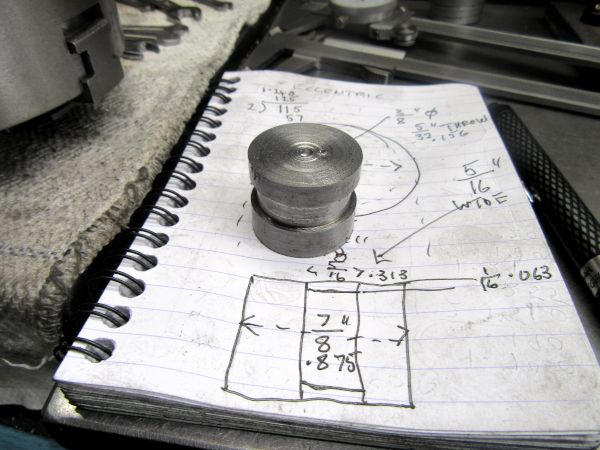
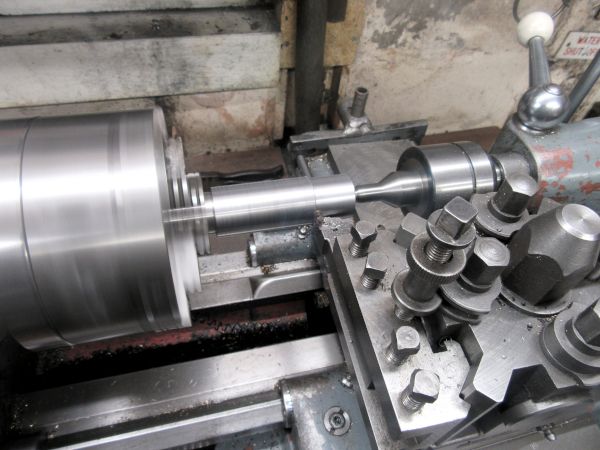
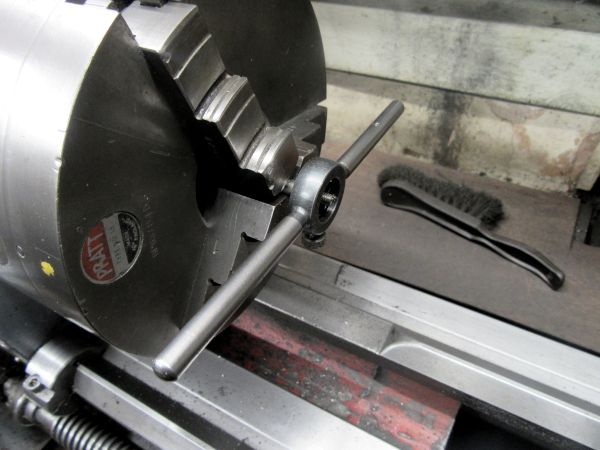
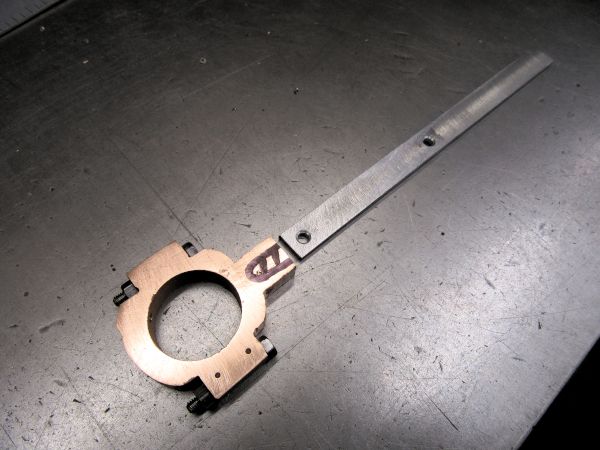
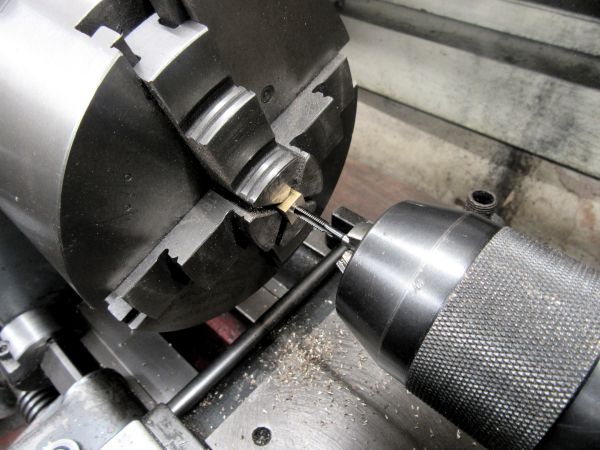
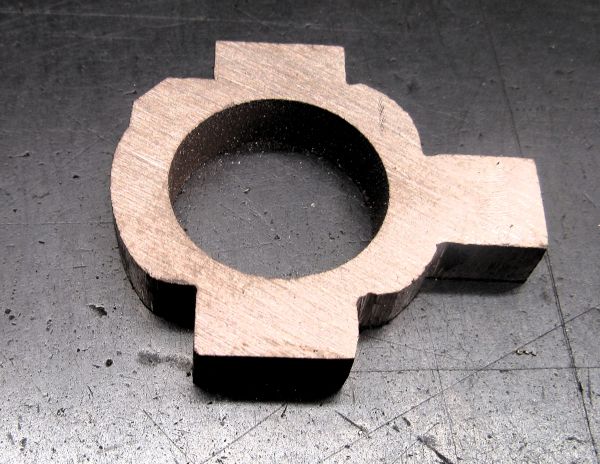
This morning I did my check measurements and set to to make the eccentric, this included striking a PCD on the end to guide where I drill the hole for the shaft. Remember there's no need for any of the eccentric turning shown by Stuart in their drawing. Just bore for the shaft on the PCD that ensures that the eccentric runs eccentric! Now for breakfast and second sleep....
Re: Shed Matters 3
Posted: 30 Dec 2023, 07:17
by Stanley
Re: Shed Matters 3
Posted: 31 Dec 2023, 07:25
by Stanley
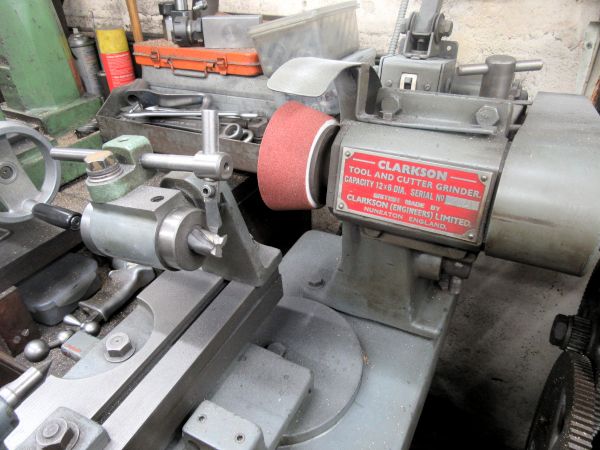
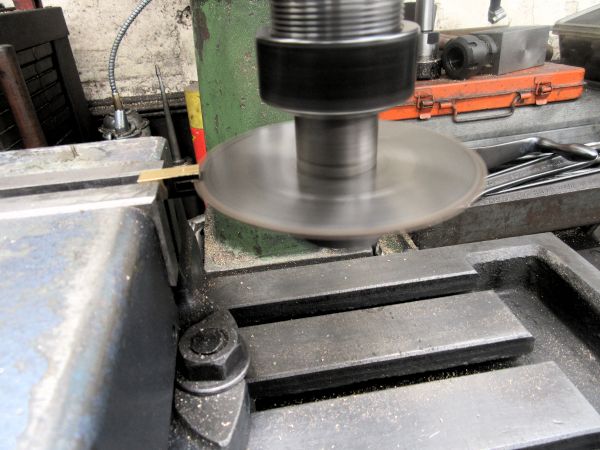
I started the morning by drilling and tapping for the 3/16"Whitworth set screw that will be used to lock the eccentric on the shaft once the valve is set. Then, as promised, I looked through my collection of end mills and found three 3flute 1" end mills that could be reconditioned to useable condition. I found three and gulleted the centre of each of them. Then I put a new Grinding wheel on the T&C grinder and put a dust mask on because I was going to spend the rest of the morning grinding. By the time I got to knocking off time I had ground a new back rake on all three of them and was ready to finish them by grinding a new cutting edge at 6 degrees. I had done over an hour so that will be the first job tomorrow..... Now for breakfast.
Re: Shed Matters 3
Posted: 01 Jan 2024, 07:15
by Stanley
Re: Shed Matters 3
Posted: 02 Jan 2024, 07:05
by Stanley
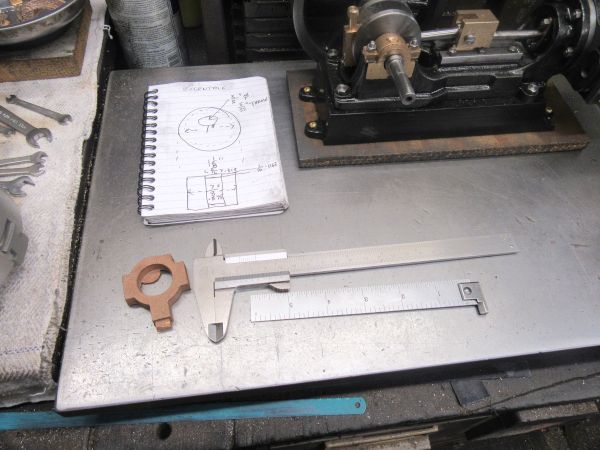
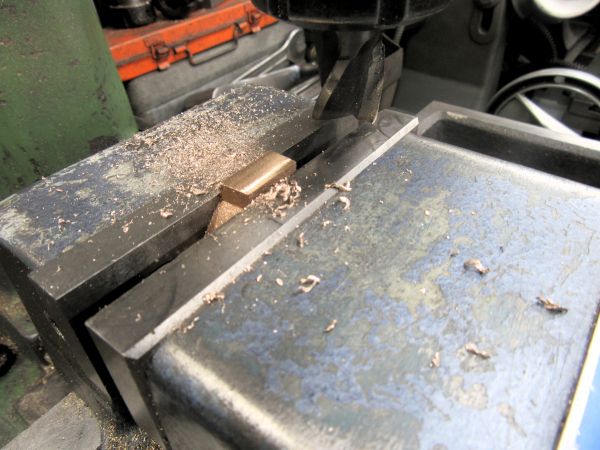
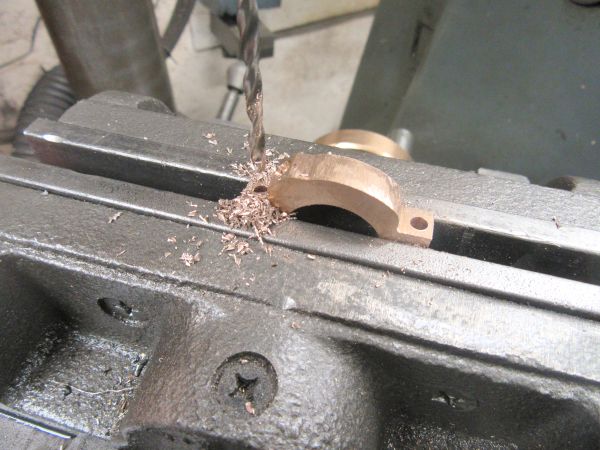
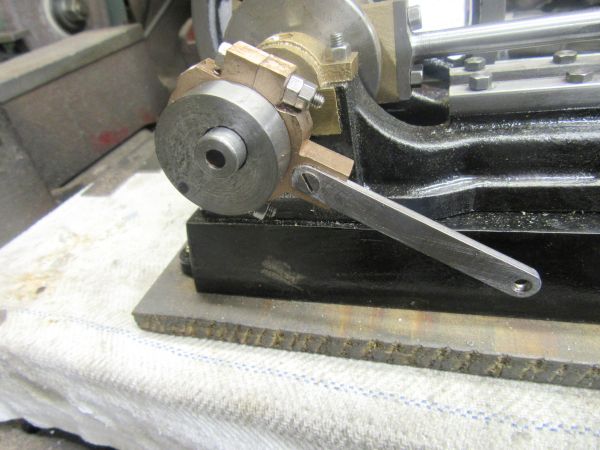
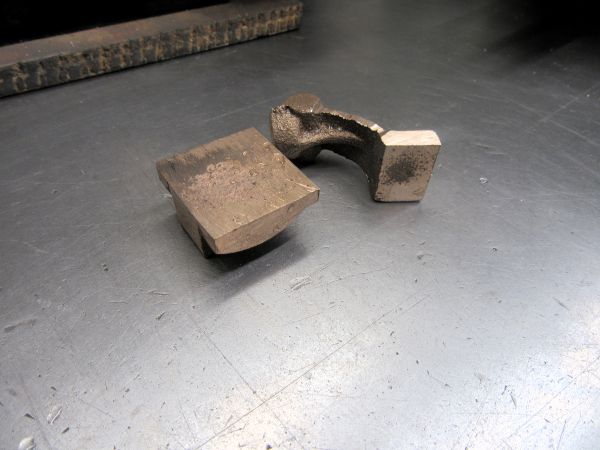
Using the mill, a new Swedish File and emery paper. After measuring and checking I further refined the casting for the eccentric strap and now I am ready to drill the lubricating hole and the two bolt holes for the fastenings that will hold the two halves together after I have split the casting but all that's for tomorrow! Now for breakfast.....
Re: Shed Matters 3
Posted: 03 Jan 2024, 07:14
by Stanley
Re: Shed Matters 3
Posted: 04 Jan 2024, 07:21
by Stanley
Re: Shed Matters 3
Posted: 05 Jan 2024, 06:59
by Stanley
Re: Shed Matters 3
Posted: 06 Jan 2024, 07:09
by Stanley
Re: Shed Matters 3
Posted: 07 Jan 2024, 07:18
by Stanley
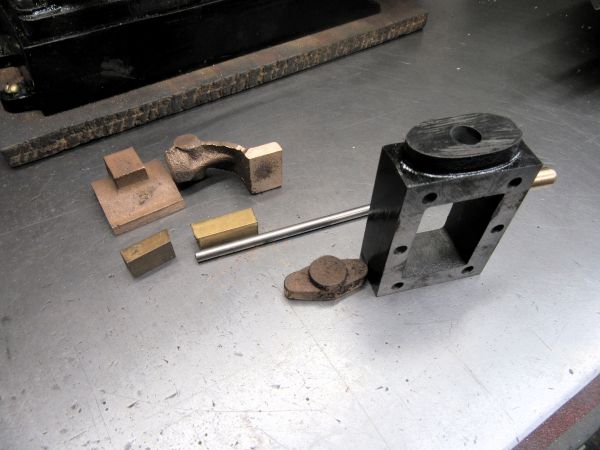
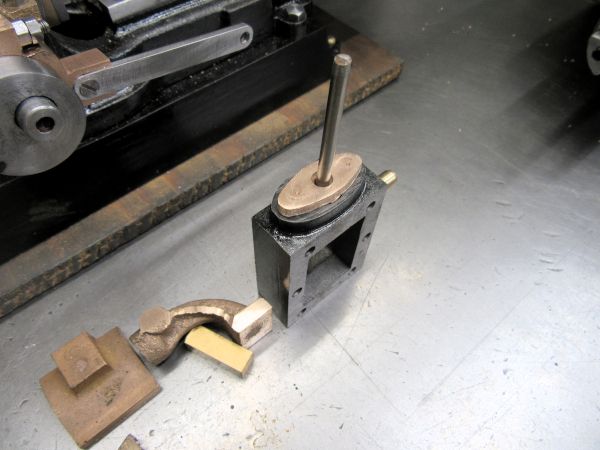
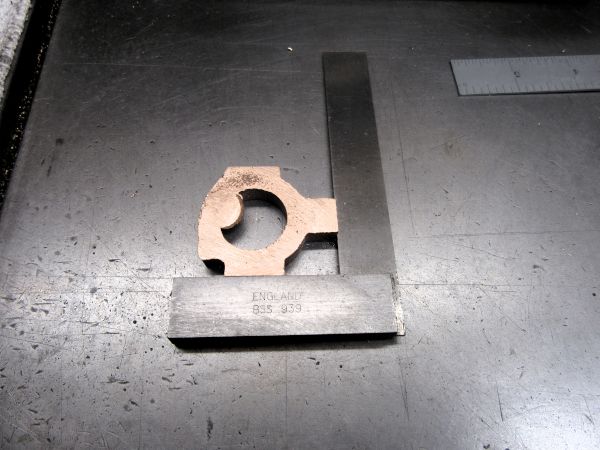
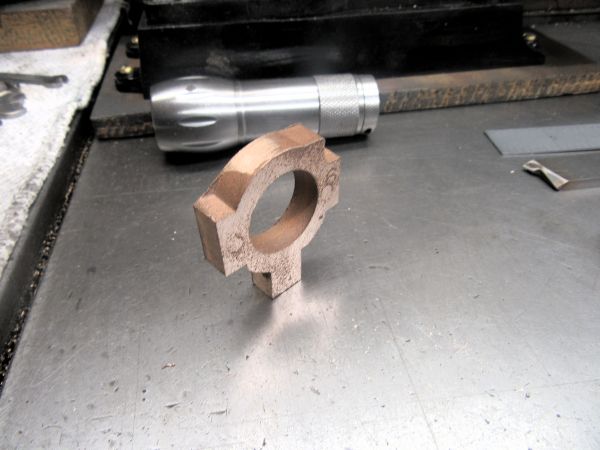
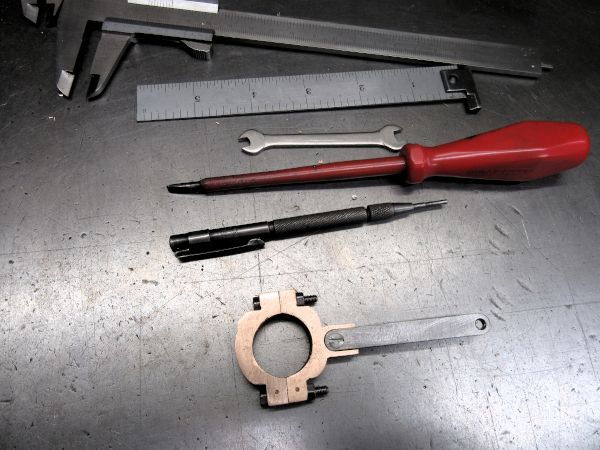
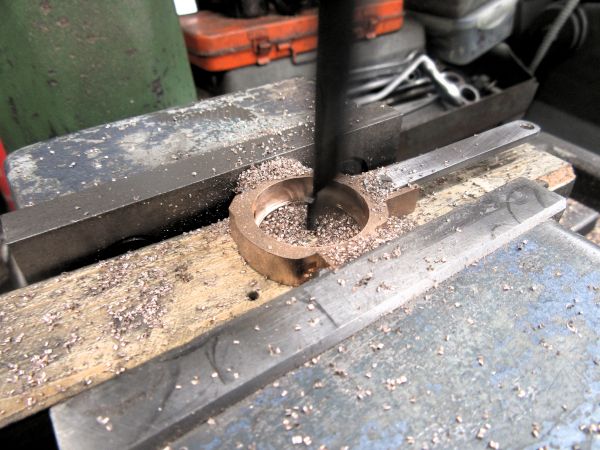
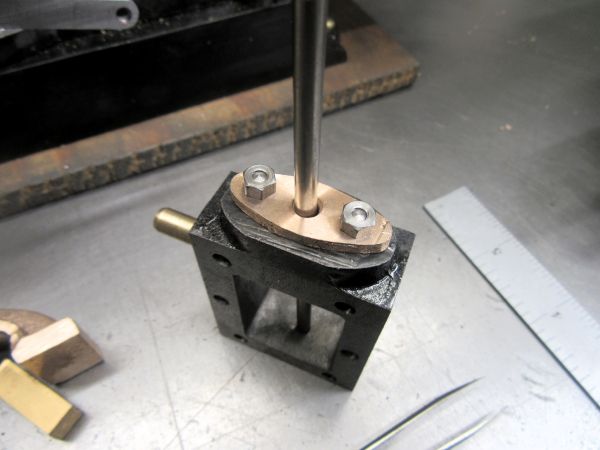
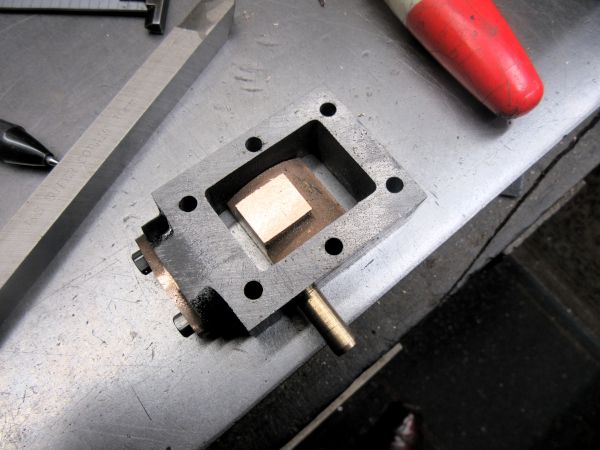
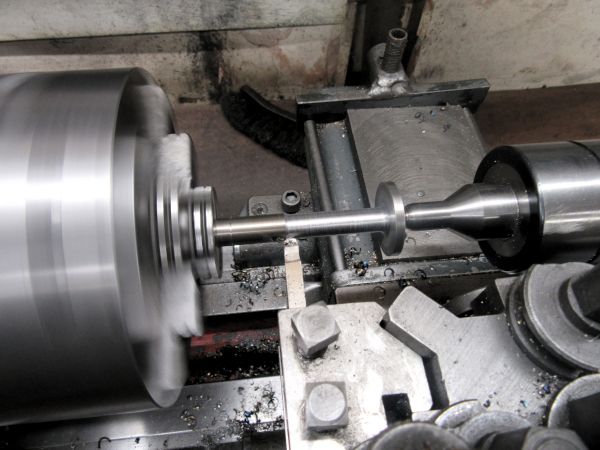
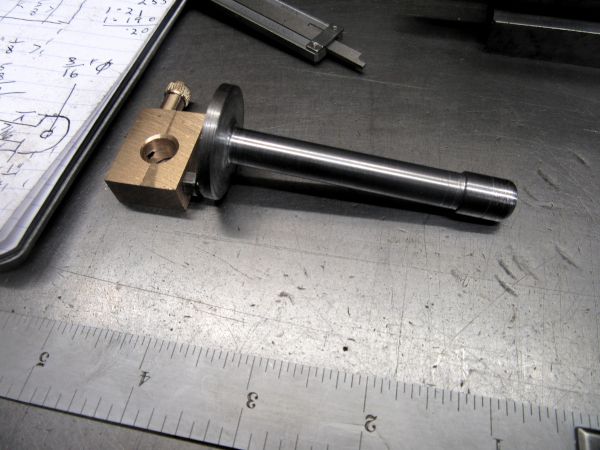
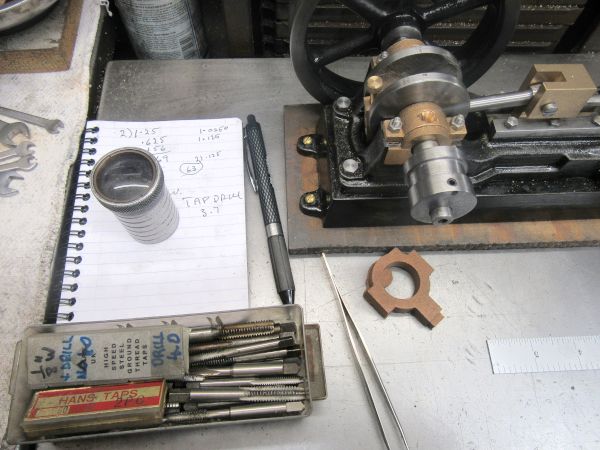
I started the morning by stripping the valve chest and lid off the engine and getting the small stock components sammed up ready to work with. Then some careful measuring and doing a small fag packet drawing to remind myself of what needs doing. The first target was to turn the rough bronze casting into a functioning gland and mark it for drilling for the studs. Then I modified the drilling of the steam chest to make sure the gland fitted. That all took an hour but time is no object. What matters is that the work is error free and accurate. Now for breakfast.
Re: Shed Matters 3
Posted: 08 Jan 2024, 07:21
by Stanley
Re: Shed Matters 3
Posted: 09 Jan 2024, 07:15
by Stanley
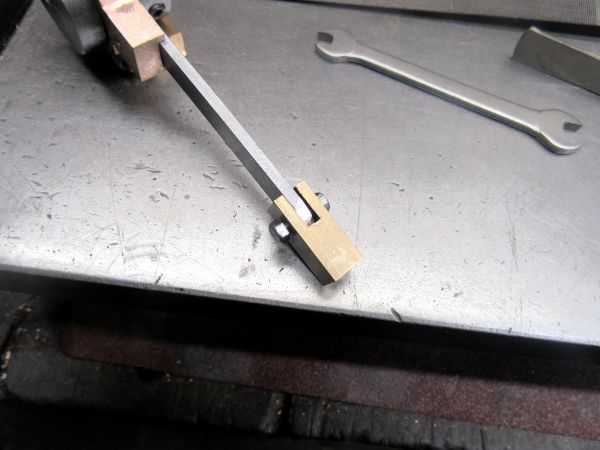
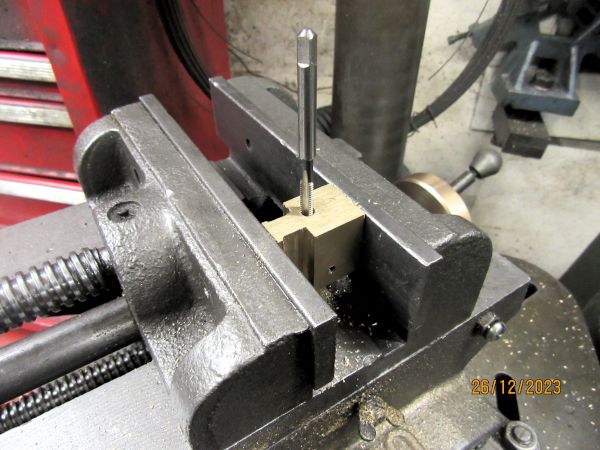
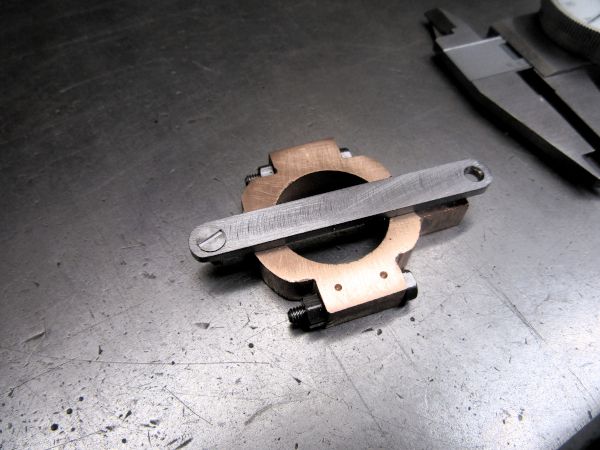
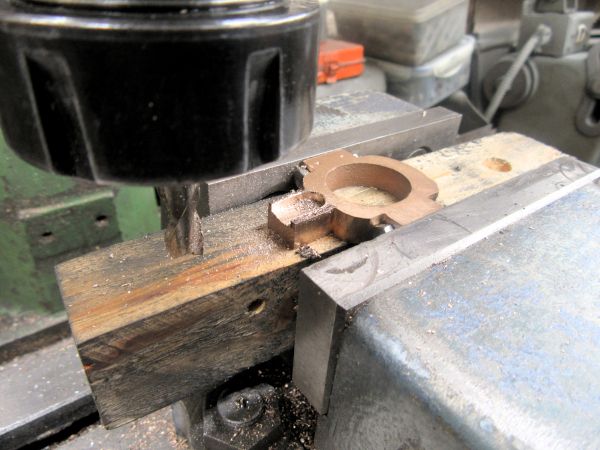
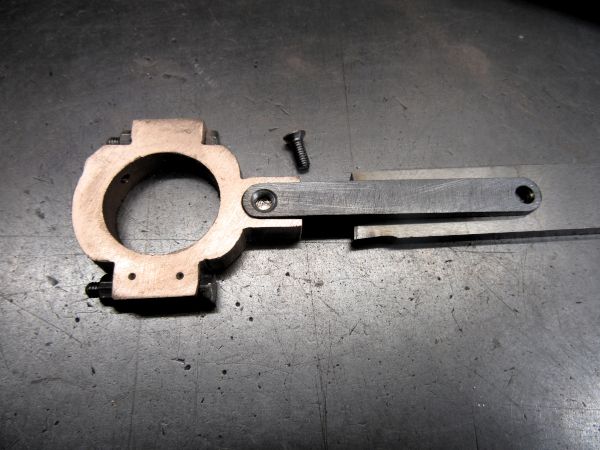
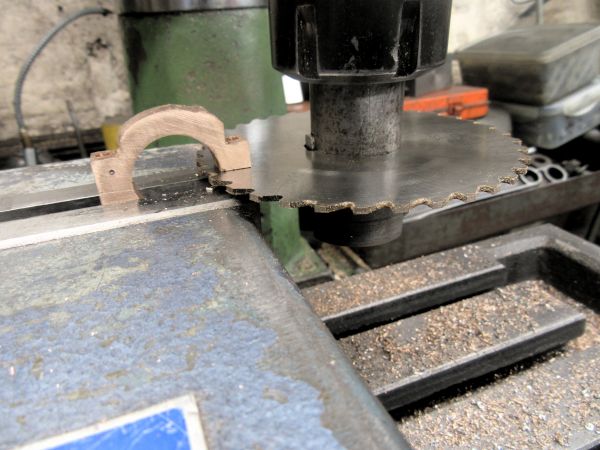
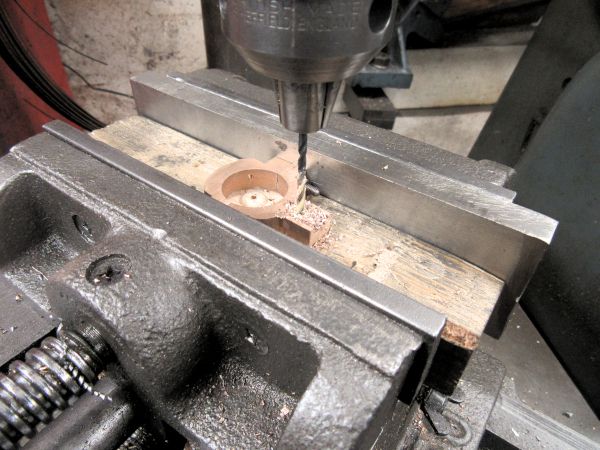
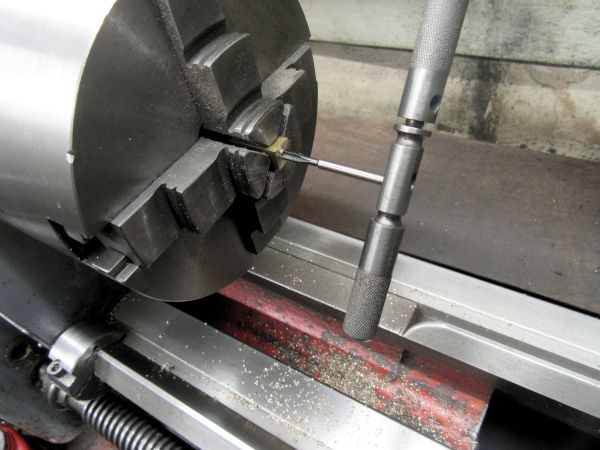
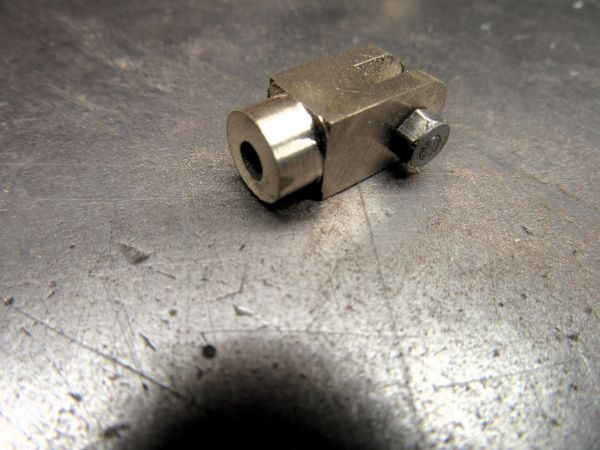
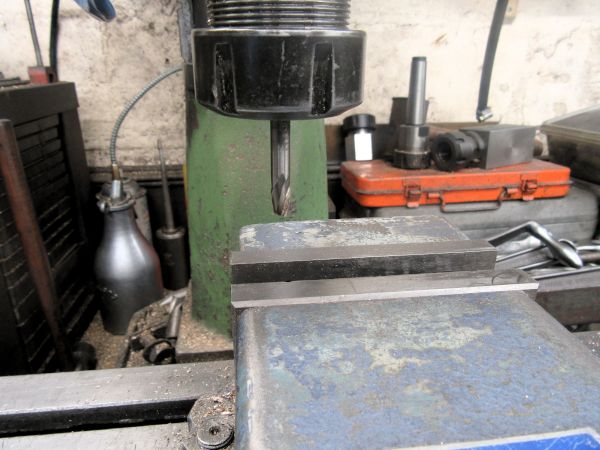
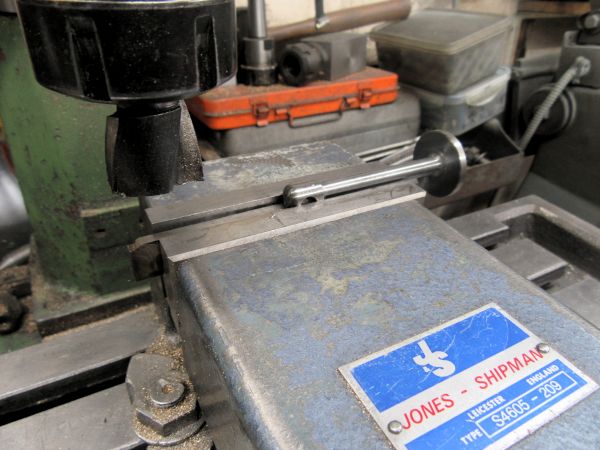
More work on the clevis block that links the eccentric arm to the valve rod. This was a careful measuring and marking and then cutting of the slot for the arm in the block using a slitting saw in the mill, my eyes won't let me do it by hand. Then drilling the block to accept the 7BA bolt that will act as the pin in the clevis to connect to the eccentric arm. Then more adjustments to the end of the arm so that the clevis block fits. I finished the morning with the clevis block fitted and correct. Tomorrow I shall make it look pretty! That will do for this morning, very small work and so I take even more care!
Re: Shed Matters 3
Posted: 10 Jan 2024, 07:01
by Stanley
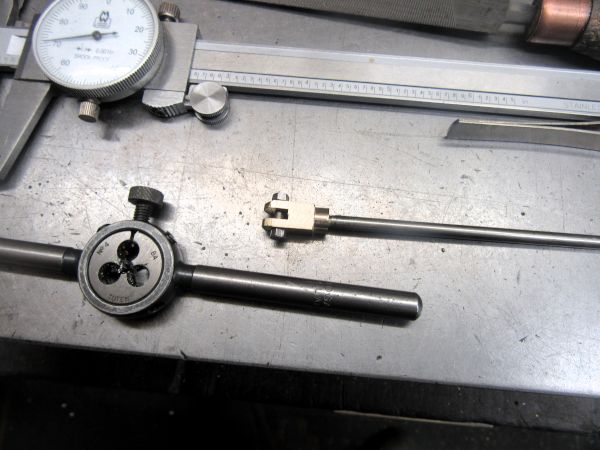
Sorry but due to technical difficulties with the site there are no images this morning. I have, as promised, made the clevis look pretty and threaded both ends of the valve rod 4BA and am now ready to work on the valve itself.....
Re: Shed Matters 3
Posted: 10 Jan 2024, 10:10
by Stanley
Re: Shed Matters 3
Posted: 11 Jan 2024, 07:51
by Stanley