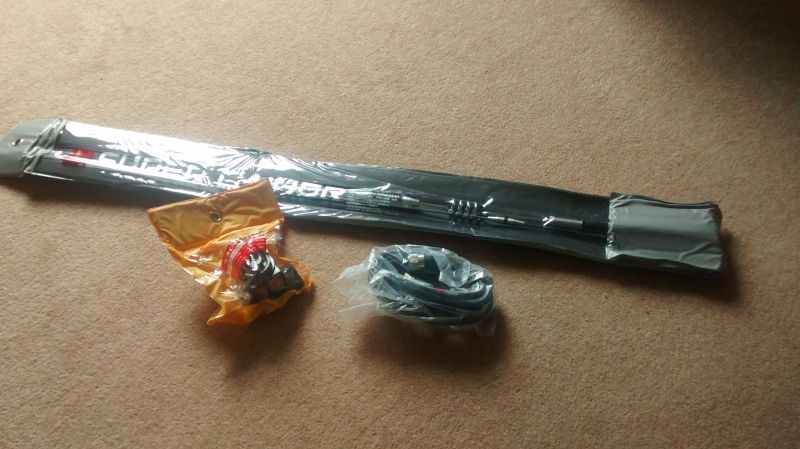
So here are the bits that came today:
Rain/dust caps for the SO239 socket and a plug for the power feed from the accessory socket in the car.
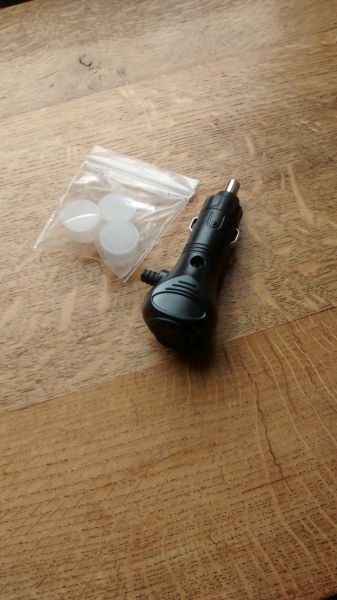
A bit closer look at this plug, it's switched with a LED indicator and rated at 20A it also has an integral fuse in the tip which is rated at 10A. The transceiver draws about 8A on full power so a 100% overkill connector fused down to 10A is about right. I got a switched version so I don't have to keep plugging and unplugging the connector to isolate the supply.

Ideally the transceiver should be connected directly to the battery but the Hyundai i30 has a double skinned firewall from the engine bay which makes it a bit difficult getting extra cables through from the battery to the cab. I am registered on a Hyundai support forum and there is a way to do it but it entails jacking the nearside front wheel, taking it off and then removing the mudguard liner. This apparently reveals a removable grommet through into the lower engine bay. There is another grommet at the back passenger side of the wheel arch where you can get access to the wiring loom run in the door sill.
A lot of bother to say the least so I opted to get the power from the existing internal accessory socket. The car has both cigarette lighter socket and the higher rated accessory socket which is fused at 25A.
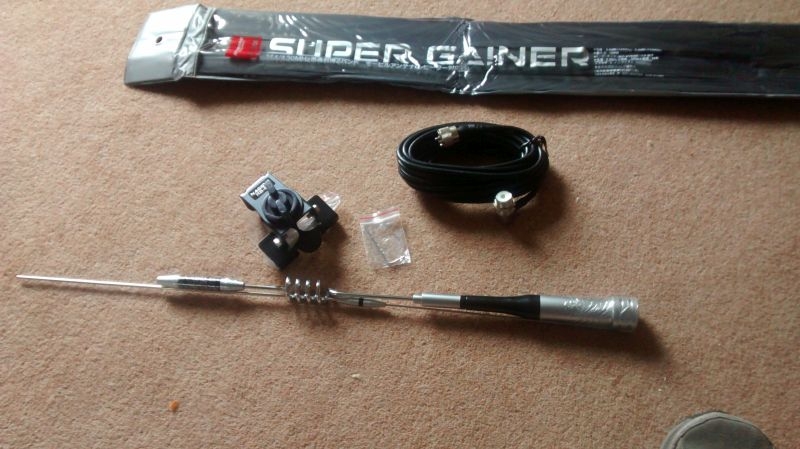
So on to the antenna mount and cabling. I had a good look round for a convenient route for the antenna cable and found one down behind the rear seat back, behind the seat belt fastener then under this trim which is under the rear driver side seat. Clipped at the door sill but only secured by two screws so easy to get the cable underneath. The front edge of this trim is more or less immediately behind the driver seat.
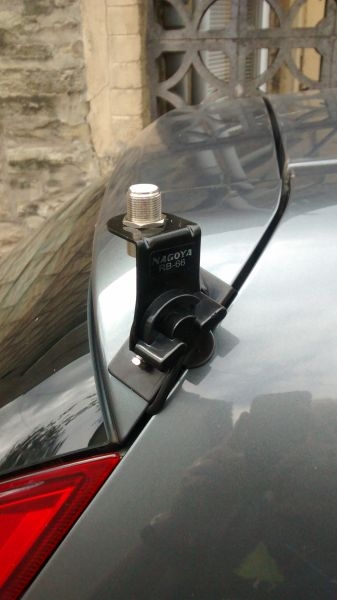
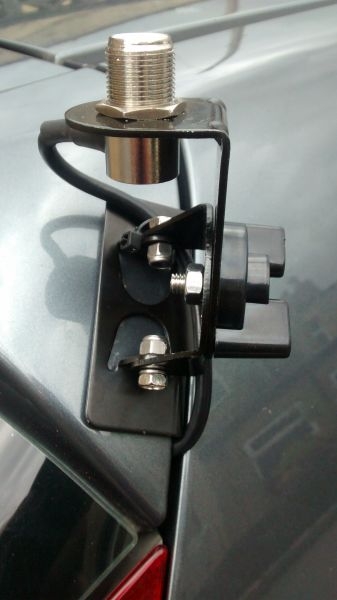
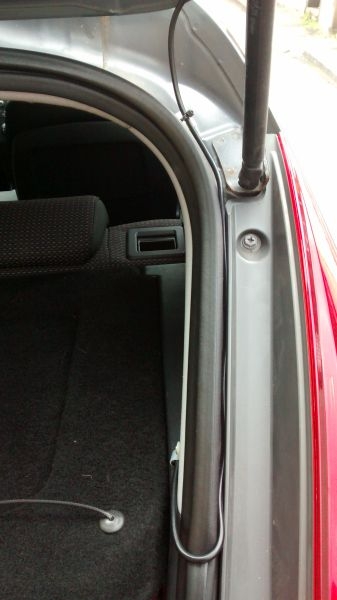
Not a lot of room above the rear window but just enough to accommodate the mount and be able to clamp to metal. The mount is secured by four hex headed grub screws on the inside edge of the mount.
I loose fitted the socket then tightened it off after dressing the cable where I wanted to bring them onto the side of the parcel shelf. I popped a cable tie on to tidy the run round the mount.
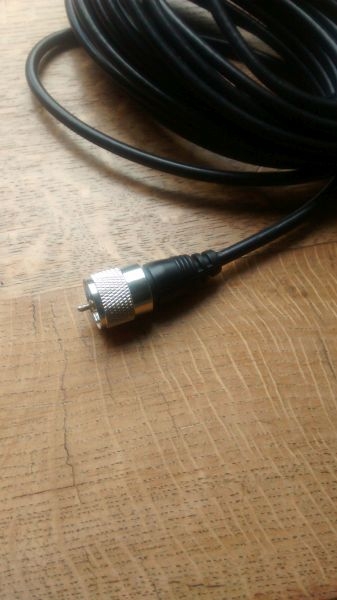
I avoided bringing the cable over the hatch seal at the top and brought it down level with the side of the parcel shelf before looping it over the rubber seal. Any rain ingression runs down the outer channel of the hatch seal. I put a self stick cable tie base up near the top to secure the cable where it will flex with the opening and closing of the hatch, the cable itself runs down a convenient seam down the hatch side just wide enough for the 4mm coax.
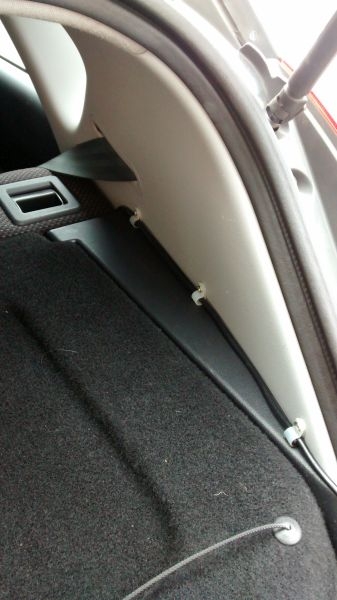
I used some plastic P clips to secure the cable along to the top of the rear seat. Stops the cable wandering into the liftable parcel shelf and keeps it neat and tidy.
Here is the cable entering the trim under the rear seat. I have run it behind the seat belt anchor so it doesn't interfere with the operation of the belt.
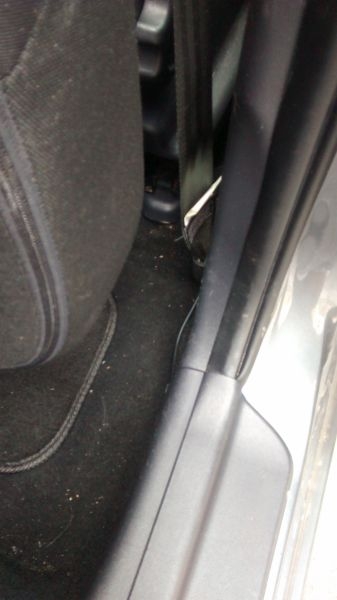
This is the other side of the trim just behind the driver seat, you can just see the cable exiting. Easy then to feed the cable behind the seat belt anchor then under the driver seat to emerge where I need it to the left of the seat. I chased any spare cable down to this end and coiled it under the driver seat.
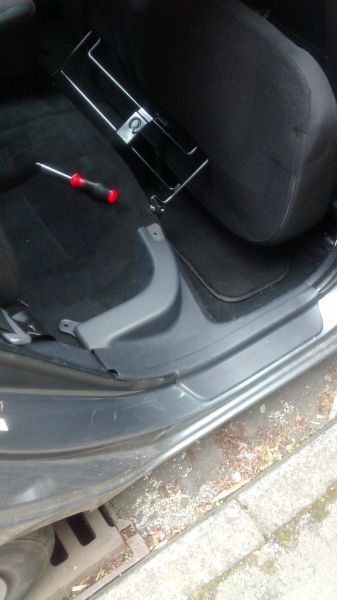
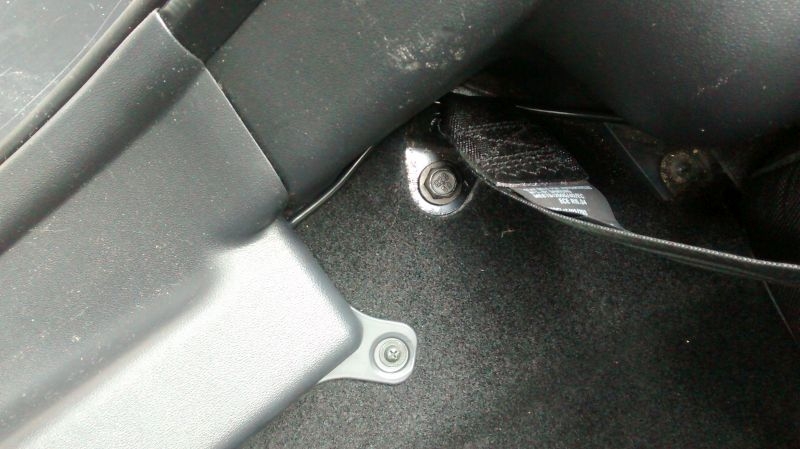
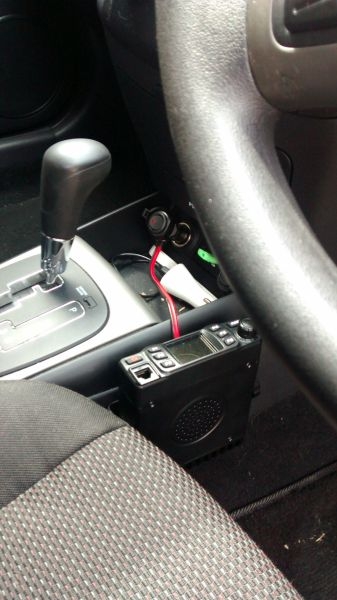
Here is where I decided to site the transceiver. The seat is pushed back here so that I could mount the support bracket. I fed the power cable down behind the transceiver and between the lugs of the mount. Spare power cable is looped and stored under the seat. The power cable is fused at 10A at both ends of the run. I have installed some ring core ferrite chokes on the power lead to suppress any RFI or noise from the engine or electrics.
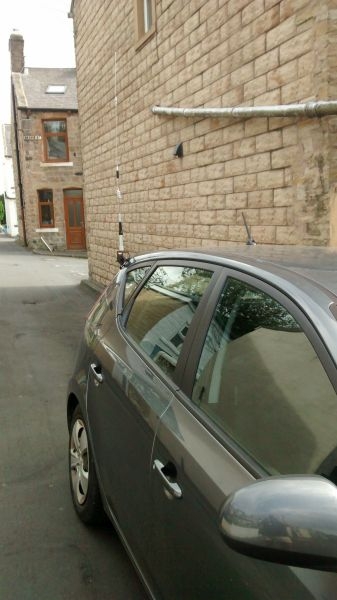
Here is the hatch mount with the antenna in place. I switched the transceiver to low power and tested the SWR on each band at around the calling channel frequencies of 2M and 70cms bands. The antenna was resonant on 2M (144MHz - 145.500MHz for test) with an SWR of 1:1 to 1, that is excellent and indicates minimum loss of power on the feed line. 70cms (433MHz - 433.500MHz for test) tested as 1:2 to 1 SWR, not much different and still well within acceptable ranges for transmission.
Looking at the images for this project tells me that I need to vacuum the inside of the car.